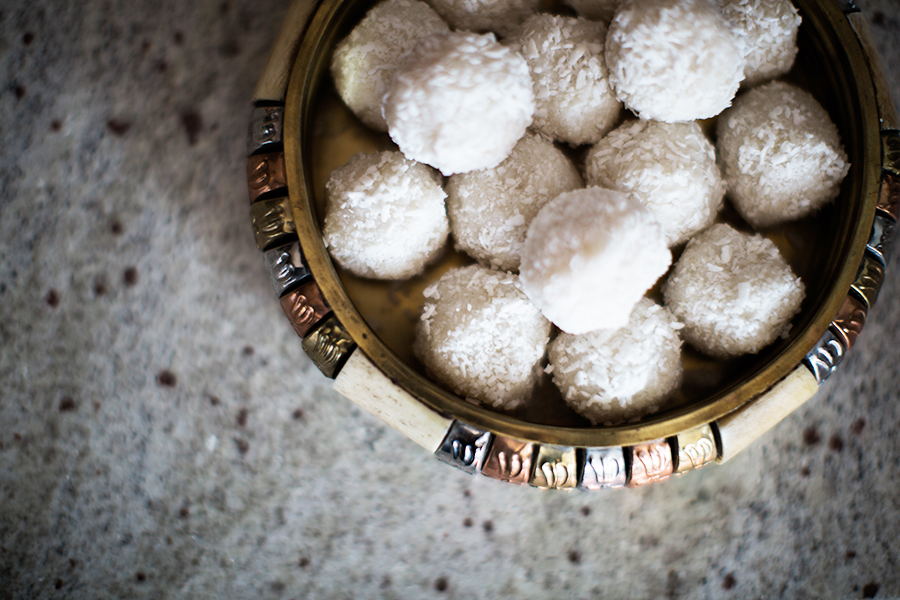
#GNI Indian Style: Fudgy Coconut Ladoo

Carrots and Cake, Nita Sharda

Yes, dessert first! I’ve mentioned in previous posts that I prefer to always let my guests know that a dessert will be served. If the dessert is all set to be eaten, I don’t mind plating and having it available to my guests to eat. First. I know what you’re thinking: won’t they fill up on dessert and not eat the meal? Maybe, but maybe not.

Here are a few reasons why I choose to serve dessert first. For starters: I hate it when guests choose not to eat dessert because maybe they reached their “fullness” cue shortly after dinner. That’s fair. And, I’m not one to force anyone to have dessert because chances are, it may not make them feel well (even if it happens to be a low calorie dessert such as fruit). Secondly: I believe in offering people choice. Simple as that. And lastly, for those caring for young children, serving dessert first or with a meal takes the reward factor out. Children shouldn’t be coerced into eating their meat, veggies, milk etc because they’ve got a dessert waiting for them. Serving dessert with a meal and avoiding using it as a reward are big leaps of faith, but the return is amazing.

MOVING ON.

For the GNI my friend Courtney Rae of ‘The Fig Tree’ blog brought two items. One of them happens to be this easy and yummy Fudgy Coconut Ladoo. Imagine a ball of coconut goodness with a touch of cardamom that hits your sweet spot but without driving you into a sugar crash. The original recipe was created by a lovely vegan food blogger, Richa. She has recently launched her first cookbook titled Vegan Richa’s Indian Kitchen: Traditional and Creative Recipes for the Home Cook. If you want to get your hands on this baby, click here. In the mean time, whip these babies up yourself by clicking here to visit the recipe details on Richa’s website

Spotted! Christine and Jennifer Ashley (‘Pretty Little Details’) with the uber delicious ladoos. They were all gone!

Nita Sharda, Carrots and Cake

Nita Sharda, Carrots and Cake

Before you leave, check out this fun stop motion video about the girls night in I hosted, trust me you, you’re going want to see it! It’s pretty darn cute if I don’t say so myself!

– With Love, Carrots and Cake,

Carrots and Cake Nita Sharda

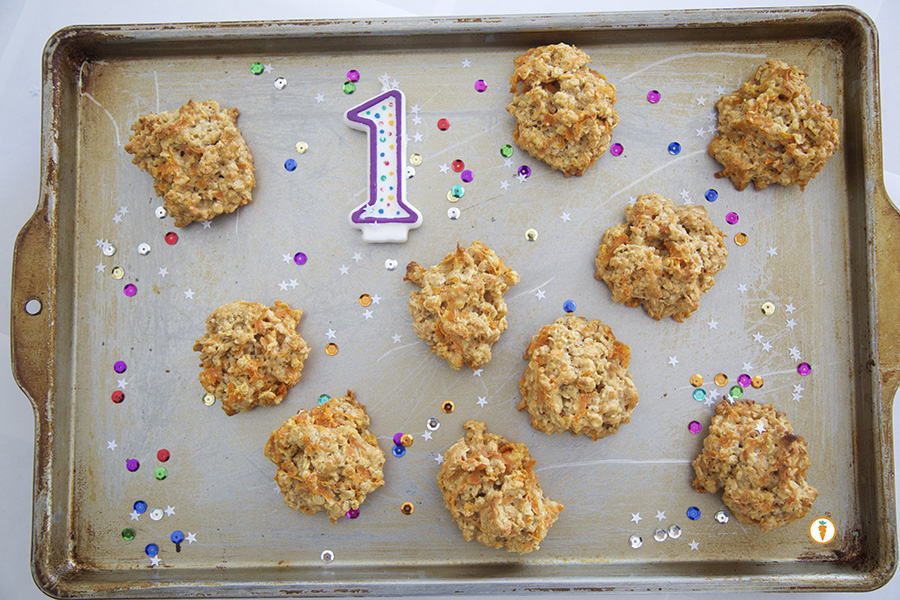
Soft Carrot Oatmeal Cookies #kidfriendly

Nita Sharda, Carrots and Cake

C’mon, don’t you celebrate your birthday all month long?

Okay, I can’t possibly be the only one that celebrates birthday’s all month long.  Right?  Lucky for you, in lieu of this blog’s first birthday I also whipped up a cookie recipe.  Sorry, this recipe isn’t loaded with sugar, chocolate or copious amounts of fat.  Instead, this soft and well textured cookie is full of yummy carrot goodness and is a big hit not just with adults, but kids too!  My nieces love snacking on this cookie and their moms feel good offering it as a snack. That’s a win win situation if you ask me.

If you’re going to compare this cookie to an Oreo or Chip’s Ahoy, that’s just not fair. Simple homemade cookies can’t compete with hyper-processed and sugar laced foods. This cookie is whole grain and contains whole ingredients. Nothing fake here.

Simple homemade foods can’t compete with hyper-processed foods.

I opted to use honey as my primary sweetener. You can choose to use maple syrup or agave nectar if you wish. Note to mama’s and papa’s: if baby is less than 12 months, you don’t want to offer them honey. Use maple syrup instead.

I got the inspiration from these cookies via another blog. The original recipe can be found here. Thanks Amy!

4.0 from 1 reviews
Soft Carrot Oatmeal Cookies #kidfriendly
 
Prep time
Cook time
Total time
 
Serves: 12 - 18
Ingredients
  • 1 cup quick cooking oats (source gluten free if necessary)
  • ¾ cup whole wheat flour (or, gluten free flour if necessary)
  • 1 ½ tsp baking powder
  • 1 ½ tsp ground cinnamon
  • ⅛ tsp salt
  • 2 tbsp canola oil (or, whatever type of fat you prefer)
  • 1 large egg
  • 1 tsp vanilla extract
  • ½ c honey, maple syrup or agave (I used honey)
  • ¾ c grated carrots (about 1 medium carrot)
Instructions
  1. In a medium sized bowl, combine oats, flour, baking powder, cinnamon, and salt.
  2. In another small bowl, whisk together the canola oil, egg, and vanilla extract. Stir in the honey until thoroughly incorporated. I prefer to use a hand mixer for this step.
  3. Add the wet mixture to your flour mixture. Don't over mix the contents - just enough to blend well. Then, fold in the carrots.
  4. As recommended by Amy, chill the dough for at least 30 minutes. (If chilling longer, cover with plastic wrap, ensuring it touches the entire surface of the cookie dough). This helps you out a lot when you start dropping the cookies onto your baking sheet.
  5. Preheat the oven to 325°F, and line a baking sheet with parchment paper.
  6. Drop the cookie dough into 15 rounded scoops on the baking sheet. (If chilled longer than 1.5 hours, flatten slightly.) Bake for 12-15 minutes or until a toothpick comes out clean.
  7. Cool on the baking sheet for at least 15 minutes, and then place on a wire rack.
  8. Now, enjoy.

And again, here’s to raising a forkful of Carrot Pineapple Loaf and toasting to a very, very happy first birthday!

– With Love, Carrots and Cake,
Carrots and Cake Nita Sharda

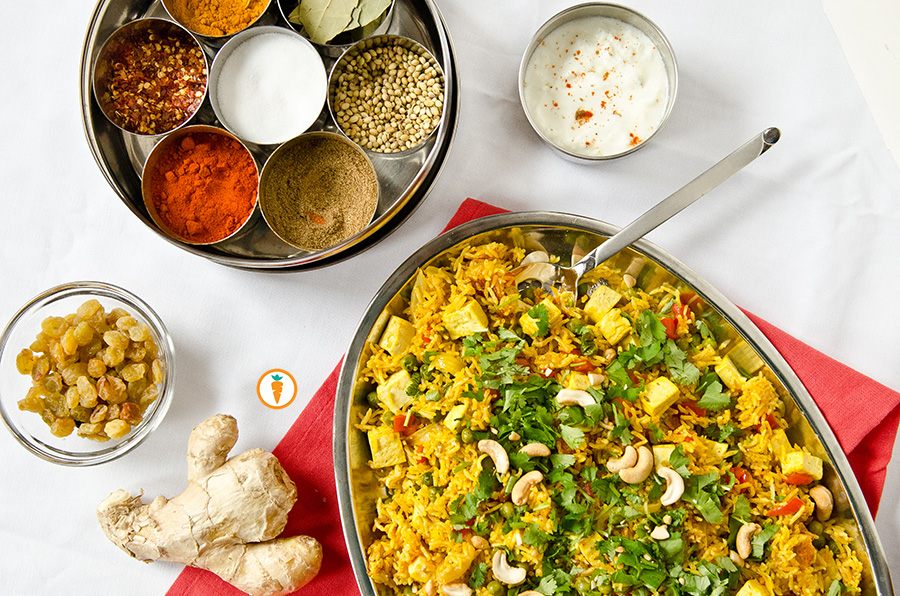
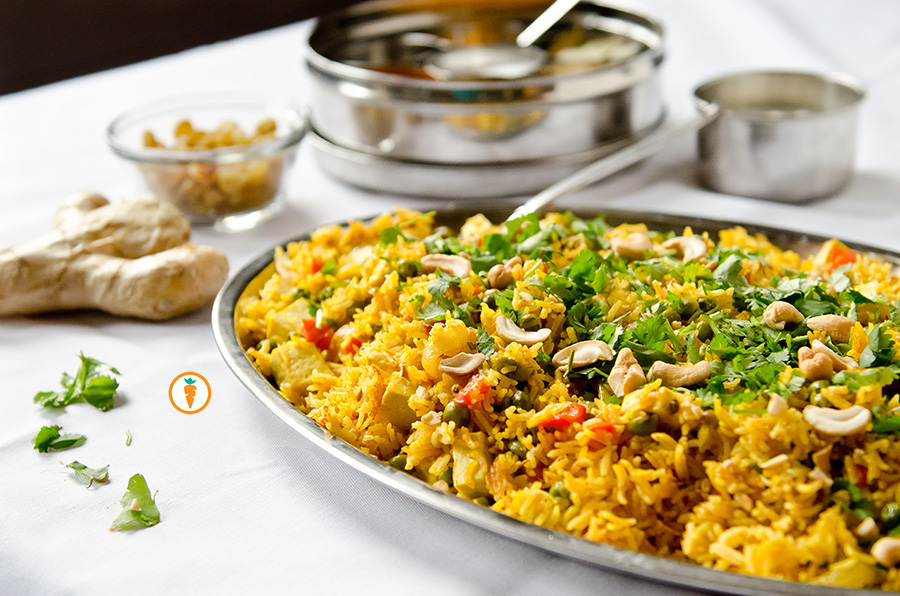
Cooking with Courtney: Indian Spiced Briyani

Birdseye Briyani_Full

Photographed by Courtney of The Fig Tree


A few weeks ago, I had the opportunity to cook with my friend and fellow Winnipeg-based food blogger, Courtney of The Fig Tree. For many years now, Courtney’s eating lifestyle has primarily been vegetarian; however, after struggling with some tummy ailments related to food she limits her dairy intake and is now stepping into a vegan lifestyle. We wanted to learn more about each other, network and of course, have some “girl time”. What better way to bond than by cooking together?

I met Courtney in her beautiful downtown loft and by the time I left, her home smelled divine. I decided to show Courtney some tricks of the trade when it comes to preparing Indian cuisine. I’m a huge fan of one-pot-meals (I mean, who isn’t?) so we opted to make biryani.

Being of Punjabi descent, my mom seldom prepared this dish. It’s not so common in that part of India. I was only exposed to the dish in my adulthood and I would primarily prepare it with chicken for my husband to enjoy. Well, Courtney put me up to the challenge of veganizing the dish. I came, I delivered and man was it good.

To make this a complete meal with adequate protein, I added cubes of pressed tofu. You can also add in edamame beans if that’s up your alley. As far as the rice, I have tried this briyani recipe  with brown basmati rice and the final product was mushy. I’ve also tried using a fifty percent ratio of brown and white basmati rice and the final product was much better. In the end, do what’s best for you. If I’m opting for total white rice, then I typically make an effort to load up on veggies to bump my fibre content.

If you’re interested in viewing the full recipe for Indian Spiced Briyani with Tofu, just click here. Drop a comment and let me know how it turned out for you.

To learn more about vegan lifestyle and nutrition components to be aware of, subscribe to The Fig Tree for my nutrition series.

Courtney, thanks again for inviting me into your home. xoxo.

Nita Sharda, Carrots and Cake

– With Love, Carrots and Cake,
Carrots and Cake Nita Sharda


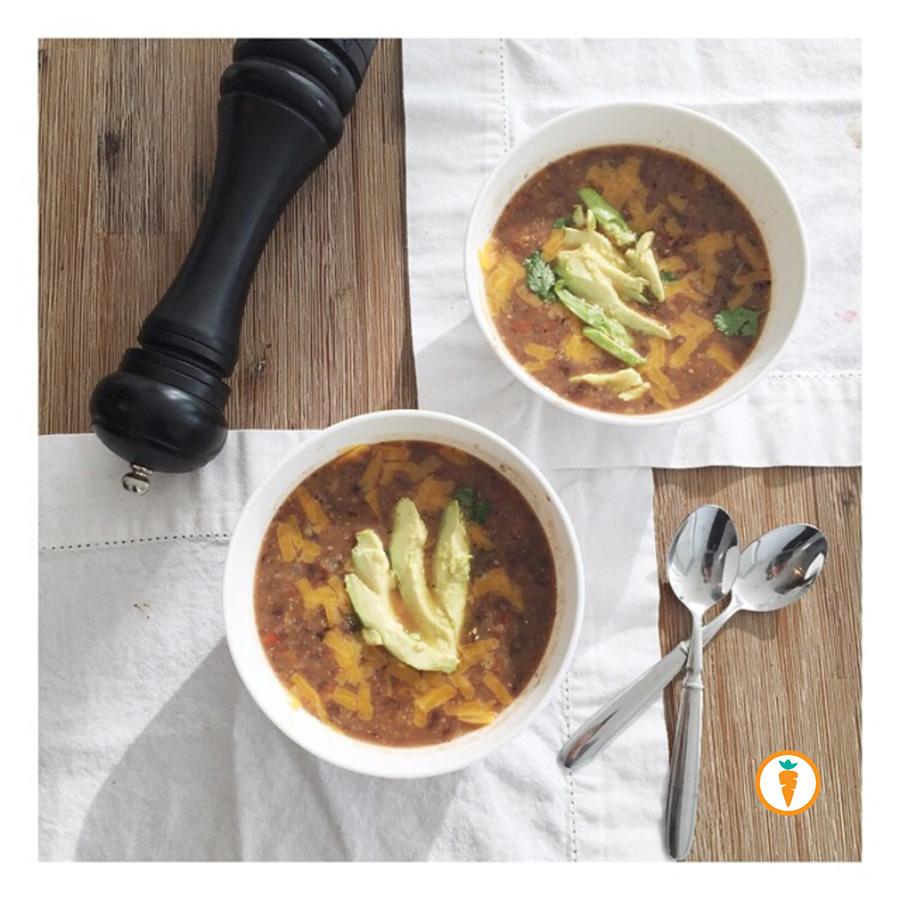
Black Bean Quinoa Stew

Nita Sharda, Carrots and Cake

Beautiful photo captured by a fan of Carrots and Cake. Thanks Sleepwell Bedding!

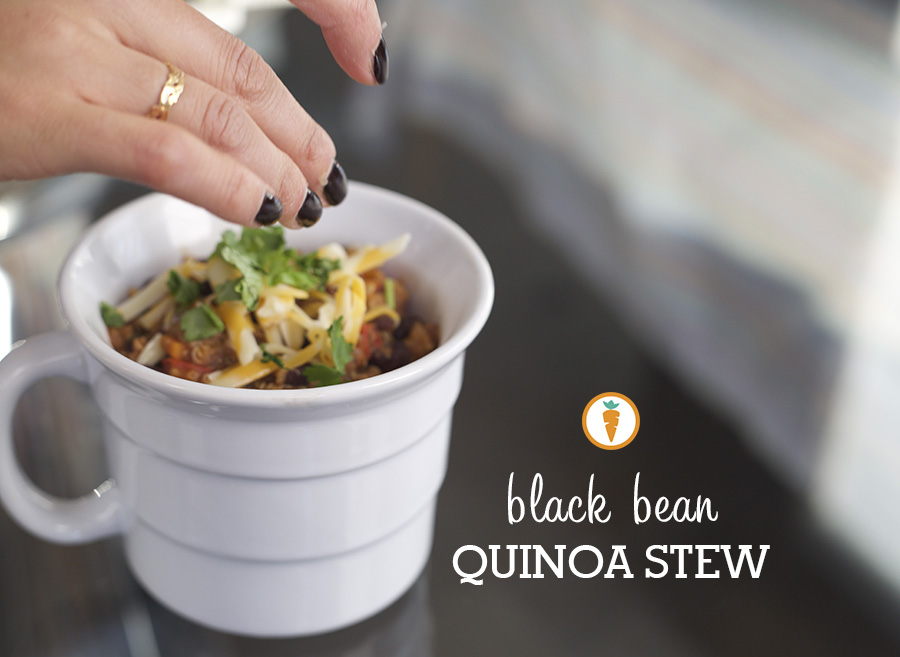
During these warm winter nights, it’s nice to snuggle into bed with a warm mug of stew. Typically, stews centre around a cut or type of meat. They are full of body, flavour and oober satisfying. Now, as a huge proponent of plant based proteins I’m asking you: would you ever try a meatless stew? If the the answer is YES, then boy, you’re in for a treat!

Winter. Warm. Cozy. Perfection. 

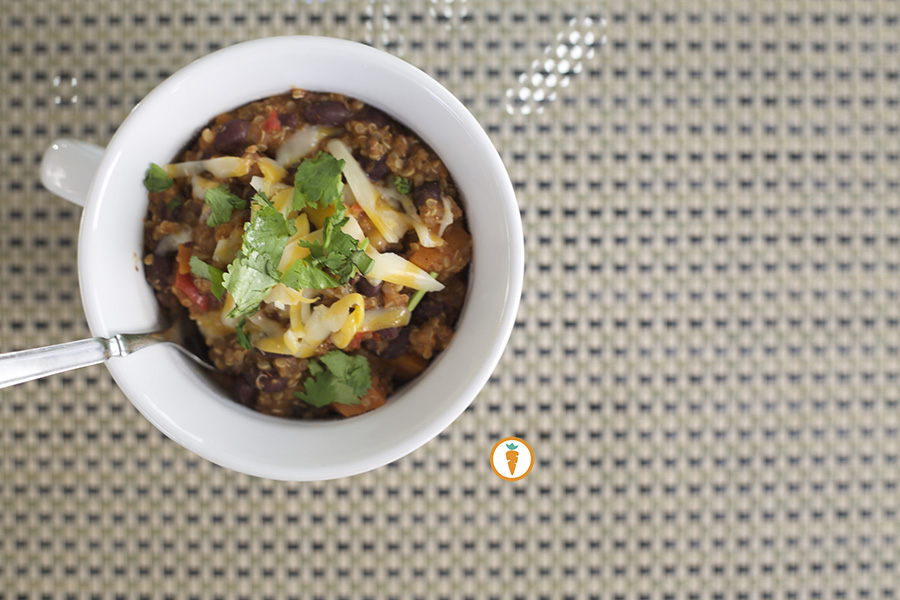
The quinoa stew is straight up not very pretty to look at. But heck, the flavours are amazing and it’s the kind of stew that doesn’t make you feel heavy. What more? It’s pretty much a one-pot-meal; this means no fussing over multiple dishes and skillets. Easy peasy. And, it’s great for freezing.

I enjoy serving this stew when we have house guests over. I assemble bowls that are full of fun toppings such as cheddar cheese, feta, green onions, tomato and avocados. Guests can top their bowl of stew with whatever they like; it’s always a hit.

Okay, okay, the recipe. See below!
Original recipe can be found here.

Black Bean Quinoa Stew
 
Prep time
Cook time
Total time
 
Serves: 5
Ingredients
  • 1 Tbsp extra-virgin olive oil
  • 1 large onion, diced
  • 1 large carrot, thinly sliced
  • 1 red pepper, chopped
  • 2 garlic cloves, minced
  • ⅔ cup uncooked quinoa
  • 3 cups low-sodium vegetable broth
  • 2 - 14 oz cans black beans, drained and rinsed
  • 2 tsp crushed red pepper
  • 1 tsp cumin
  • ¼ tsp black pepper
  • 2 tbsp tomato paste
  • Juice of ½ lime
  • ½ cup shredded white cheddar cheese
  • ⅓ cup chopped fresh cilantro
Instructions
  1. Heat oil in large saucepan over medium heat. Add onion and carrot and cook until softened, about 5 minutes. Toss in red pepper, cook for two minutes.
  2. Stir in garlic and quinoa and toast quinoa until slightly fragrant, about 4 minutes.
  3. Add broth, black beans, black pepper, cumin, and crushed red pepper. Add in tomato paste. Bring to a boil, reduce heat, and simmer until quinoa is tender, about 15 minutes. Stir in lime juice.
  4. Remove half the soup, and carefully purée in food processor or blender until smooth (another option may be to use an immersion blender for approx 15 seconds). I prefer to only blend a portion for more texture.
  5. Return to pan and heat 2 minutes. Divide among serving bowls and garnish with cheese and cilantro etc.

Nita Sharda, Carrots and CakeNita Sharda, Carrots and CakeNita Sharda, Carrots and Cake

– With Love, Carrots and Cake,
Carrots and Cake Nita Sharda

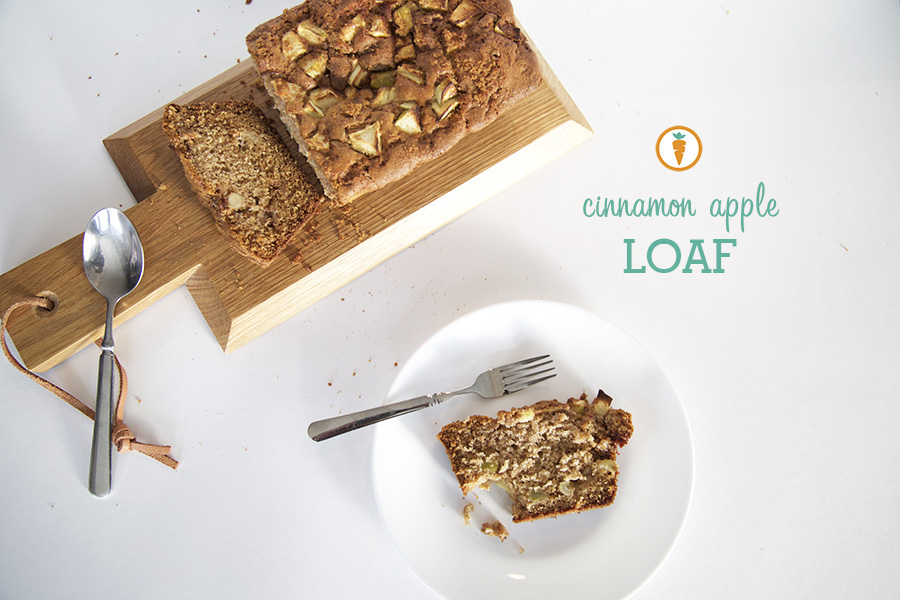
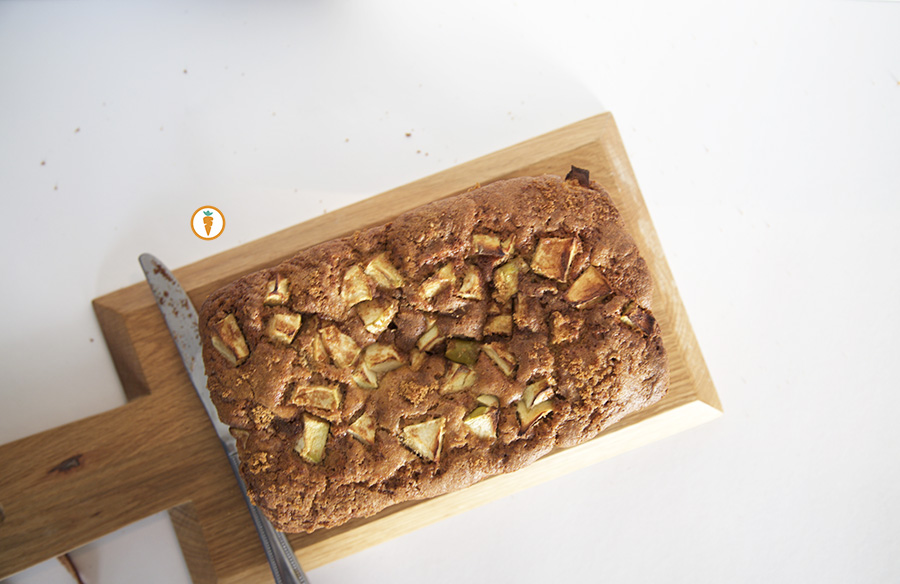
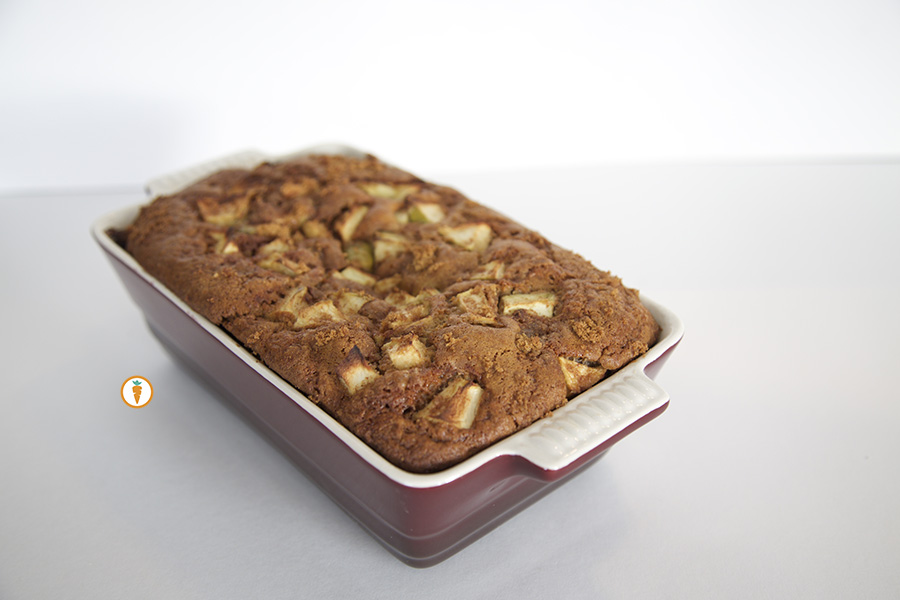
The Better Cinnamon Apple Loaf

Nita Sharda, Carrots and Cake

I’ve been working hard at mastering this recipe; I think I’ve finally nailed it (man, what a good feeling)! The original recipe came from my colleague; she brought her version into work and wow’d everyone. The next day, multiple copies of the recipe floated around my workplace. Eager to make it myself, I grabbed a copy and began making a few tweaks.

And then, the “Dietitian” in me came out.

The original recipe called for only white all-purpose flour and ½ cup of butter. In an effort to increase the fibre content of the loaf I opted to use a bit of whole-wheat flour. Secondly, instead of butter, I used a combination of applesauce and canola oil. But really, you could use the butter if you love that flavor and want to boost the fat content a bit. It really is a versatile recipe.

Note: if you use butter; be sure to really cream it into a smooth consistency for a good quality product.

4.0 from 1 reviews
The Better Cinnamon Apple Loaf
 
Prep time
Cook time
Total time
 
Ingredients
  • ⅓ cup brown sugar
  • 1 tsp ground cinnamon
  • 1 tsp ground nutmeg
  • ½ cup sugar
  • ¼ cup canola oil (or any oil you prefer)
  • ¼ cup applesauce, unsweetened
  • 2 eggs
  • 2 tsp vanilla
  • 1 cup all-purpose flour
  • ½ cup whole wheat flour
  • 2 tsp baking powder
  • 2 tsp baking soda
  • ½ cup milk (or milk alternative)
  • 1 apple, chopped (I used Granny Smith for tartness)
Instructions
  1. Preheat oven to 350 degrees. Grease your loaf pan.
  2. Mix brown sugar, nutmeg and cinnamon in a small bowl, set aside.
  3. In another medium sized bowl beat white sugar, applesauce and oil using a hand blender or beater. Beat until smooth and then one by one add in the eggs and vanilla.
  4. In a large bowl, blend flours, baking powder and baking soda.
  5. Add the wet ingredients to the dry ingredients. Your batter should be smooth, and wet. It won’t look like a whole lot but that’s okay. Don’t over mix!
  6. Pour ½ the batter into the prepared loaf pan. Next, add ½ the apples and ½ the brown sugar and cinnamon mixture.
  7. Lightly pat the apples into the batter
  8. Pour remaining batter of the apple layer, top with remaining apples and finish off with the sugar and cinnamon topping.
  9. Bake in your oven for approximately 30 – 40 minutes, or, until toothpick inserted comes out clean.

After it’s done, hide it somewhere special so your husband doesn’t gobble it down (sorry babe, xoxo). It’s that good.

Nita Sharda, Carrots and CakeNita Sharda, Carrots and Cake

– With Love, Carrots and Cake,
Carrots and Cake Nita Sharda

Tropical Green Smoothie

Nita Sharda, Carrots and Cake

Delicious as part of a meal or a yummy snack!

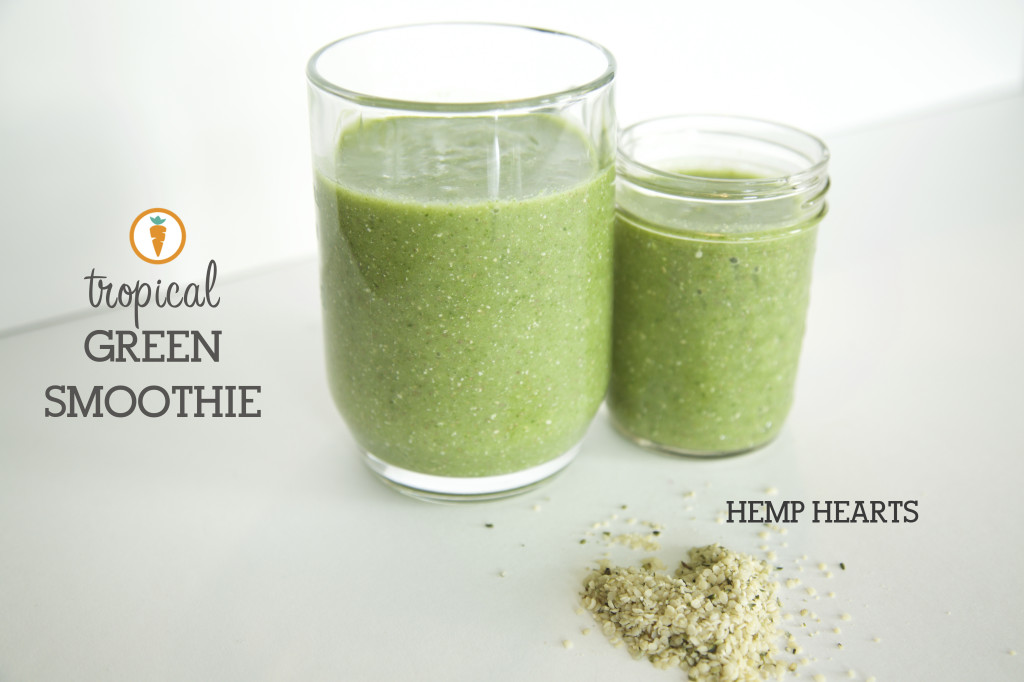
Have you ever tried your hand at a “Green Smoothie?” I was a big skeptic, I mean, it’s green. But don’t let that prevent you from giving it a go; you may very well enjoy it as I did! Heck, it is even husband approved.

Why go green? Adding greens can help you meet your quota of fruits and veggies for the day. But beyond that, green veggies come loaded with additional water content, iron, and fibre; in fact, kale contains a bountiful amount of vitamin C. And, most importantly, you most likely won’t even taste the greens since other flavours usually take over.

This version of a green smoothie is perhaps my very favorite. When you live in Winnipeg, also affectionately known as “Winter-peg,” you sometimes crave a bit of paradise. And voila, this comes close! (Ok, maybe not exactly white-sandy-beaches-paradise, but it kinda sorta tastes like it!).

Tip: Blend your green smoothie in stages. This ensures your green smoothie will be “homogenous”. Blend up your leafy greens and liquid-base first, then you’re ready to add any remaining fruits or veggies.

For more smoothie tips and hacks, be sure visit my friend Jessica Penner’s blog post, here.

I added a few heaping spoonfuls of hemp hearts. These little guys have a nutty flavour and come loaded with protein, fibre and fat; the good kinda fat! And now, for the recipe; makes 2 – 3 portions and keeps well over several days. Enjoy as a meal replacement, a snack or as a post workout beverage.

5.0 from 1 reviews
Tropical Green Smoothie
 
Prep time
Cook time
Total time
 
Serves: 2-3
Ingredients
  • 1 banana, fresh or frozen (should be ripe—frozen banana will make it more creamy)
  • 1 cup pineapple, fresh or frozen
  • 1 cup mango, fresh or frozen
  • 2 cups water (you can also use milk or your favorite milk alternative)
  • 2 cups packed spinach/kale
  • ½ - 1 scoop of your favourite protein powder *optional
  • 1 tbsp ground flax seed
  • 4 tbsp hemp hearts/seeds
Instructions
  1. Blend your chosen green leaves with the water. Liquify for a few seconds until the leaves have emulsified into the water.
  2. This is a good time to blend in your protein if you decide to add some.
  3. Blend remaining ingredients until smooth.

Nita Sharda, Carrots and Cake

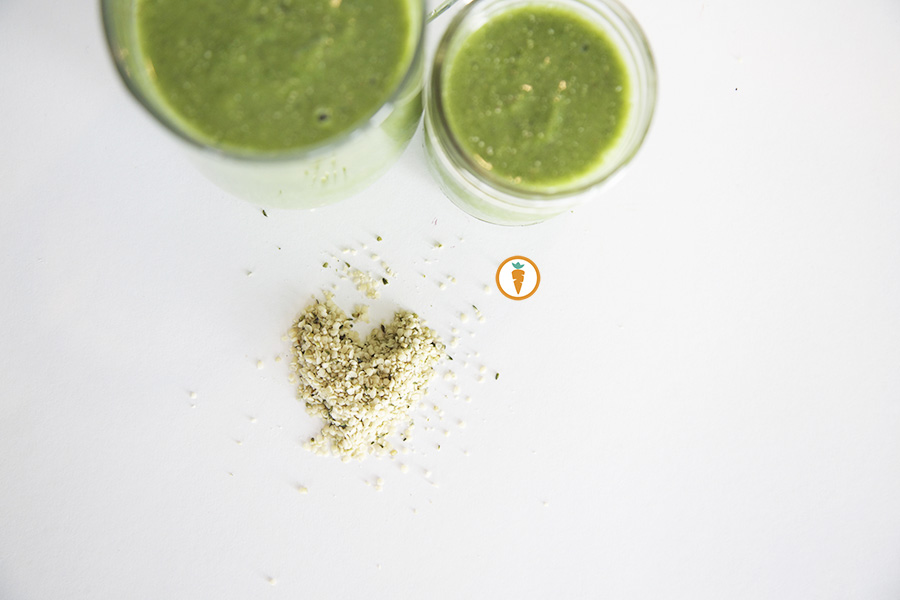
Spot the heart?

– With Love, Carrots and Cake,
Carrots and Cake Nita Sharda


Nita’s Breakfast Muffin

Nita Sharda, Carrots and Cake

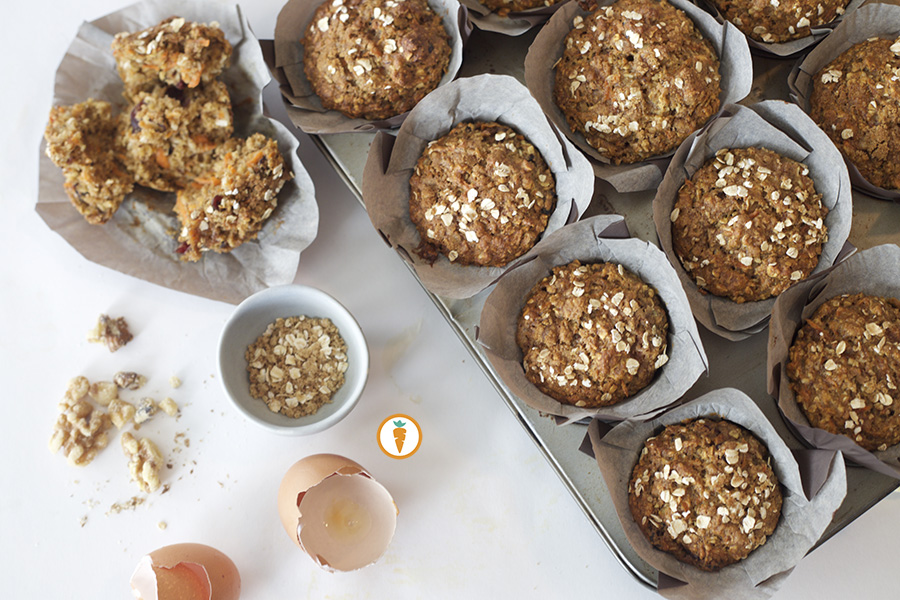
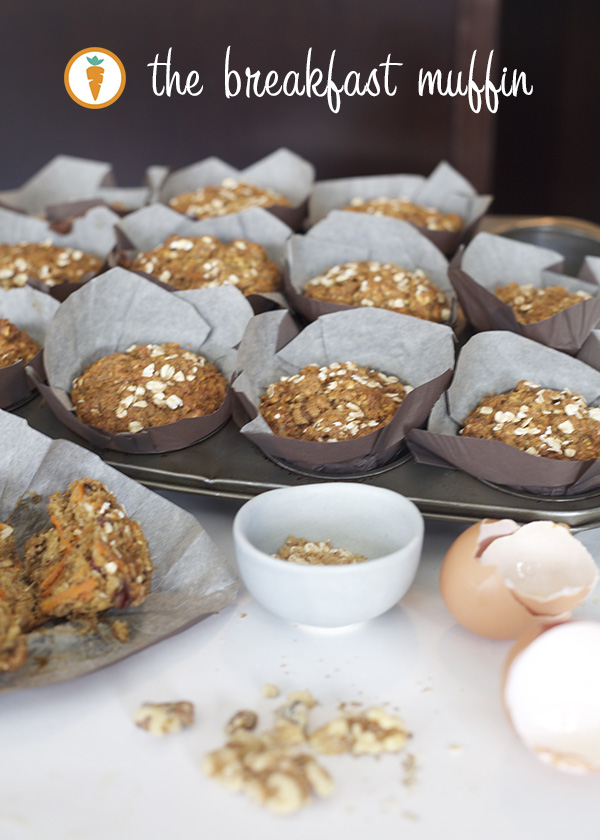
Whole wheat. Fruit. Veggies. Nuts. What more?

It’s the holiday season. In a short few weeks Santa will be here, the turkey will be roasting, lights will be glimmering and families will be celebrating. How do you celebrate with food during this season? I have fond memories of watching the women in my family cook stacks and stacks of fresh roti. All of us kids would line up for the buffet of fresh Indian cuisine. Nope, no turkey for us. But I didn’t mind this so much; my mom was creating her own tradition in the way that she knew best.

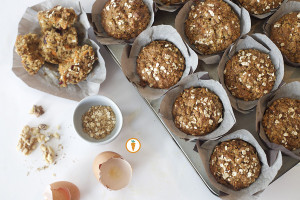
Now here I am. In my twenty something, married and trying to create my own traditions. On the morning of Boxing Day, my friends and I gather around for brunch. These are special moments as so many of us live in other provinces and even in other countries. It is expected that each guest bring something. What do I bring? My infamous Breakfast Muffins pictured above (and below).

While you’re in the kitchen prepping to bake yummy goodies for the holiday season, try your hand at these muffins. You’ll love them. I promise.

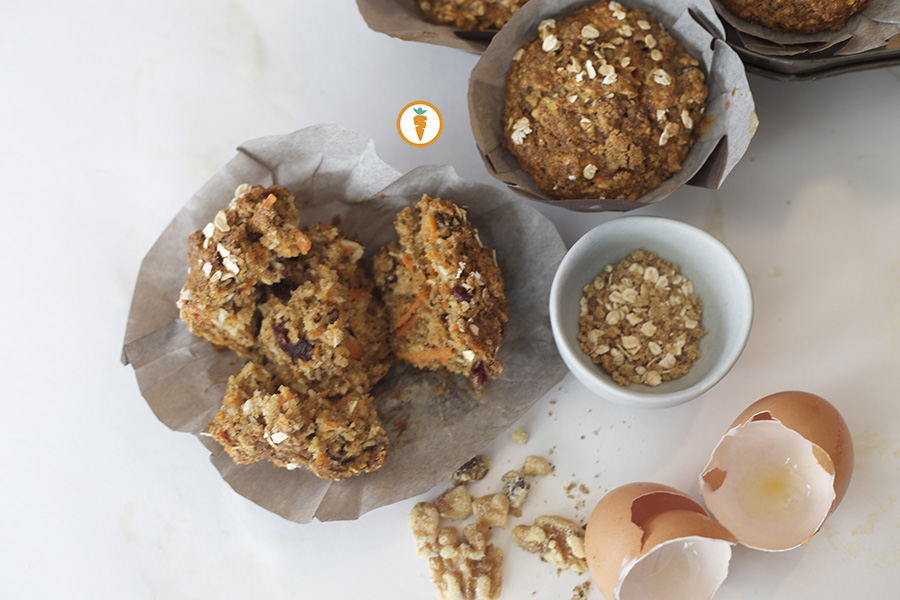
These muffins are nothing short of being healthy and oh so nutritious. Loaded with fibre, bursts of flavor and great texture, they are seriously to die for. Now really, you don’t HAVE to eat them only at breakfast time. They make for a great dessert and a yummy snack too. Oh, did I mention they are toddler approved? My little niece loves them.

5.0 from 1 reviews
Nita's Breakfast Muffin
 
Prep time
Cook time
Total time
 
Serves: 12
Ingredients
  • 1 ½ cups whole wheat flour
  • 1 cup quick oats
  • ¾ cup brown sugar
  • 2 tsp baking soda
  • 1 tsp baking powder
  • 1 tsp nutmeg
  • 1 tsp cinnamon
  • ⅓ tsp salt
  • 2 cups grated carrot (about two medium sized carrots)
  • 1 large ripe banana, mashed
  • ½ cup dried cranberries
  • ½ cup chopped walnuts
  • ½ cup unsweetened coconut, shredded
  • 2 eggs
  • 2 tbsp canola oil
  • ¾ cup apple sauce
  • 2 tsp vanilla
  • ½ cup milk
Instructions
  1. Preheat oven to 350 degrees.
  2. Coat a 12-cup muffin tin with cooking spray or liners.
  3. In a large bowl, whisk together the flour, oats, brown sugar, baking soda, baking powder, cinnamon, nutmeg, salt, dried cranberries, walnuts and coconut.
  4. In a bowl, blend the banana, carrots, eggs, canola oil, applesauce, vanilla and milk.
  5. Add wet ingredients to dry and mix until just combined. Divide among muffin tins. I always like to load mine up to the top for bigger muffins.
  6. Bake until toothpick comes out clean—approx 23 – 25 minutes. Cool, and enjoy!

This recipe was adapted from a variety of “Morning Glory” recipes I came across. With my own personal substitutions and additions, this is what I came up with! If you like this muffin, you’ll probably also love my Pumpkin Pecan Muffins.

Nita Sharda, Carrots and Cake

Up, close and personal.

Nita Sharda, Carrots and Cake 

– With Love, Carrots and Cake,
Carrots and Cake Nita Sharda

GNI Feature: Easy, Fancy, Grown Up (but not really) Party Snack Ideas


Nita Sharda, Carrots and Cake

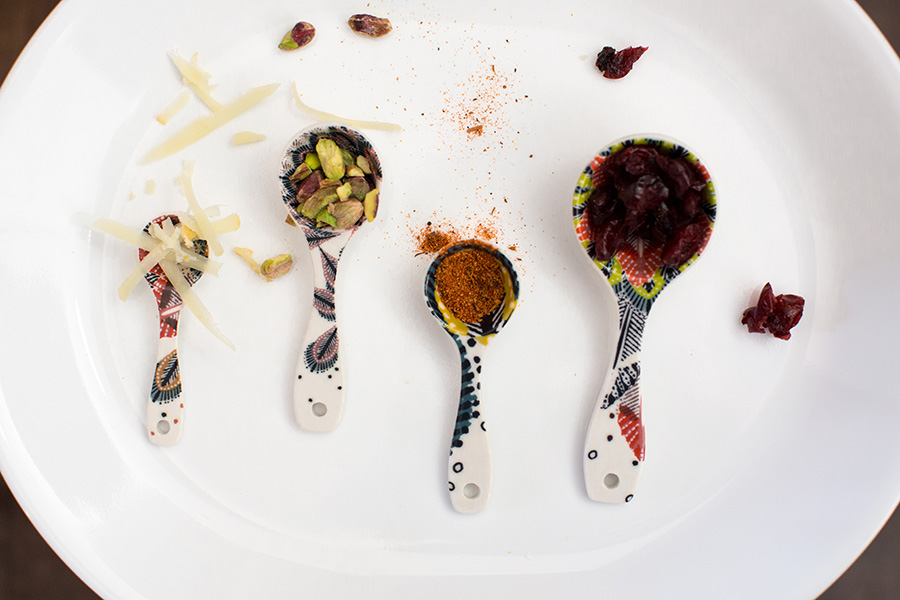
Pretty spices.

This post will mark the finale of the Girls Night In feature that was running on the Carrots and Cake blog over the past few weeks. As we bid farewell to what was a short but sweet summer, I’m hoping I can look forward to the fall season with open arms and that I can introduce you to some of my favorite fall recipes.

If you’ve ever hosted a girls night or any form of entertaining you know that multitasking is a skill you’ll need to really hone in on. Preparing in advance will save you from feeling overwhelmed and what I want to talk to you about is selecting a few quick n’ easy munchies that you can whip up in minutes!

The Cheese Plate

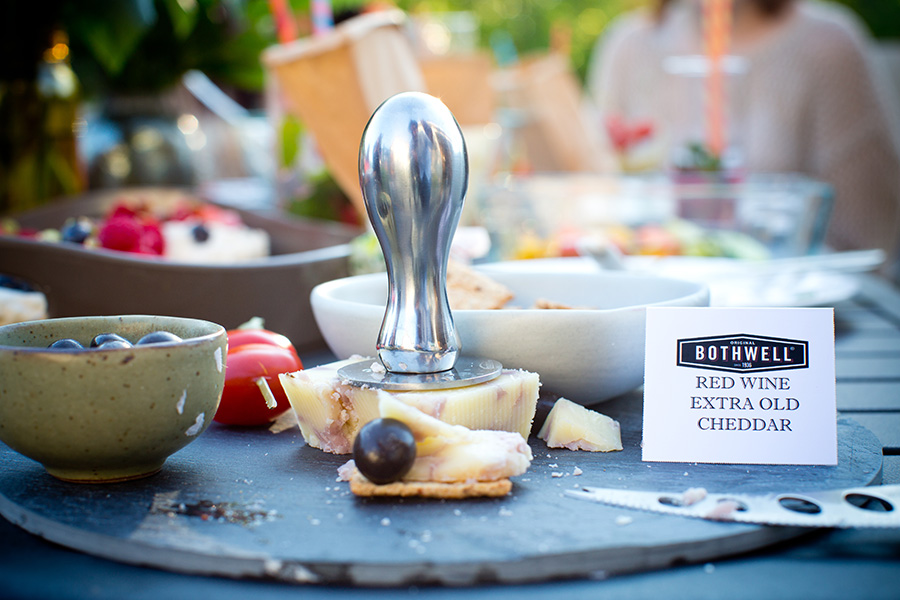
Putting together a cheese plate takes very little time and effort. It’s a great way to serve a dairy product in a sophisticated way for guests to enjoy or nibble on while the rest of your items are getting prepped. Cheese often gets a bad rap for its high fat content but people forget how rich it can be in nutrients like calcium, vitamin B12 and protein. For my girls night, I served up a variety of cheeses generously donated by Bothwell Cheese – the finest cheese makers in Manitoba! I take great pleasure in sourcing local food products. My favorite is the classic marble cheese but when I’m feeling adventurous I enjoy snacking on the Jalapeno Pepper Jack

I often pair my cheese plate with whole grain crackers such as Mary’s Gone crackers but you can also utilize a crusty baguette, raisin bread, sourdough or pumpernickel. Just remember the idea is not to overwhelm the taste of the cheese – check out the Dairy Goodness site for more information on entertaining with cheese. It’s also fun to pair cheese plates with pickles, roasted garlic, dark chocolate, nuts and dried fruit. What’s your favorite way to enjoy cheese?

Nita Sharda, Carrots and Cake

Thanks again Bothwell Cheese.

Parmesan Popcorn 

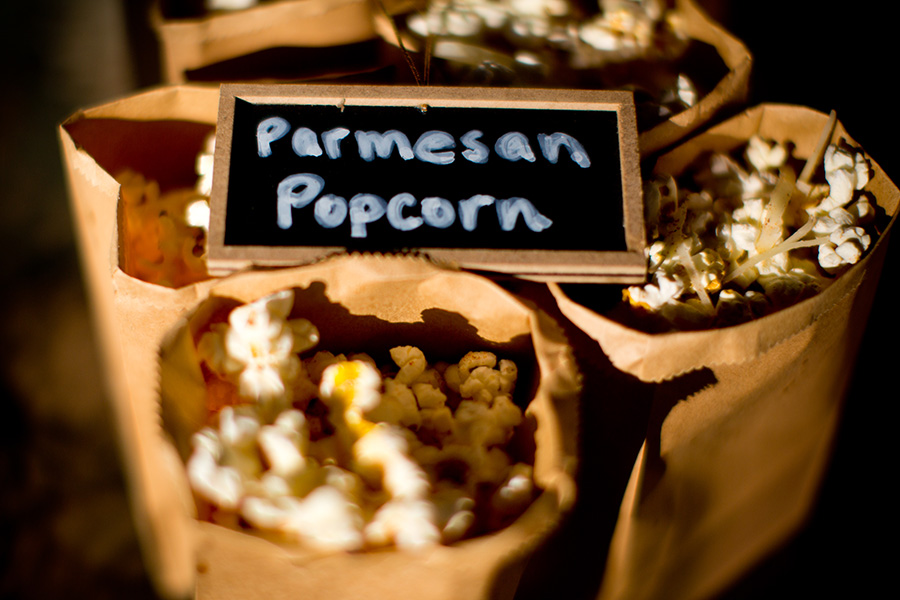
Popcorn isn’t just for the movies–you can pop a modest portion and top it with unique ingredients to create fun flavours. I’m a big believer that popcorn is the most versatile food out there. Popcorn is a totally unprocessed whole grain that also contains fibre. You can enjoy it sweet or savoury. Nix the pre-packaged microwave, store-bought, and movie theater varieties which are usually laced with a ton of additives, fat and salt. Instead, air-pop a handful of kernels in a dab of fat such as butter, olive oil or even coconut oil. The Food Network has an easy microwave method if that’s the route you’d like to take or you can pop it on the stovetop.

I had a guest who brought over a super-duper-awesome popcorn maker which made it really easy to prepare popcorn. It’s not necessary to buy a fancy popcorn maker but if you’re interested, they can be purchased for extremely affordable prices, usually less than $20.00. I packaged the popcorn into cute little sandwhich bags and topped the mixture with cayenne pepper and Bothwell Cheese Smoked Parmesan.

As far as toppings, here are a few that I personally enjoy, but the list could be endless:

  • Nutritional yeast
  • Cayenne pepper
  • Cinnamon + Vanilla extract
  • Garlic powder
  • Parmesan Cheese

CnC_gni popcorn Carrots and Cake, Nita Sharda

p.s. If you haven’t already checked it out, this is a short snippet of what my #gni looked like. Enjoy!


                 – With Love, Carrots and Cake,
 
 Carrots and Cake Nita Sharda


GNI Feature: Jalapeno Spiced Hummus

Carrots and Cake, Nita Sharda

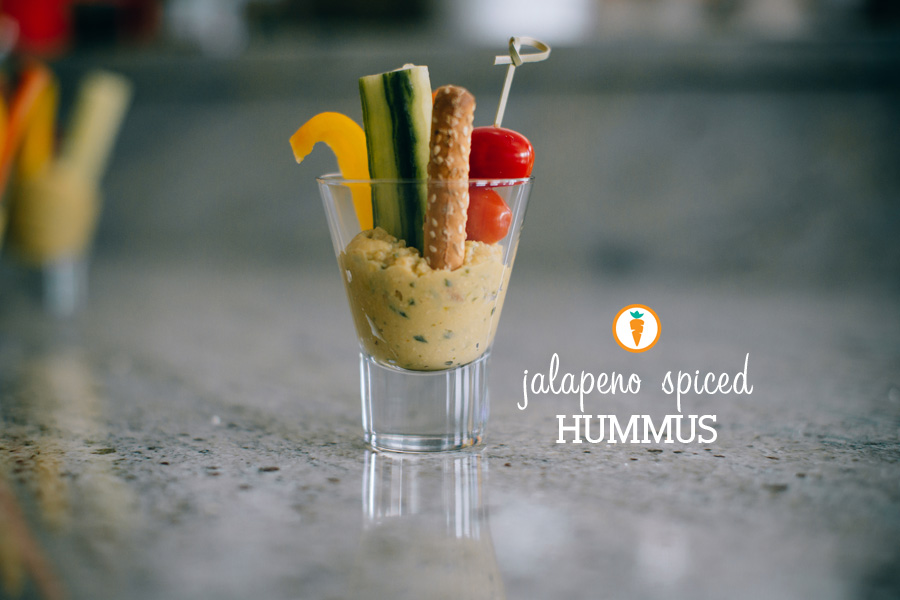
Perfectly spiked and ready to enjoy.

Today I’m thrilled to share the first of a recipe series from the girls-night-in (GNI) I hosted a few weeks back. The recipe below is for hummus which is often used as a spread or dip. The main ingredient is chickpeas and often most recipes contain tahini. Because tahini isn’t a staple in my home, I opted to create a hummus spread without it. The base of this recipe came from my glob-trotting, foodie-extraordinaire, yogi friend (also a fellow Dietitian), Allie of Balanced with Allie.  It’s the kind of recipe you can spike with multiple flavors: chilli, sun-dried tomatoes, garlic or caramelized onion–yum! The options are endless.

I’m particularly fond of hummus because unlike many commercial spreads and dips, it’s not loaded with starches, sodium, fat or cheap ingredients. It’s also a great way to incorporate more beans and legumes into your lifestyle if these aren’t foods you typically cook with. Not to mention, it’s super easy to put together. All you need is a blending device or an immersion blender! Hummus also freezes well – yaay for batch cooking!

Enjoy!

Jalapeno Spiced Hummus
 
Prep time
Total time
 
Ingredients
  • 1 15oz can garbanzo beans, rinsed and drained
  • 2 tablespoons lemon juice
  • 1 - 2 garlic cloves
  • 1 tsp salt
  • paprika (optional)
  • cilantro (optional)
  • 1 pickled jalapeno
  • 1 - 2 tbsp picked jalapeno juice
Instructions
  1. Drain and rinse garbanzo beans.
  2. Combine all ingredients into food processor and blend until consistency is smooth.
  3. Add additional water or lemon juice as needed.
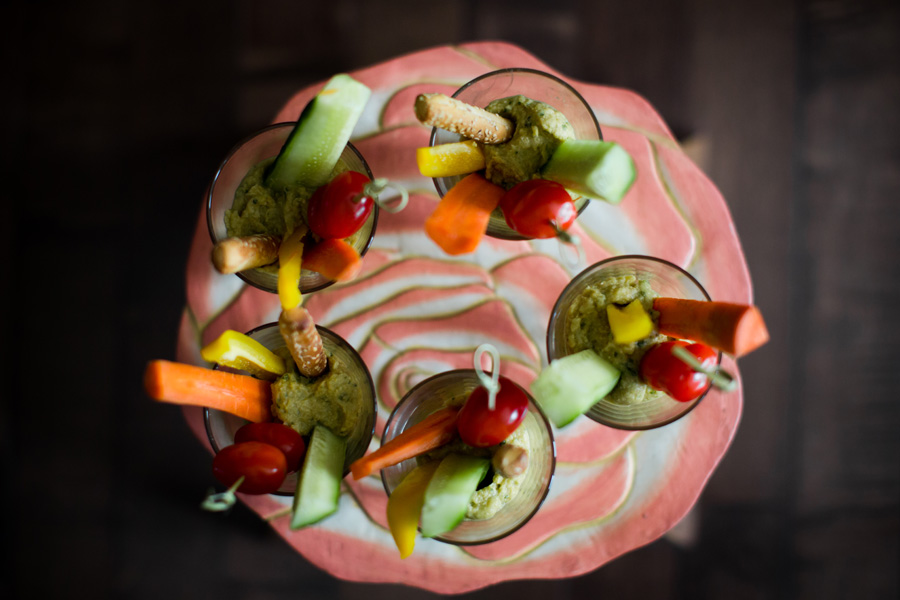
  4. Serve with veggies, pretzels, wholegrain crackers or use as a spread on wraps, sandwiches or even as a "pizza sauce" (yes, it's yummy)!

Oh, and just incase you missed the magical video that my friends at Samba Joy created for me, see below!

A few more photos, snapped by the talented Samba Joy

Carrots and Cake, Nita ShardaCarrots and Cake, Nita ShardaCarrots and Cake, Nita Sharda

                 – With Love, Carrots and Cake,
Carrots and Cake Nita Sharda

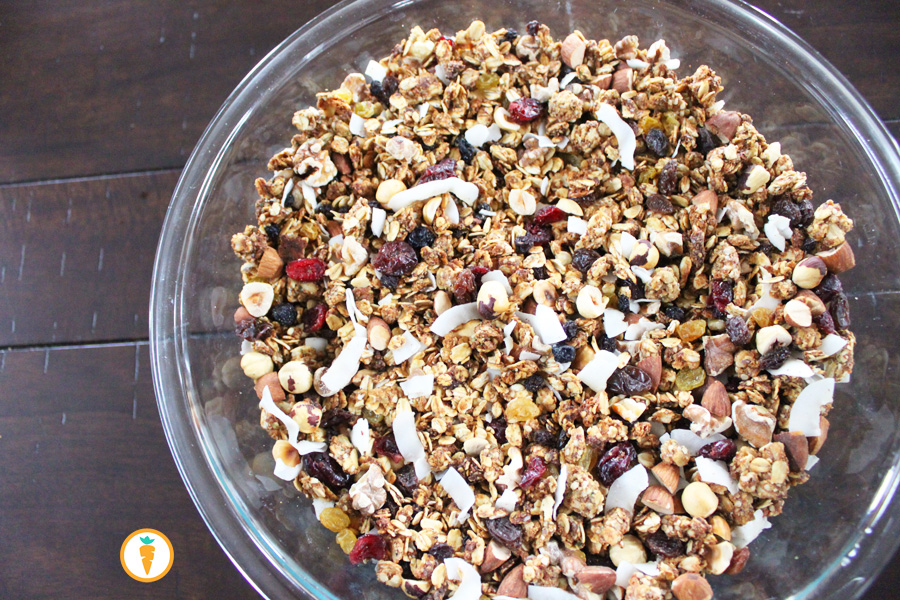
The Everything Granola

Carrots and Cake, Nita Sharda

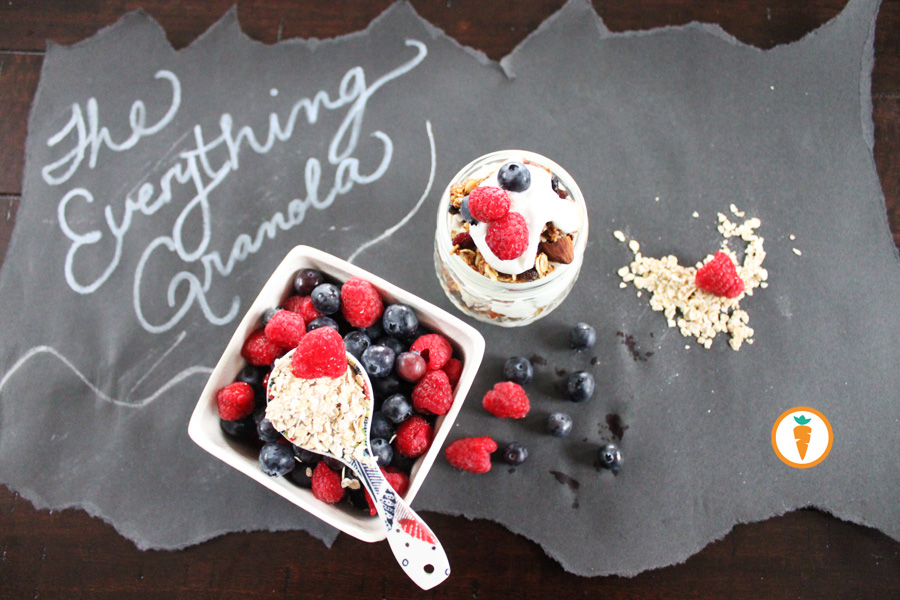
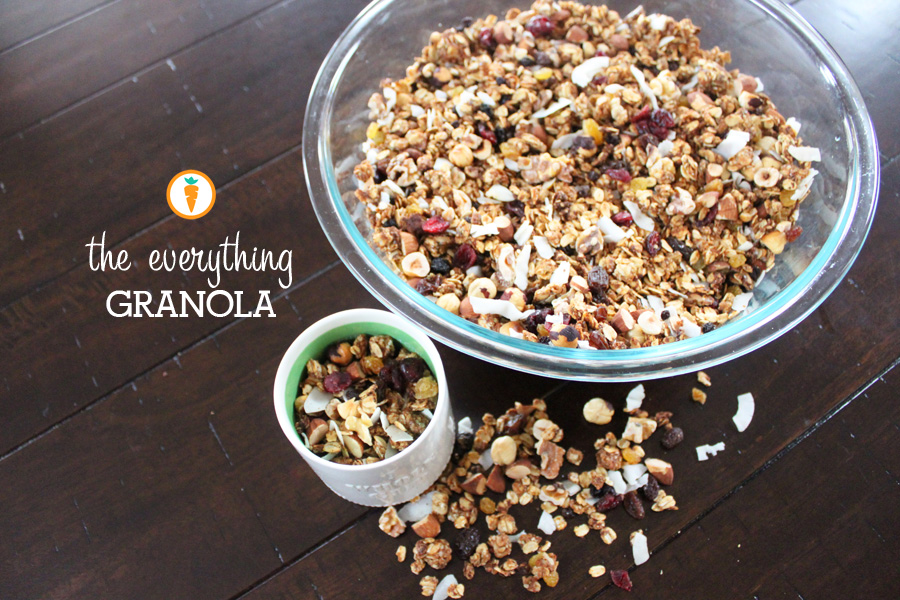
All things good, right here.

Yes, EVERYTHING. This version of a granola recipe is incredibly functional and flexible, not to mention highly addictive. You can mix in different nuts, experiment with a variety of grains such as barley flakes or add in unique dried fruit such as chopped apricots, coconut or even dried blueberries. The options are truly endless which makes this all the more fun.

More and more I’ve been trying to intentionally incorporate Hemp Hearts into my diet. They have a creamy mouth feel and a nutty flavor to them that is irresistible. This is a fairly new seed that is gaining popularity across the nation, and, for the right reasons. The great thing about Hemp seeds is that they are a great option for vegetarian folks that are trying to meet their protein requirements. It’s nutrition profile is quite amazing–beyond the protein, it is also a great source of fibre and those coveted healthy fats (omega-3 and omega-6) which contain anti-inflammatory properties. Okay AND, Manitoba happens to be one of the most successful producers of hemp hearts in North America, HOLA!

Okay, back to business. Enjoy this recipe:
The Everything Granola
 
Prep time
Cook time
Total time
 
Serves: Lots.
Ingredients
  • ½ cup walnut halves or pecans
  • ½ cup hazelnuts
  • ½ cup almonds
  • ⅔ cup almond butter
  • ½ cup honey or agave nectar
  • 2 tbsp canola oil
  • 6 cups old fashioned rolled oats
  • ½ cup wheat germ
  • ½ cup ground flax seeds
  • ½ cup hemp hearts or hemp seeds
  • 1 tbsp cinnamon
  • ½ cup flaked unsweetened coconut (optional)
  • 1 cup dried fruit (chopped dates, raisins, dried cranberries etc)
Instructions
  1. Spread walnuts, hazelnuts and almonds on a baking sheet. Toast in preheated oven for about 8 minutes or until lightly browned at 350 degrees. Caution: be sure to keep an eye on them to prevent the nuts from burning. Remove from the oven, allow them to cool and chop coarsely.
  2. In a medium microwave-safe bowl, stir together almond butter, honey, and oil. Microwave on high for about 45 seconds or until bubbly. Give this liquid mixture a good stir and set aside.
  3. In a large bowl, stir together oats, wheat germ, hemp hearts, flax seed and cinnamon. Pour the warm honey mixture on top of the grain mixture and mix well.
  4. Cover a baking or cookie sheet with Parchment paper and spread the mixture evenly across the pan. Depending on the size of your pan, you may need to use two.
  5. Bake for 30 minutes but be sure to stir the granola every 5 minutes to ensure it is all evenly cooked. Your house should smell like heaven by now.
  6. Once the granola is cooked through, allow it to cool. Place the mixture into a large bowl and stir in chopped nuts, coconut (if used) and dried fruit.
  7. Store in an air tight container, it keeps well for several weeks!
 Let me know what changes you’d make, and don’t forget to leave a comment below or subscribe to the blog!

Carrots and Cake, Nita Sharda

 Carrots and Cake, Nita Sharda       

                  – With Love, Carrots and Cake,
Carrots and Cake Nita Sharda