
Very Berry Pavlova
Pavlova – I was first introduced to this delicate dessert by a dear friend of mine. She’s the kind of friend who, no matter what, will always handcraft a dessert when we visit. No, she’s not the cake-mix kinda gal. She’s the whip your own whipping cream, chop berries and use a springform pan kinda woman. I like her. Okay I lied, I love her.
If you haven’t yet tried pavlova, you’re missing out. I prefer homemade versions over those sold in stores or at other restaurants. It’s a dessert that really needs to be enjoyed when it’s fresh. Each mouthful is packed with sweetness (but not too much), a cool touch of whipping cream and burst of fresh flavor from the fruit you use. I added pistachios to my final product to add a bit of a crunch, and color. If you want to go nut-free, by all means, go for it!
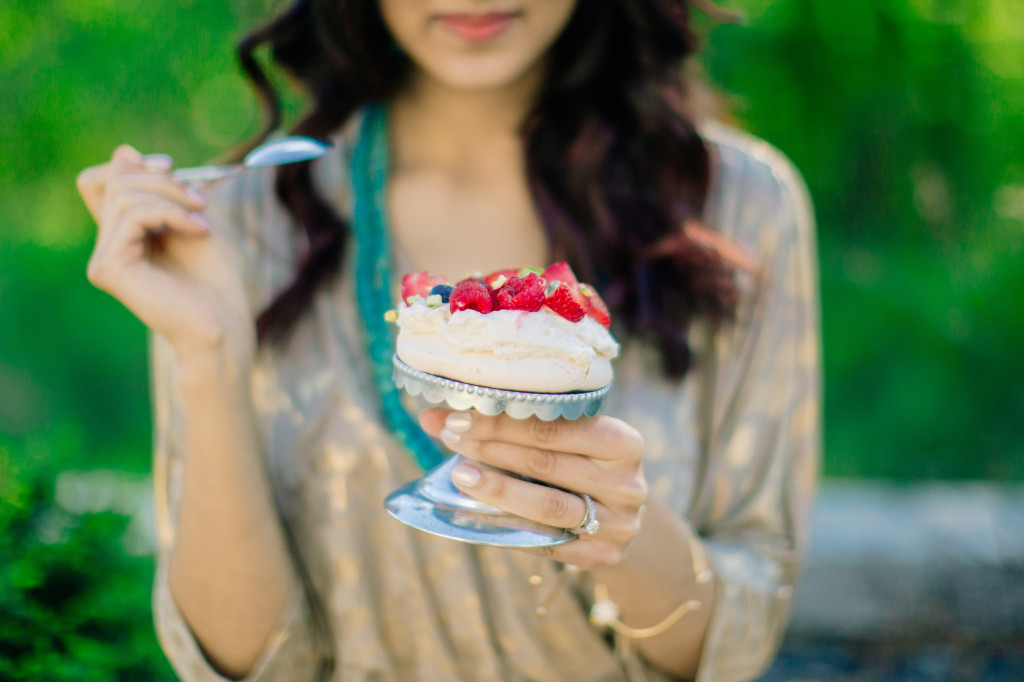
Now, when it comes to dessert, this is full-fat, full-sugar. There’s no “lightening” up when it comes to pavlova (or atleast I haven’t tried). It’s an all-in kind of dessert. Does that make me feel badly? Of course not. Pavlova takes a gentle touch and I’d much rather prefer to spend as much time enjoying it as I took to prepare it. In situations like this, I always allude to something Michael Pollan wrote about in his book, Food Rules. He mentioned that french fries are often enjoyable. But, when you take time to prepare them by hand it can become quite labour-some. When you’re feeding a family that can amount to a lot of time and energy to hand-prepare fries if you’re serving them several times a week. So would you necessarily make french fries regularly? Probably not. But once every 6 – 8 weeks, sure! That’s how I feel about pavlova.
I was never raised in a family that placed emphasis on desserts. I remember my parents serving something sweet only “once in a while” in between birthdays. Looking back, since discovering pavlova roughly four years ago, I’ve probably only made it a handful of times. So, like I said, I go all in.
I hope you have the opportunity to enjoy this recipe and dessert as much as I do. It’s a definite crowd pleaser. You can bake it into what shape or size you wish. I changed things up by making a 4″ pavlovas. The recipe was sourced from The Joy of Baking website. And fair warning, prepare to make the pavlova 4-5 hour prior to serving, you’ll need time for it to cool slowly in the oven. See below:
- Pavlova
- 4 large egg whites
- 1 cup superfine sugar
- ½ tsp pure vanilla extract
- 1 tsp white vinegar
- 2 tsp cornstarch
- Topping:
- 1 cup whipping cream
- 1½ tbsp granulated white sugar (or to taste)
- ½ tsp pure vanilla extract
- Fresh fruit of your choice- kiwi, strawberries, raspberries, blackberries, passion fruit, peaches, pineapple, mango etc.
- Preheat oven to 250 degrees F and place rack in center of oven. Line a baking sheet with parchment paper and draw a 7 - 8 inch circle on the paper. Turn the parchment paper over so the circle is on the reverse side.
- In the bowl of your electric mixer, with the whisk attachment, beat the egg whites on medium speed until they hold soft peaks. Start adding the sugar, a tablespoon at a time, and continue to beat, on high speed, until the meringue holds very stiff and shiny peaks (about 5-6 minutes). Test to see if the sugar is fully dissolved by rubbing a little of the meringue between your thumb and index finger. The meringue should feel smooth, not gritty. If it feels gritty the sugar has not fully dissolved so keep beating until it feels smooth between your fingers.
- Beat in the vanilla extract.
- Sprinkle the vinegar and cornstarch over the top of the meringue and, with a rubber spatula, gently fold in.
- Spread the meringue inside the circle drawn on the parchment paper, smoothing the edges, making sure the edges of the meringue are slightly higher than the center; you want a slight well in the center of the meringue to place the whipped cream and fruit.
- Bake for 60 to 75 minutes or until the outside is dry and is a very pale cream color. Turn the oven off, leave the door slightly ajar, and let the meringue cool completely in the oven.
- The outside of the meringue will feel firm to the touch, if gently pressed, but as it cools you will get a little cracking and you will see that the inside is soft and marshmallowy.The cooled meringue can be made and stored in a cool dry place, in an airtight container, for a few days.
- Just before serving gently place the meringue onto a serving plate.
- Whip the cream in your electric mixer, with the whisk attachment, until soft peaks form. Sweeten with the sugar and vanilla and then mound the softly whipped cream into the center of the meringue.
- Arrange the fruit randomly, or in a decorative pattern, on top of the cream. Serve immediately as this dessert does not hold for more than a few hours.
A few more drool-worthy photos by: Samba Joy Photo & Art.

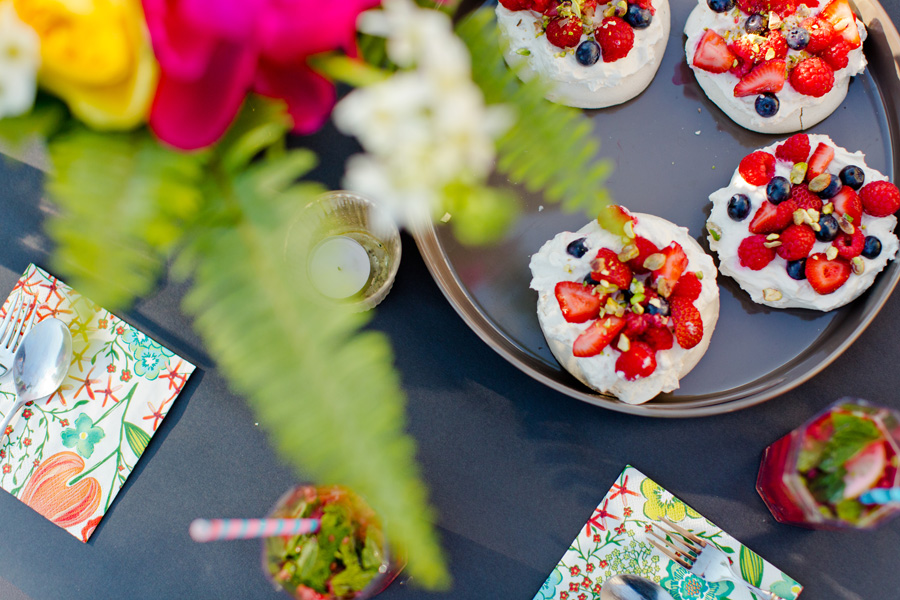
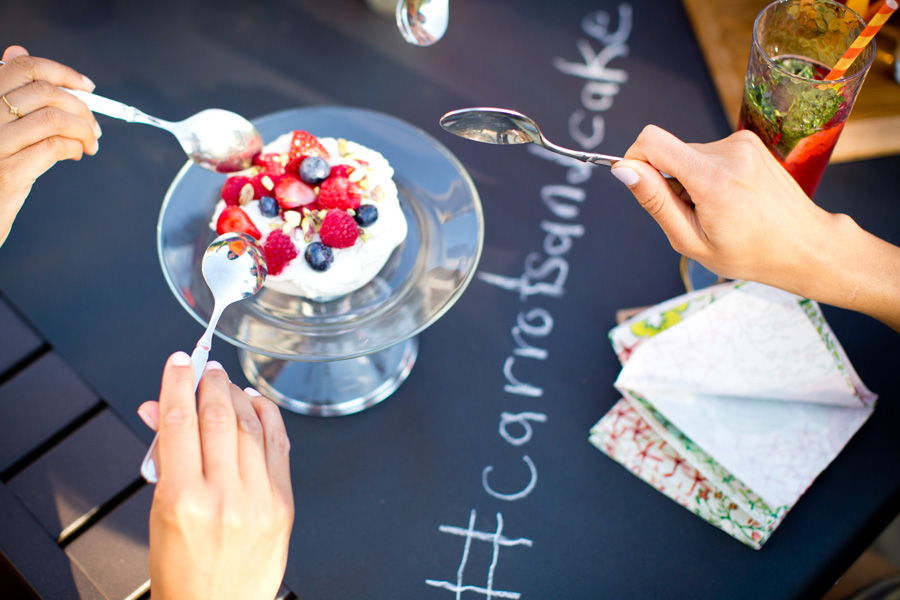
Here we go, all in!
Oh, and just incase you missed the magical video that my friends at Samba Joy created for me, see below!
– With Love, Carrots and Cake,


hi nita i saw your new recipe very berry pavlova looking good and colourful beside that you look more beautiful when can we try your new recipe
Thanks dad!