Thai Quinoa Salad

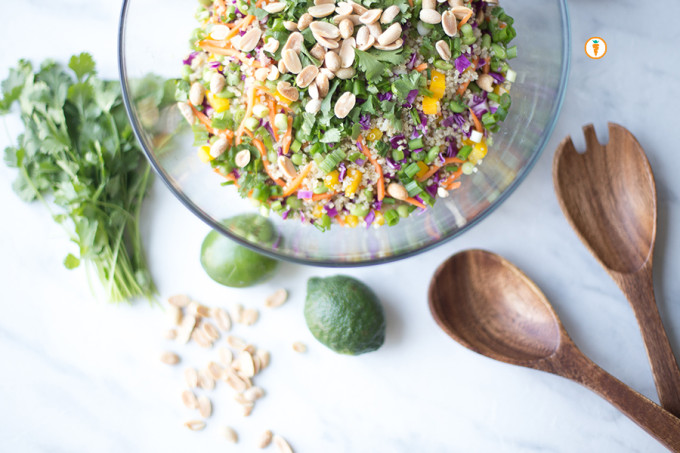
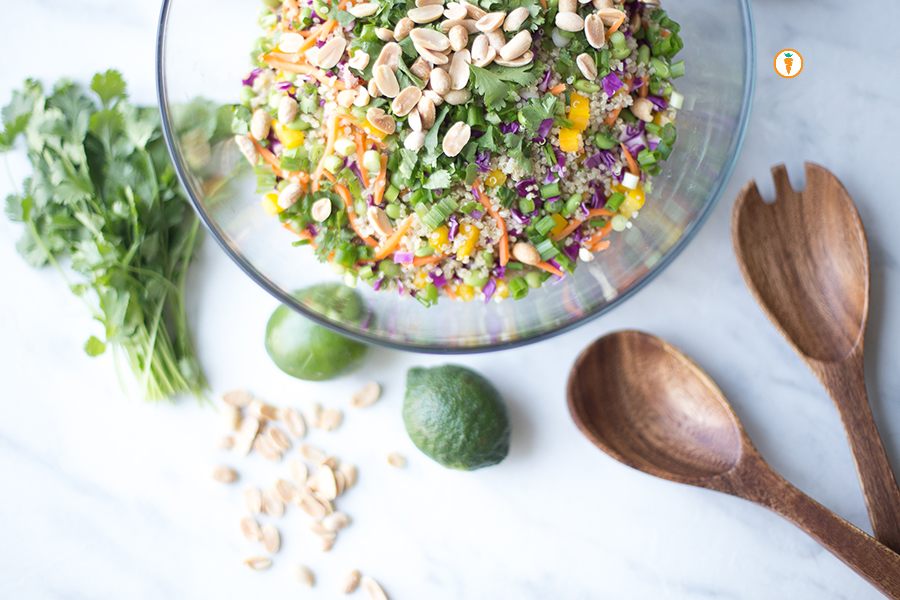
Nita Sharda, Carrots and CakeI love quinoa. But I’m really not a fan of it by itself. Are you? My preference is to enjoy it when it’s “mixed” into something like a pesto quinoa salad or as a pilaf with garlic mushrooms. Mmmmm. I’ve been making this version of a Thai quinoa salad for years now but never really took the time to standardize the recipe. With some encouragement from friends and family, I finally did it.

Here are my pre-requisites for a quinoa salad:

I want it to be hearty enough to be a meal, so I need a solid source of protein. Enter the edamame bean! A ½ cup serving of edamame beans is about 12 grams of protein.

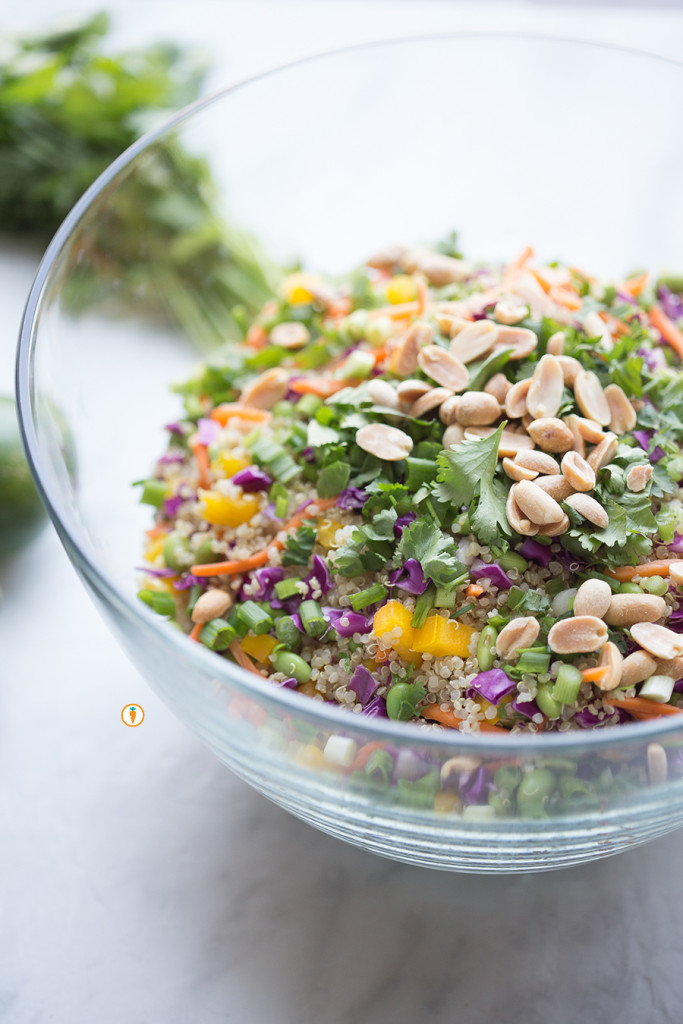
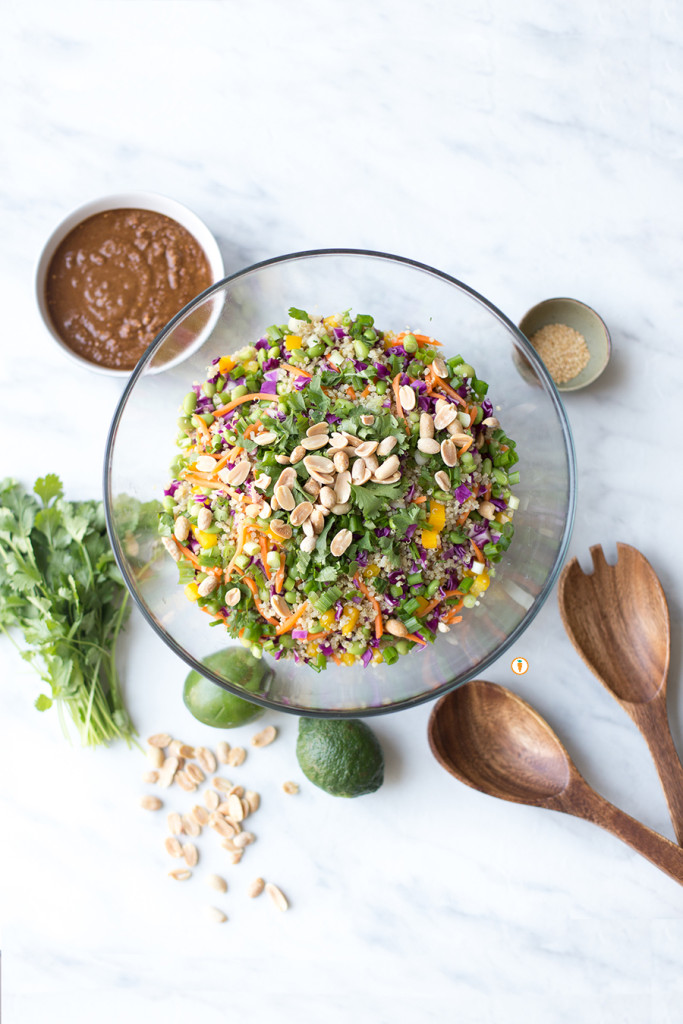
I want color. I eat with my eyes so against the quinoa I wanted to see some yellow, red, purple and green. A colorful meal also means I’m feeding my body variety of nutrients.

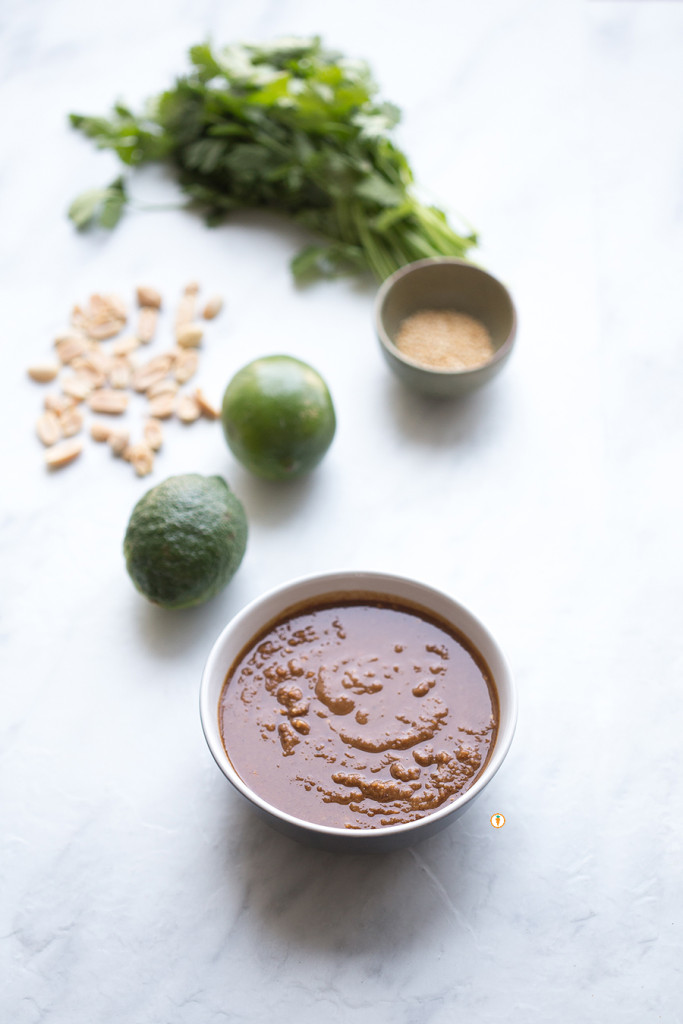
I want a good-for-you dressing. I’m not fearful of fat and my mantra has always been: it’s not the quantity of fat you eat, it’s the quality. The dressing for this recipe is largely based on peanut butter. Go for a natural PB that isn’t loaded with added fats, sugar or salt. The dressing also has lovely hints of ginger which is great for digestion and amping up the flavor of this salad.

I want it to still be good the next day. C’mon, we all know many salads don’t hold up more than 24 hours. Not this recipe! I prefer to keep the dressing on the side and pour on more as I need it. The quinoa salad itself stays perfectly fine for 3 – 4 days when kept refrigerated in an air-tight container.

This recipe is a hit, no matter where I go. My vegan and vegetarian friends and mama’s all LOVE it. It’s perfect for weekday lunches, as a side or for sharing at a potluck.
Nita Sharda, Carrots and CakeThai Quinoa Salad_vertical

Okay, okay, recipe below!

4.0 from 2 reviews
Thai Quinoa Salad
 
Prep time
Cook time
Total time
 
Ingredients
  • Salad:
  • 1 cup uncooked quinoa
  • 2 cups shredded red cabbage (we like to chop it pretty small)
  • 1 red, orange or yellow bell pepper, diced
  • 1 cup shredded carrots
  • 2 cups edamame beans *steam/cook ahead of time
  • ½ cup chopped cilantro
  • ½ cup cashews
  • 3 green onions, chopped
  • For the dressing:
  • ⅓ cup natural peanut butter
  • 1 tbsp freshly grated ginger
  • 3 tablespoons soy sauce
  • 1 tablespoon honey (use agave if vegan)
  • 3 tablespoons red wine vinegar
  • 2 teaspoons sesame oil
  • 2 tsp sesame seeds *optional
  • juice of one lime
Instructions
  1. Prepare quinoa: ensure you've thoroughly rinsed and strained it. Place quinoa in a small pot with 2 cups of water. Bring to a boil and reduce heat to low, cover and simmer until tender and the liquid has been absorbed. About 15 - 20 minutes. Fluff with a fork. Set aside and cool.
  2. To the quinoa add in cabbage, bell pepper, carrots and edamame beans. Fold this into the the quinoa.
  3. Prepare the dressing by mixing together all eight ingredients. I often use a handheld blender to do this job but you could totally use your muscles and a strong fork.
  4. Garnish with cashews, cilantro and green onion. Serve chilled (or eat it up right away).
Thai Quinoa Salad_birdseye
Food photography done by the talented Ceone Dyck. To learn more about Ceone click here or follow her on Facebook.

Don’t forget to follow Carrots and Cake on Instagram to see tiny square snap shots of my life.

                 – With Love, Carrots and Cake,

Carrots and Cake Nita Sharda

Easy Kale and Parsley Pesto

Nita sharda, carrots and cakeI love me some pesto. Do you? I only began experimenting with this sauce a few years ago and now it’s a pantry staple. Better yet, I’ve even ventured into making my own version of pesto. I was inspired to use kale in this recipe by my summer CSA. We’ve been getting an abundance of kale and I’ve been experimenting with unique ways to use up this nutrient-loaded green.

Most pesto recipes call for basil. I opted not to use basil primarily because in the fall/winter months it’s actually quite pricey (at least here in Winnipeg) and sometimes I find myself visiting 2 – 3 grocery stores only to not find any! So instead I use parsley. Problem solved.

There’s also a TON of ways you can use up pesto. Here’s a few suggestions to inspire you:

  • Use it as marinade for your white fish or chicken
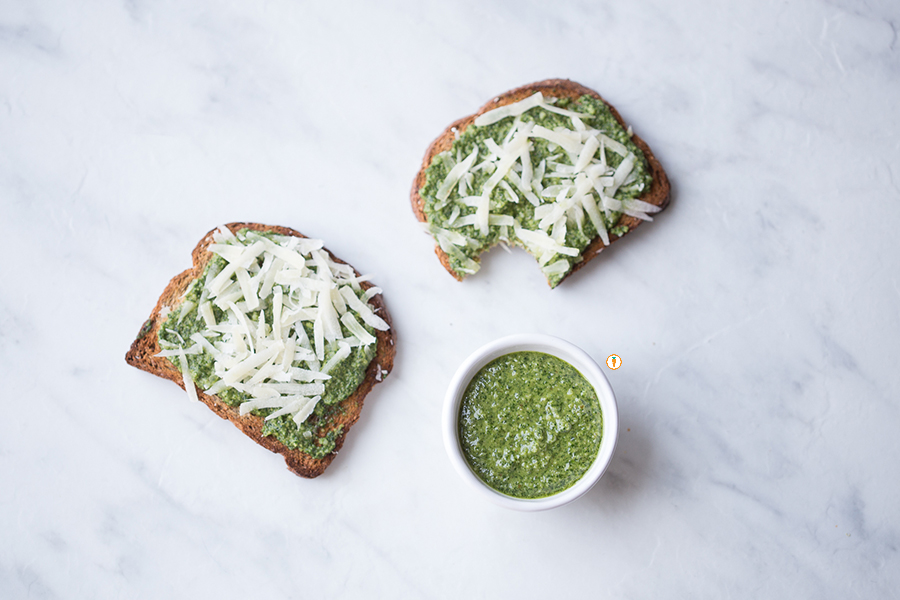
  • Place it on top of toast to change up your breakfast game, top with a poached egg
  • Toss it in pasta (hot or cold)
  • Make pesto spinach muffins
  • Use pesto instead of pizza sauce on your crust (my favvv)
  • Use pesto for this quinoa salad recipe
  • Flavor turkey meatballs with with pesto
  • Add small dollops to crostinis and top with cherry tomatoes for a fun appie
  • Make a gourmet grilled cheese sandwich with pesto and mozzarella
  • Marinade veggies like tomato, zucchini and muchrooms in pesto and grill
  • Or, eat it by the spoonful

There you have it! Ten ways you can enjoy this pesto! 

Why is this pesto a great choice?

  • It’s loaded with anti-inflammatory olive oil
  • Helps you meet your recommended intake for greens
  • Walnuts offer up omega-3, hello heart health!
  • There’s cheese in it
  • Mic drop, enough said!

Nita sharda, carrots and cakeNita sharda, carrots and cake

Okay, recipe below.

Easy Kale and Parsley Pesto
 
Prep time
Cook time
Total time
 
Ingredients
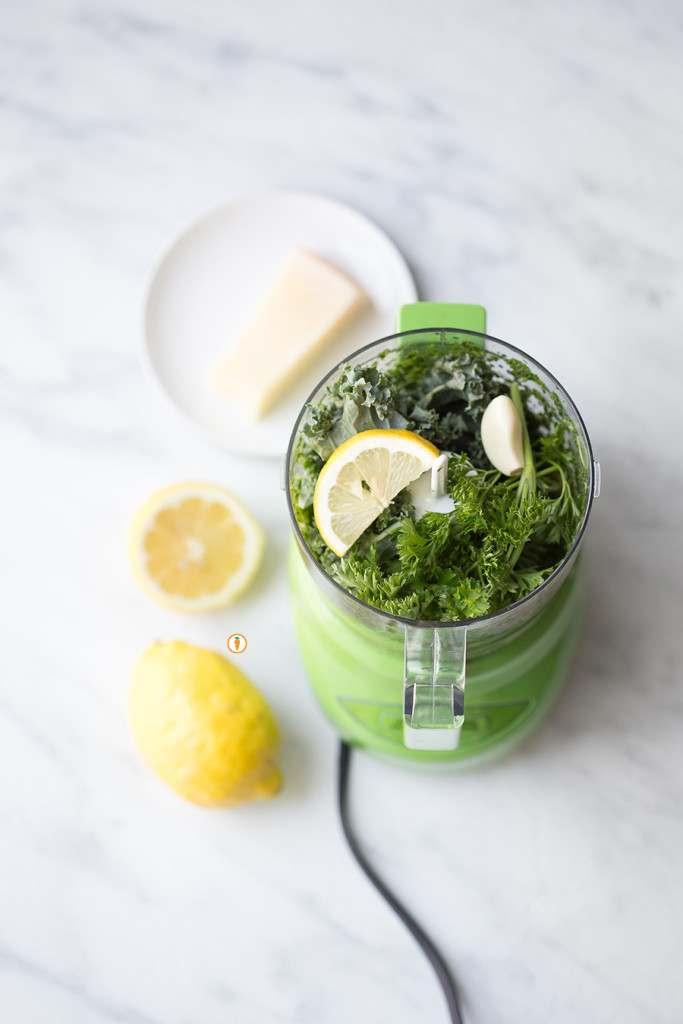
  • ¼ cup walnuts, toasted (or preferred nut)
  • 1½ cups torn kale, stem removed
  • ½ cup curly parsley, roughly chopped
  • ¼ cup cubed or grated parmesan
  • ½ cup olive oil
  • 1 clove garlic
  • juice of one lemon
Instructions
  1. To toast walnuts, warm a non-stick skillet over medium heat. Add walnuts and lightly toast for about 8 - 10 minutes or until fragrant. Be careful! You don't want them to burn.
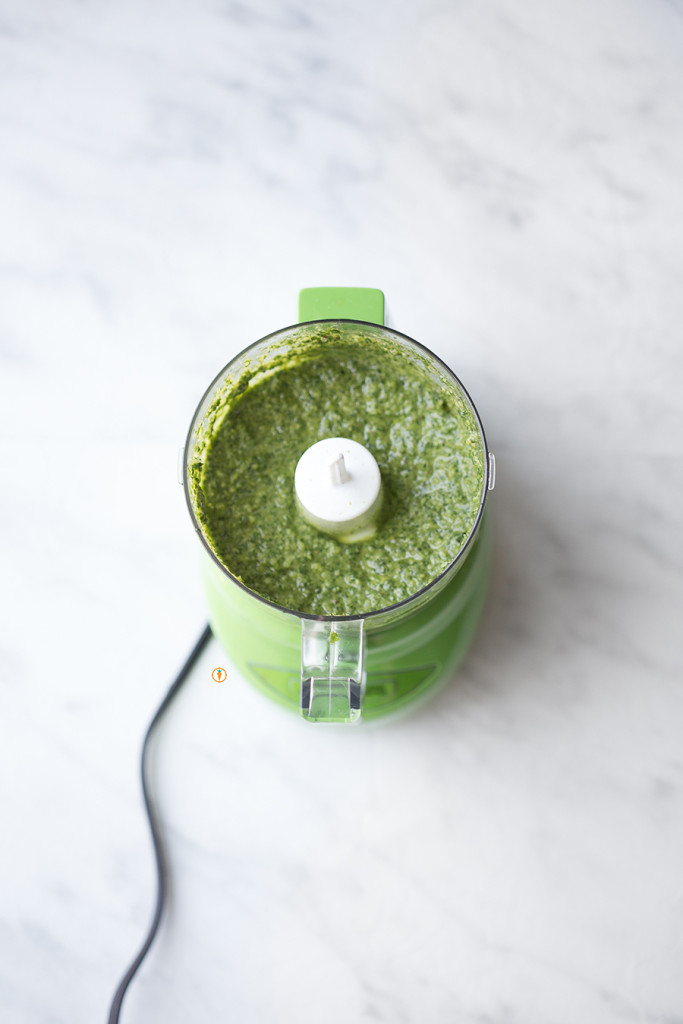
  2. In a small food processor of blender add walnuts and remaining ingredients. Blend well.
  3. Taste. Add salt, pepper or more lemon juice as needed. If you find your pesto too runny, you can add another ¼ cup of walnuts.
  4. Store in an air tight container in the fridge for up to one week or freeze!.

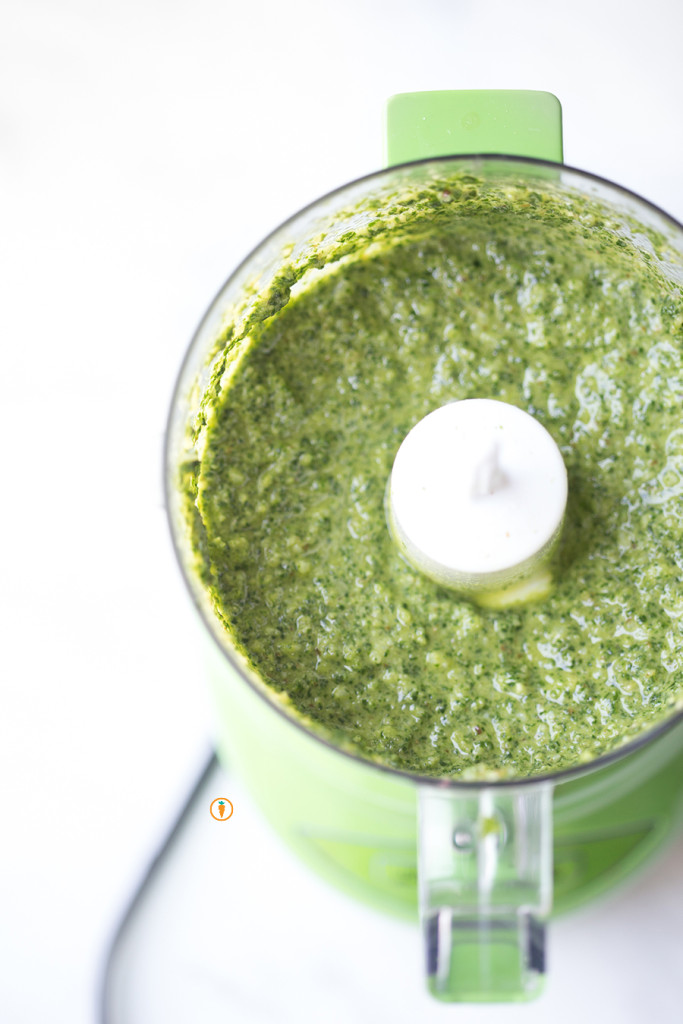
Pesto in processor_close upFood photography done by the talented Ceone Dyck. To learn more about Ceone click here or follow her on Facebook.

Don’t forget to follow Carrots and Cake on Instagram to see tiny square snap shots of my life.

                 – With Love, Carrots and Cake,
Carrots and Cake Nita Sharda


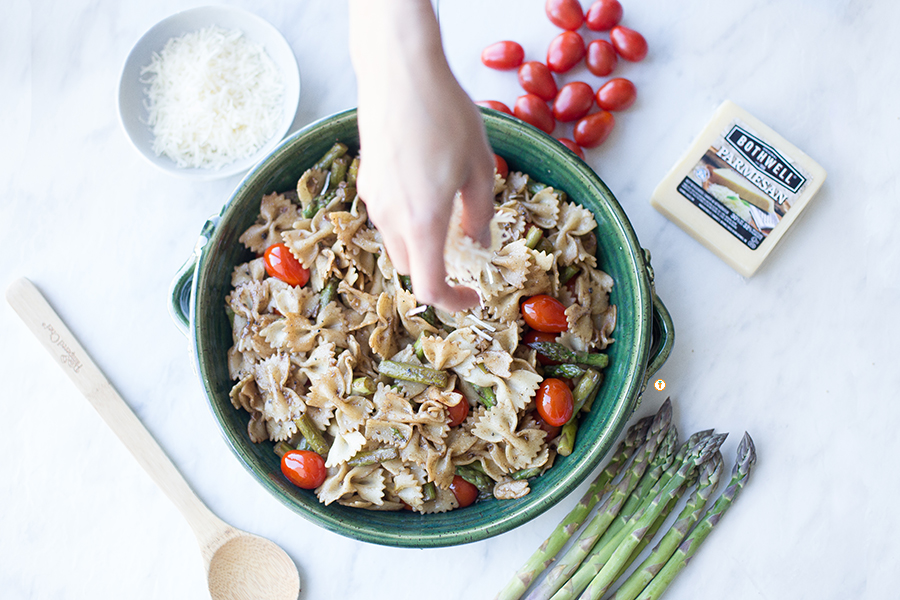
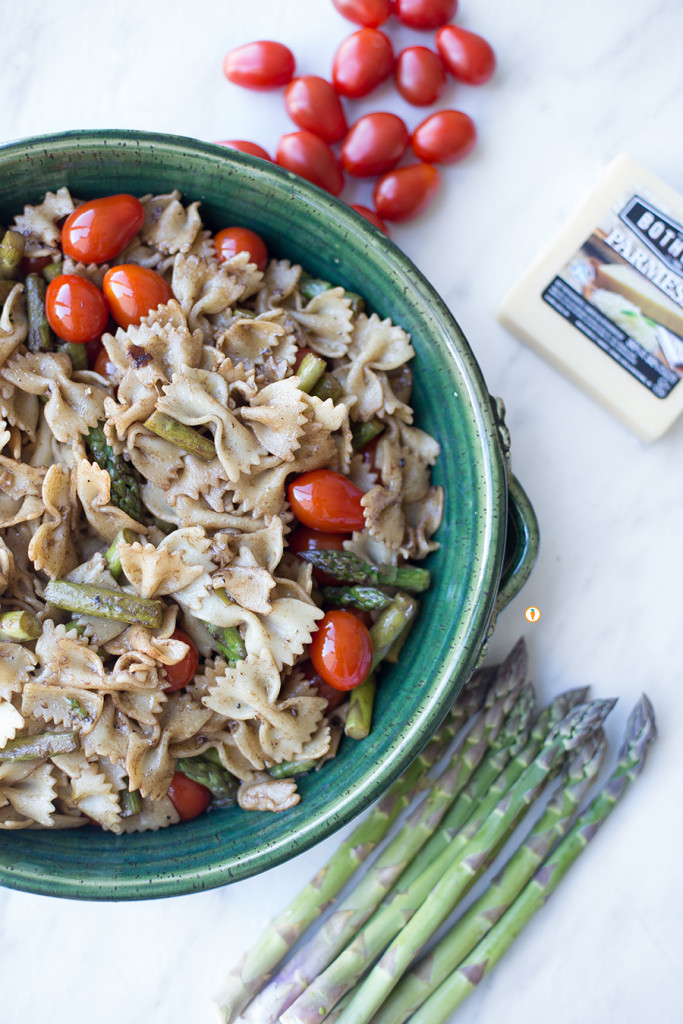
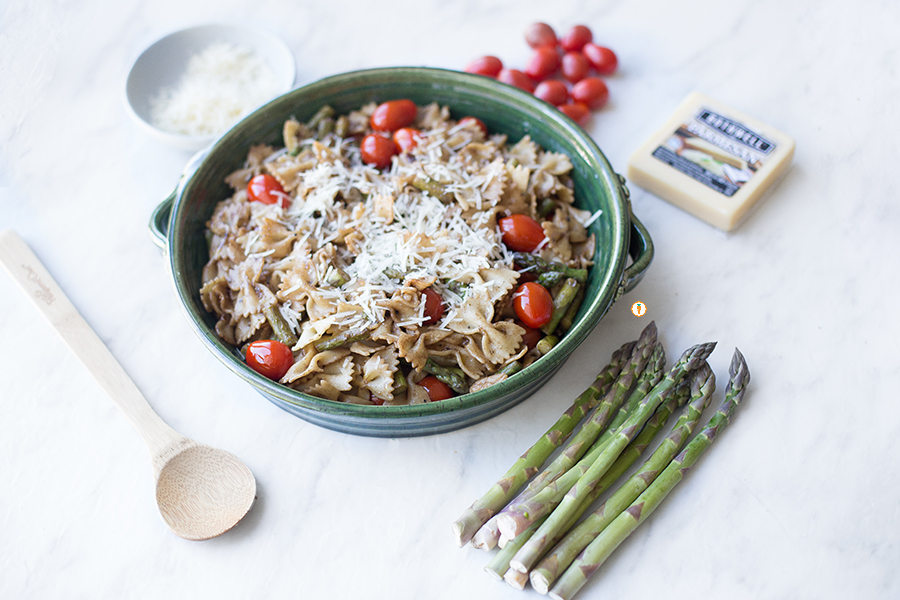
Asparagus and Cherry Tomato Pasta

Nita Sharda Carrots and CakeYAASSSS. Asparagus is finally in season. I remember being in my twenties and trying a spear of asparagus for the first time. I was confused. But then I had another spear. I was hooked. Since then, I’ve enjoy asparagus in many ways from grilling, steaming, wrapped in prosciutto and mixed into a summery pasta dish!

This pasta recipe is SO EASY to throw together on a busy weeknight. Washing and trimming the asparagus ahead of time will help make this a total breeze. Besides, doesn’t everyone love pasta?

Here are a few reasons why you’ll enjoy this recipe and feel good about eating it:

  • It’s colourful – beautiful red and green colors make this pretty on the eye
  • The whole wheat pasta will keep you full
  • You can top your pasta with any cheese you desire, I used Bothwell Cheese Parmesan but it’s also taste with goat cheese and feta cheese; if you’re vegan you can nix the cheese or use your favorite dairy-free product!
  • It includes 9 only ingredients! NINE!
  • The olive oil is super heart health and anti-inflammatory (remember, we talked about that here)

Kay…one more picture, and then I’ll share the recipe! 

Pasta_main

Asparagus and Cherry Tomato Pasta
 
Prep time
Cook time
Total time
 
Serves: 5-6
Ingredients
  • 2 cups whole wheat pasta (uncooked)
  • approx 20 spears of asparagus, washed, trimmed and cut into 1 inch pieces
  • 1 cup cherry tomatoes, halved
  • 2 cloves garlic
  • ¼ cup and 1 tbsp olive oil
  • ¼ cup balsamic vinegar
  • Salt and pepper, to taste
  • ⅓ cup cheese (parmesan, goat cheese or feta cheese)
Instructions
  1. Cook pasta according to package directions. Drain and set aside.
  2. Meanwhile, sauté asparagus in 1 tbsp olive oil over medium heat. Continue to cook asparagus until it is tender.
  3. Add in garlic, cooked pasta, remaining olive oil, balsamic vinegar, salt and pepper. Mix together and heat through for about one minute to allow the garlic to infuse itself into the dish.
  4. Add in cherry tomatoes and continue to heat the pasta through for 5 minutes or until cherry tomatoes begin to wilt.
  5. Remove from heat. Top with cheese.

Nita Sharda Carrots and CakeFood photography done by the talented Ceone Dyck. To learn more about Ceone click here or follow her on Facebook.

Don’t forget to follow Carrots and Cake on Instagram to see tiny square snap shots of my life.

                 – With Love, Carrots and Cake,
Carrots and Cake Nita Sharda

White Bean Spread

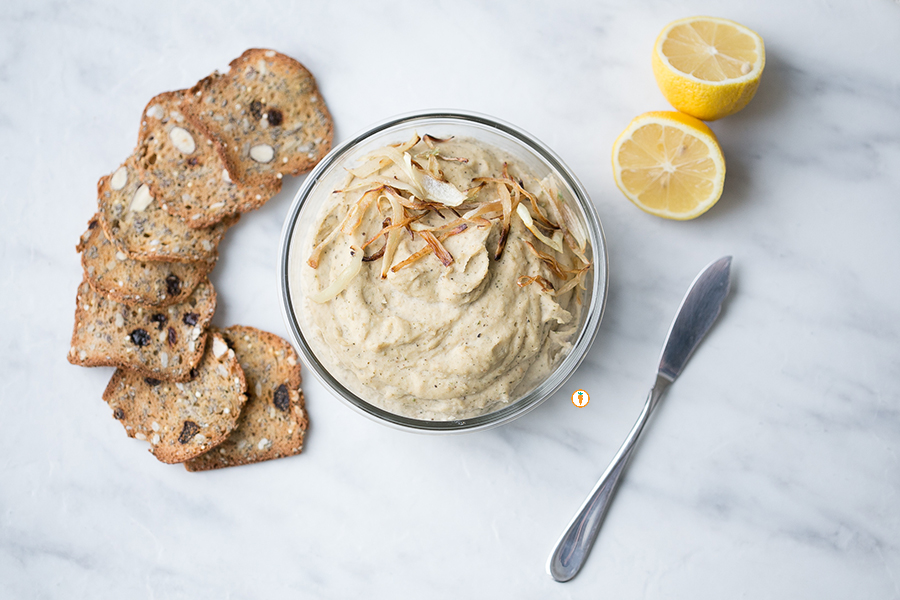
Nita Sharda, Carrots and CakeI didn’t think I would say it. But I am. Sometimes, I get sick of hummus.
haaawwwww

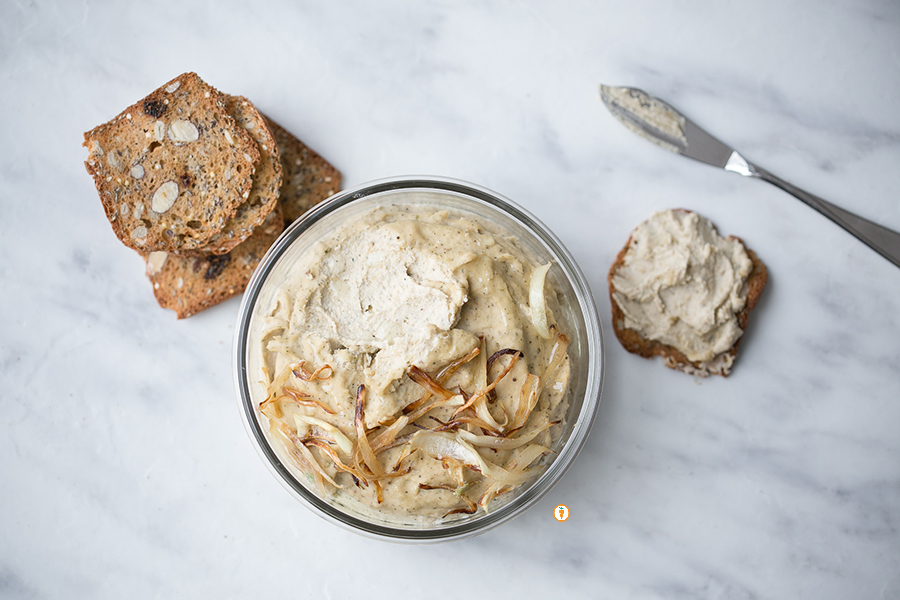
Okay chill–we all need variety. After all, variety is the spice of life! So what is a Dietitian and foodie to do? Improvise! I always seem to have a can white kidney beans (or cannellini beans) in my pantry so I opted to use this as inspiration to create a protein based dip. Because the cannellini bean is more pastey the result is a thick and spreadable dip. I prefer to dunk veggies and crackers into this pretty stuff but I’ve also added dollops of it onto salads.

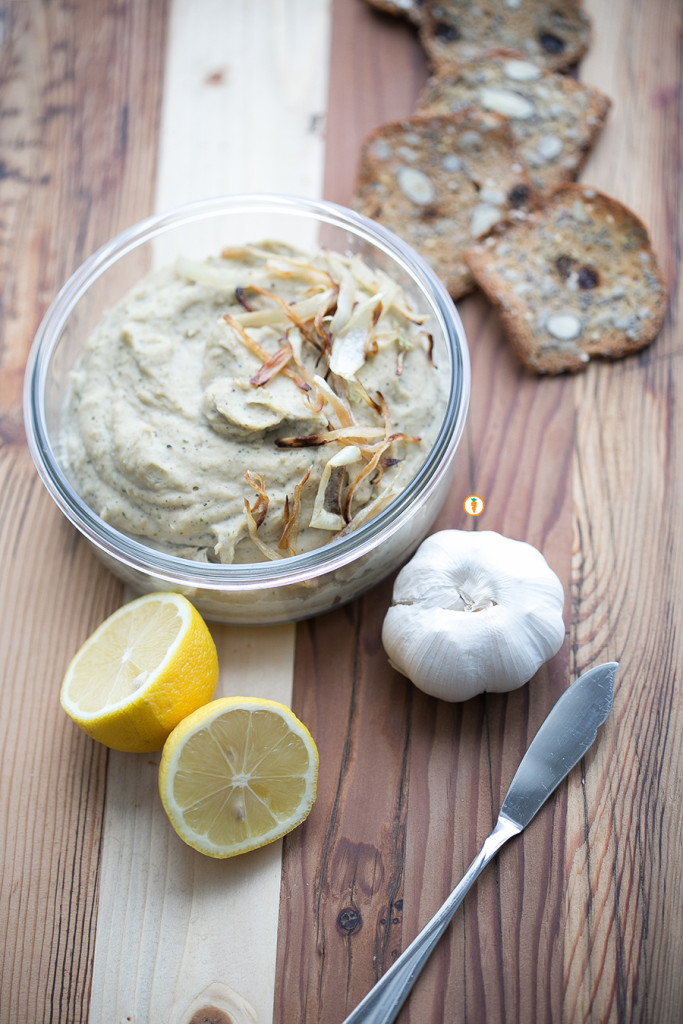
This recipe is totally versatile. You can add more or less of any ingredient or even nix something you don’t like. For example, my sister isn’t the biggest fan of caramelized onions, but I love them. They make for a beautiful garnish and give it a sweet flavour. Love! Give it a try and let us know what you think!

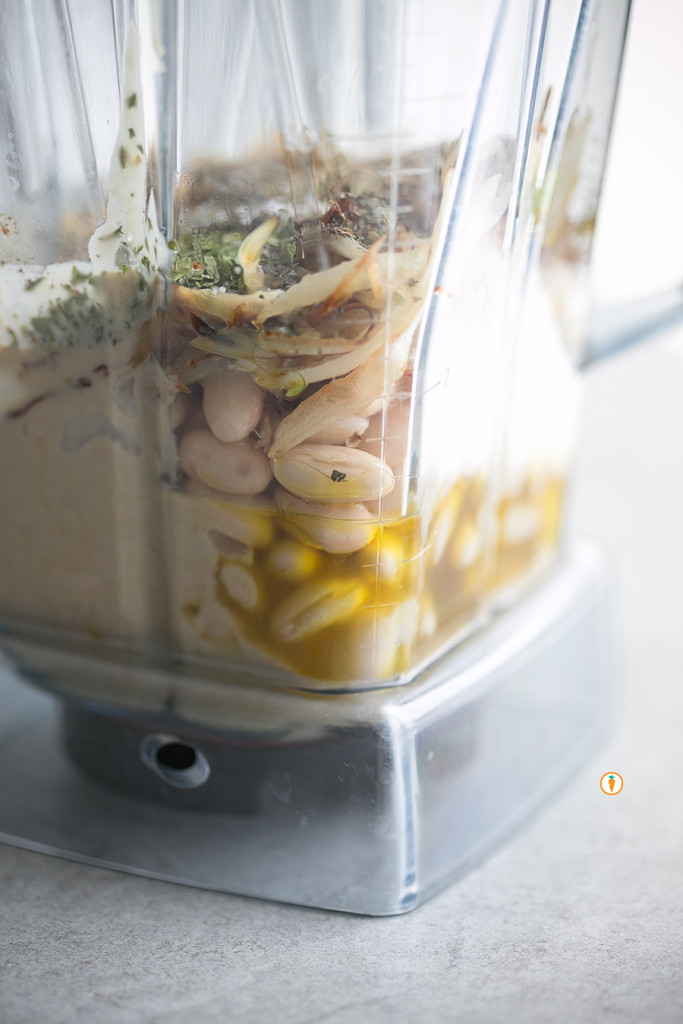
White Bean Spread_jugWhite Bean Spread_all decor

White Bean Spread
 
Ingredients
  • 1 19oz can white kidney beans, rinsed
  • 3 - 4 cloves garlic, roasted in oven
  • ⅓ cup tahini
  • ¼ cup olive oil
  • Juice of one lemon
  • 1 tsp dried parsley
  • 1 tsp dried basil
  • 1 tsp dried oregano
  • 1 tsp salt
  • 1 tsp black pepper
Instructions
  1. Place all ingredients into a food processor or blender.
  2. Blend until smooth.
  3. Taste and add more spices as needed. Feel to also add 1 tbsp of water at a time to reach a desired consistency.
  4. Garnish as you wish! You can garnish with caramelized onions, olives, herbs or a drizzle of olive oil!

Nita Sharda, Carrots and CakeFood photography done by the talented Ceone Dyck. To learn more about Ceone click here or follow her on Facebook.

Don’t forget to follow Carrots and Cake on Instagram to see tiny square snap shots of my life.

                 – With Love, Carrots and Cake,

Carrots and Cake Nita Sharda

The Whole Grain and Nothing But the Grain (Part 2: Free Gluten)

Nita Sharda, Carrots and CakeA couple of posts back we talked about the goodness of whole grains and why grain-excluding diets aren’t so great after all. Today we’re going to shift your focus and delve into the increasingly popular gluten-free diet trend that has everyone going cross-eyed with confusion.

WHAT ON EARTH IS GLUTEN?

Well, I guess clarifying things would help. Let’s pause. Contrary to popular belief (thanks to loads and loads of marketing and misinformation) it is not some horrifyingly fattening, health-impeding substance that will cause you to drop dead. Gluten is a protein found in the center (endosperm) of wheat, barley, and rye. Physically speaking, it helps the grain maintain it’s shape and elasticity when used in baking or cooking.

NOT FOR EVERYONE

As wonderful as whole grains are (as previously established here), there are a few instances where they are not well tolerated. Celiac disease for example is an auto-immune disorder that affects 1% of the Canadian population. With this condition, gluten proteins are not digested or absorbed, leading to some pretty unpleasant symptoms and in severe cases, anaphylactic shock – yikes! Remember, in Celiac Disease there is an immune response.

To make matters more confusing we are also noticing a number of folks struggling with non-celiac gluten sensitivity. Symptoms are similar to those of celiac disease but luckily the overall clinical picture is less severe. Folks with a non-celiac gluten sensitivity don’t experience an immune response per se, but they may feel groggy, bloated, experience pain, headaches etc when gluten is ingested. In these cases it is always best to STAY CLEAR of wheat.

If you suspect you have a gluten sensitivity or celiac disease, contact a physician or Registered Dietitian to get some help.

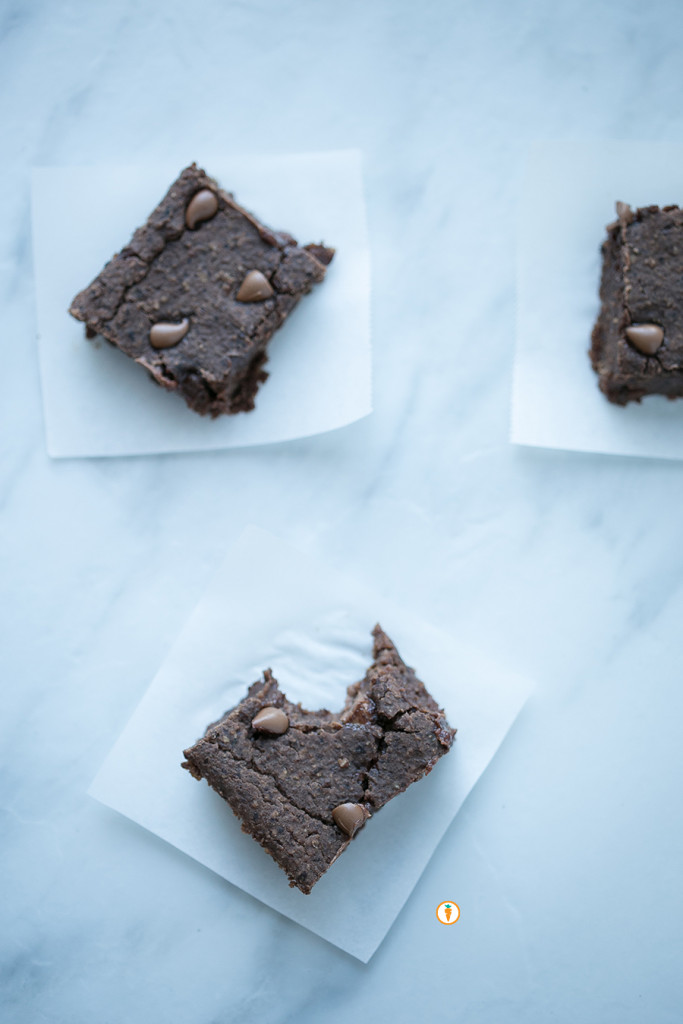
1BlackBeanBrownies_squares

Gluten free brownies.

Nita Sharda, Carrots and Cake

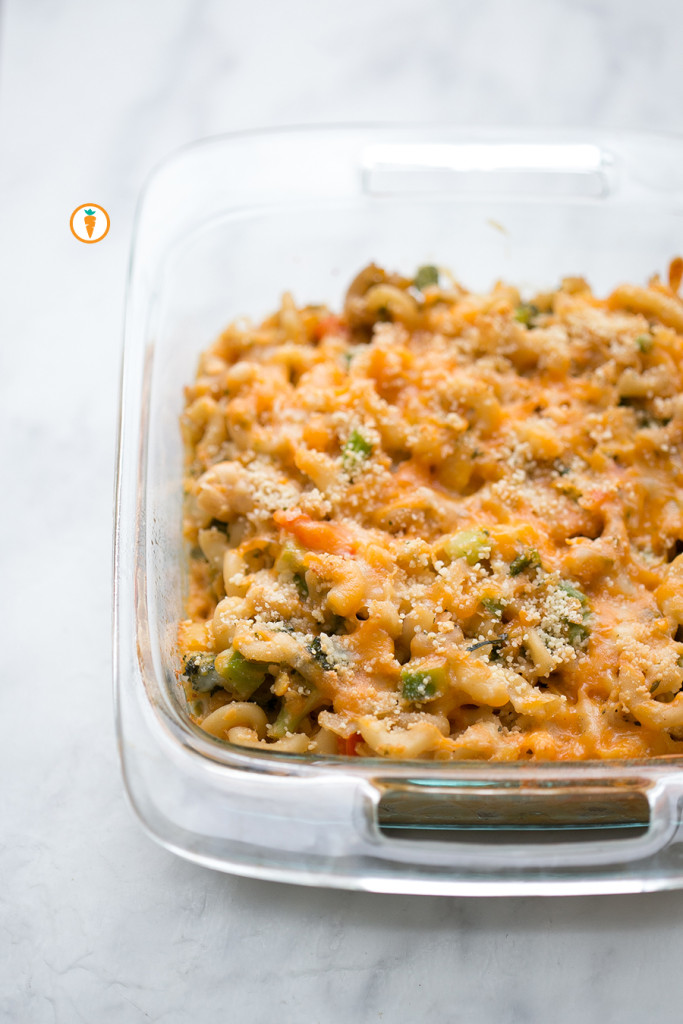
Gluten containing yummy mac and cheese (veggified of course!).

BUYER BEWARE: GLUTEN-FREE vs HEALTHY

As the incidence of celiac disease increases, more and more gluten-free products are constantly becoming available on supermarket shelves. With this shift in the market, gluten-free products have been promoted as “healthy” or “trendy”, which is confusing to the average consumer. Note to self: the words “gluten-free” in bold on a package is not code for healthy. Gluten-free products when refined (ex. white rice crackers) can be just as harmful as the refined, gluten-containing grains described in the previous post.

For those who have trouble tolerating gluten, I recommend experimenting with gluten-free options such as amaranth, buckwheat, uncontaminated oats, quinoa or brown rice pasta to create healthy snacks and meals at home.

BUT IF I GO GLUTEN-FREE, I’LL LOSE WEIGHT RIGHT?

Think of it this way: when a person with celiac disease is properly diagnosed and begins a prescribed gluten-free diet, they may in fact gain weight since the malabsorption that was once happening subsides and they are better equipped to absorb the nutrients and calories they have been consuming. You heard me right! – gluten-free diets were actually intended for people to maintain their ideal weight, sometimes meaning weight gain.

Whether or not you lose weight on a gluten-free diet all depends on how you go gluten-free. Giving the boot to gluten-containing refined grains like white-flour bagels, pasta, and crackers, and processed snacks will definitely be an effective weight loss method if you are replacing them with wholesome, high fiber alternatives. However, if these gluten rich foods are replaced by hyper-processed gluten-free products weight loss isn’t a guarantee. Besides, it never truly is.

FREE GLUTEN

The stigma surrounding gluten deserves to be squashed! Consider how silly this sounds: “My friend is allergic to peanuts – therefore they must be terrible for my health and I must give them up immediately!” That would never fly in one million years – so why would we apply this mentality with gluten? (on a side note: you would have to pry the jar of PB out of my cold dead hands before I would give it up).

The takeaway:

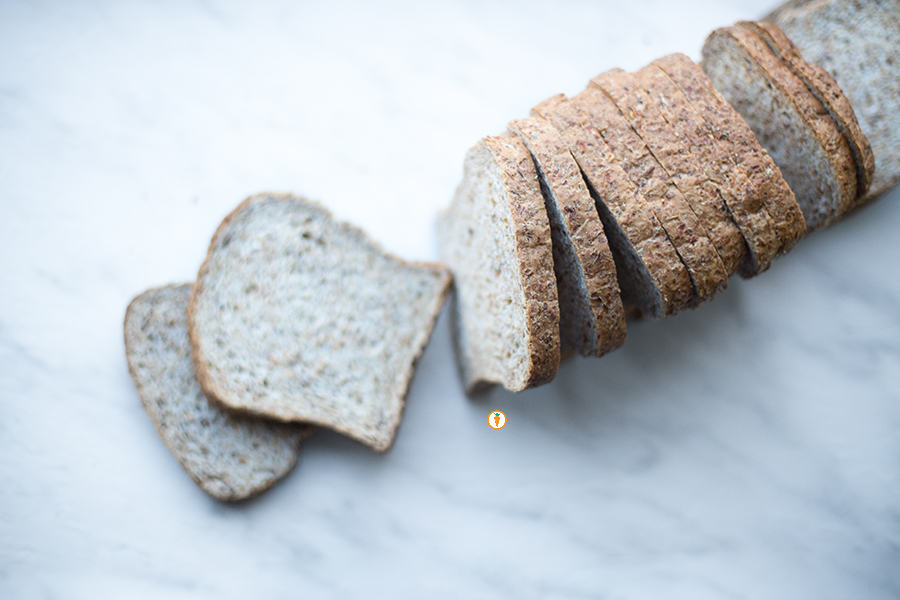
whole grain, gluten-containing foods are absolutely A-OKAY in our books. Unless you have been properly diagnosed with an allergy or intolerance keep munching on whole-grain goodness!

Nita Sharda, Carrots and Cake

That’s Ceone rocking some gluten love.

If you’re not in a rush to leave this blog page, check out this video by Jimmy Fallon. Jimmy is notorious for his comedic ways, pranks and well, making us laugh a little more in our day. Enjoy.

Food photography and blog post written/captured by a talented student volunteer, Ceone Dyck. To learn more about Ceone click here or follow her on Facebook.

Don’t forget to follow Carrots and Cake on Instagram to see tiny square snap shots of my life.

                 – With Love, Carrots and Cake,

Carrots and Cake Nita Sharda

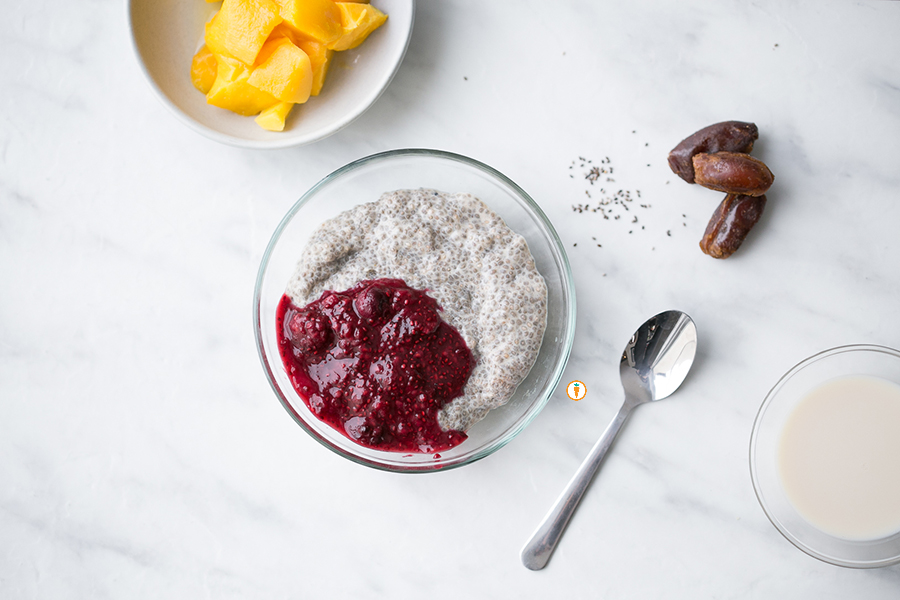
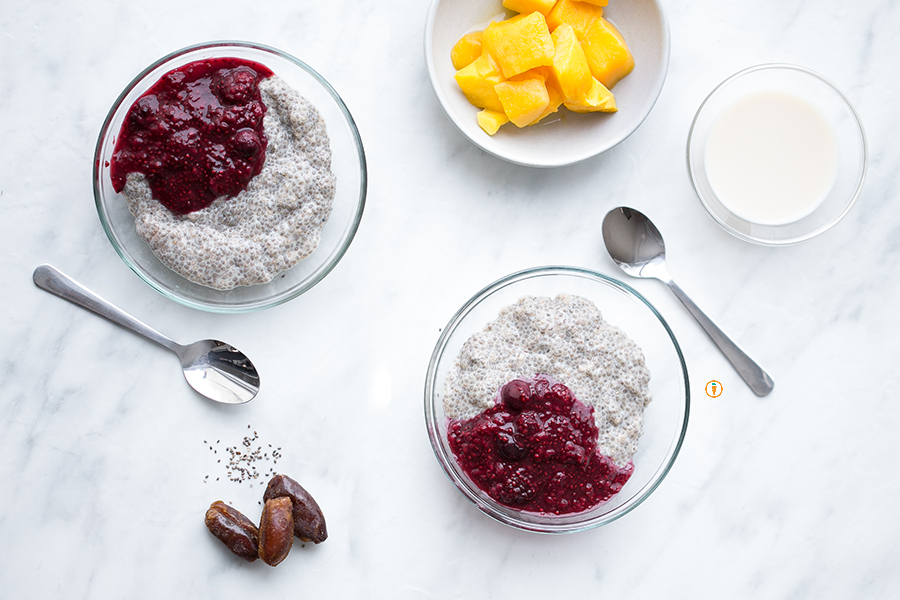
Chia Seed Pudding

Nita Sharda, Carrots and CakeOh, hello! Welcome back – I hope you enjoyed learning about whole grains on our last post. We’re going to take a break from nutrition education and share this uber simple recipe with ya’ll. You’ve previously seen me use and talk about the health benefits of chia seeds, like when I showcased my version of a 5 Ingridient Berry Sauce. When I heard my food friends talk about chia seed pudding, I was totally hooked and needed to give it a try.
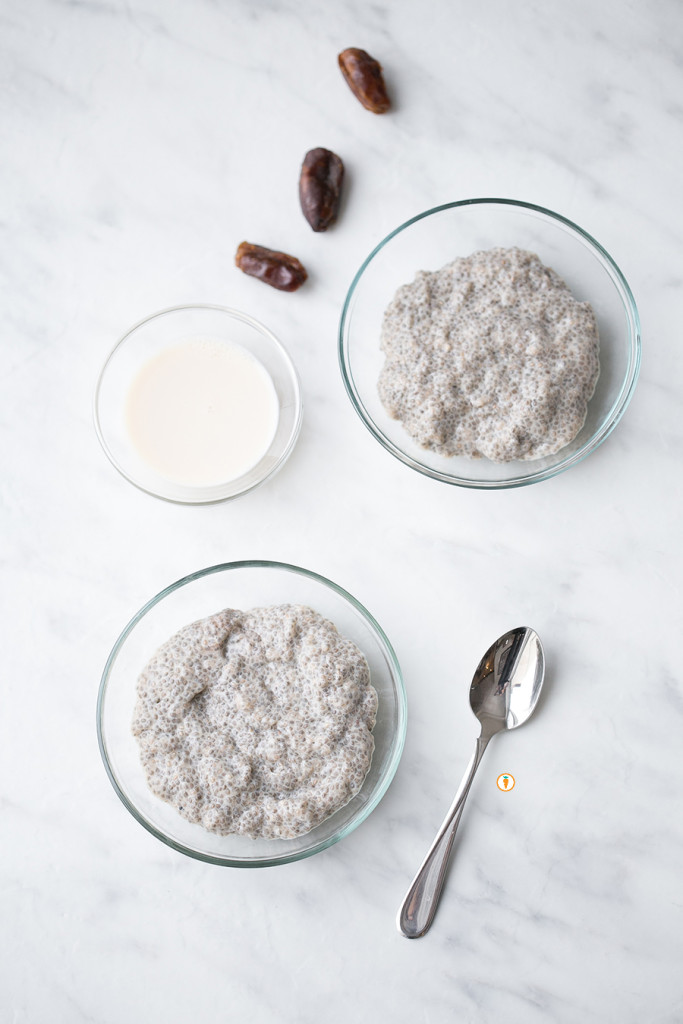
Here’s what I love in particular about this recipe:

  • calls for only 5 ingridients
  • offers up 10 grams of fibre
  • source of calcium
  • source of protein
  • allows for customization
  • naturally gluten free
  • no cooking, just stirring

Nita Sharda, Carrots and CakeOkay, I think you’re sold.

5.0 from 1 reviews
Chia Seed Pudding
 
Prep time
Total time
 
Serves: 2 - 3
Ingredients
  • ⅓ cup chia seeds (black or white)
  • 1½ cups milk (dairy or dairy free)
  • 2 tbsp runny honey or maple syrup
  • 1 tsp vanilla extra
  • 1 tsp cinnamon
Instructions
  1. Place all ingredients into a bowl. Mix very, very, very well and cover with saran wrap.
  2. Place bowl into the fridge for thirty minutes. Stir again.
  3. Return back to the fridge for at least another 2 - 3 hours. The result is a thick pudding similar to rice pudding.
  4. Top with additional fruit if you wish. I love it with tart raspberries, mango or kiwi.

Nita Sharda, Carrots and Cake
Food photography done by the talented Ceone Dyck. To learn more about Ceone click here or follow her on Facebook.

Don’t forget to follow Carrots and Cake on Instagram to see tiny square snap shots of my life.

                 – With Love, Carrots and Cake,

Carrots and Cake Nita Sharda

No Bake Granola Bar

Nita Sharda, Carrots and CakeI love a good granola bar. It’s basically like having portable nutrition in your hand! Mind you, a good quality product can often be hard to spot. Most large-chain grocers have entire aisles dedicated to this iconic food item. The tough part is distinguishing which one truly is a granola bar versus which one is…well..basically a chocolate bar.
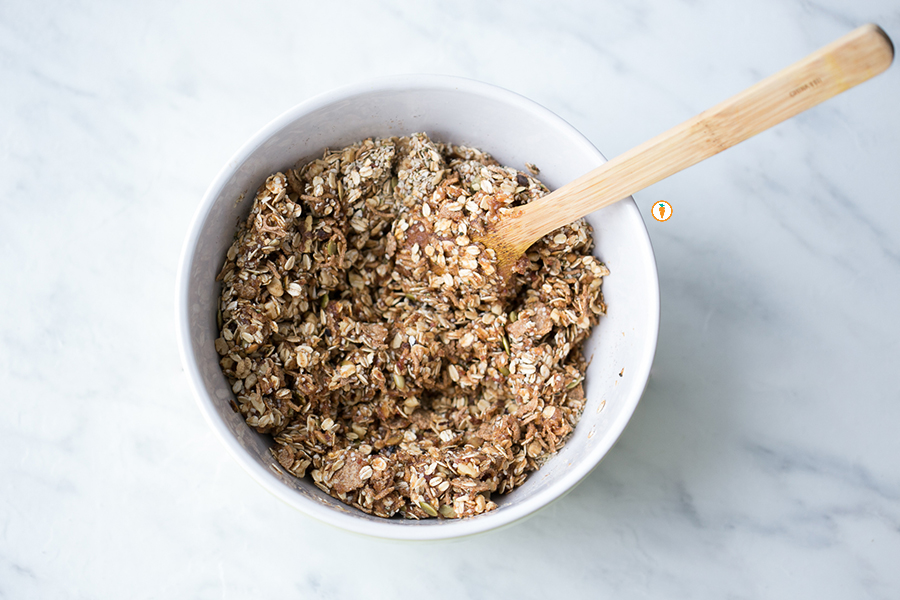
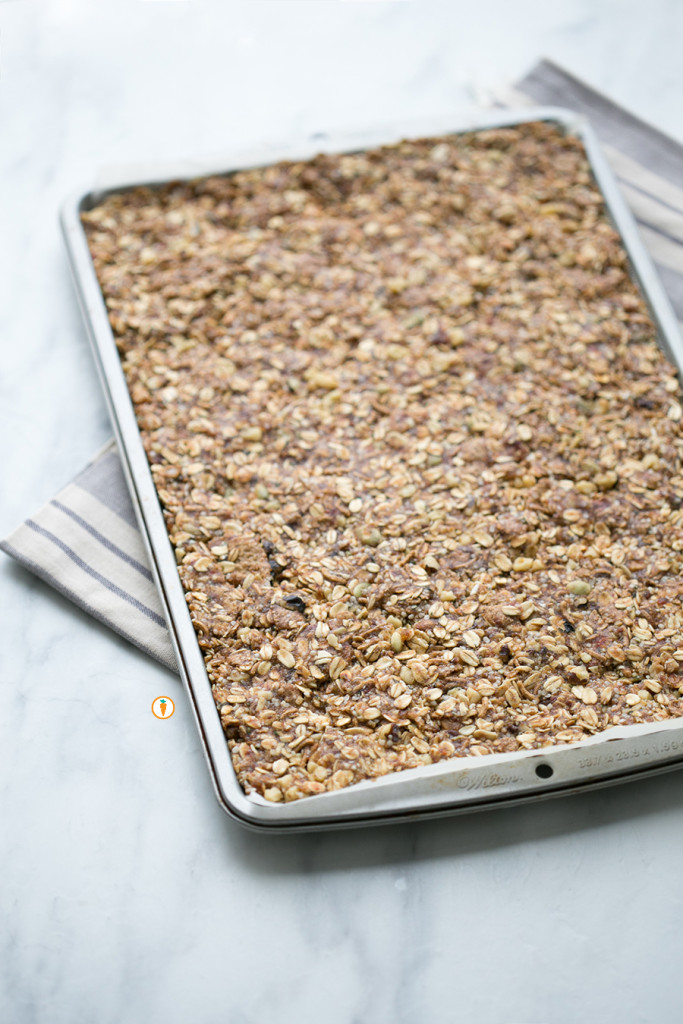
Tips to sourcing a quality granola bar:

  • When I’m on the hunt for a bar I try to look for something that has less than 8 – 9 grams of sugar and offers me up at least 3 grams of fibre.
  • Protein is another POWERHOUSE nutrient that I scout for. If you’re looking for a nut-free product, it will be difficult to find a protein bar with more than 2 grams of protein. Otherwise, if nuts are your thang, you’ll likely have no trouble finding something that can offer you atleast 4 – 5 grams of protein.
  • Look at the ingredient list and find something that is 100% whole grain.
  • Avoid granola bars that are chocolate or yogurt covered. These bars can have upwards of 3 teaspoons of sugar in a small serving.

Or HAYYYYYYhow about making your own?

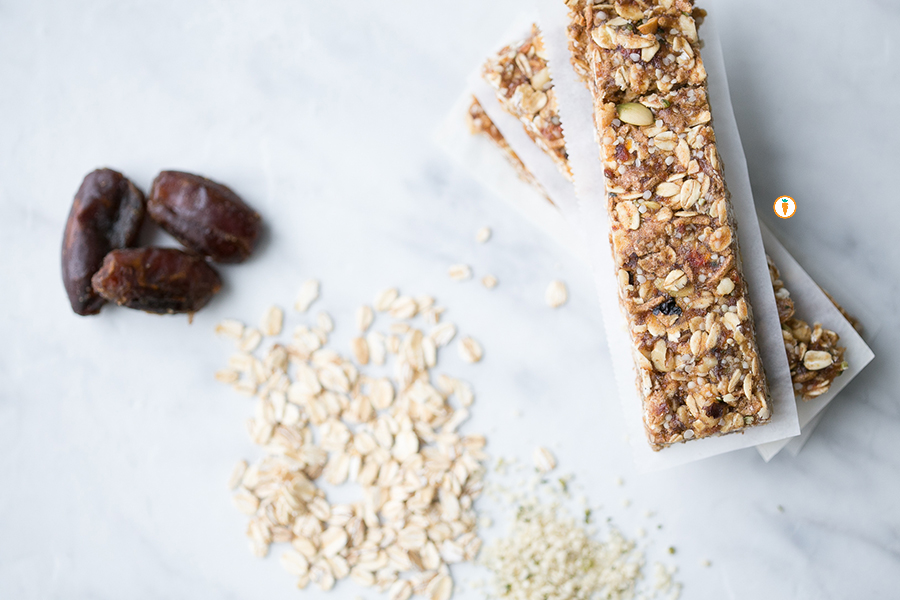
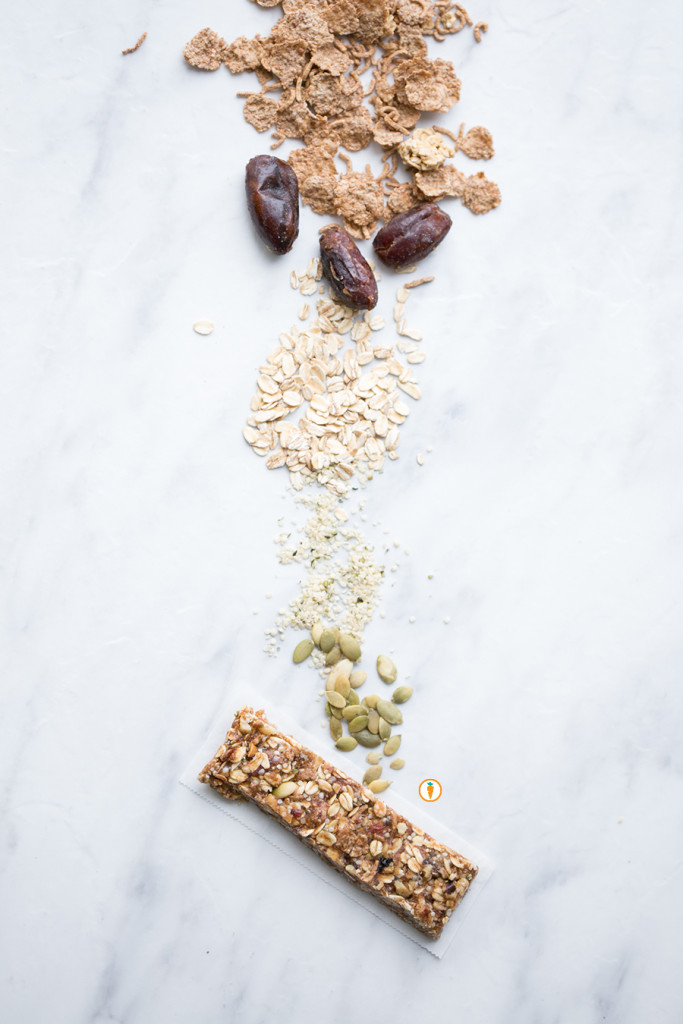
When I have a bit of extra time on my hands, I take pleasure in being able to make my own granola bars that I can snack on. The ingredients in this recipe (adapted from Cookspiration) include all the foods I enjoy eating as snacks: dates, walnuts, pumpkin seeds and hemp hearts are the super heroes behind this bar. Seriously, you’ll feel so good after making them, eating them…and maybe even sharing them. You’ll notice – the recipe doesn’t call for any refined sugar. The sweetness is brought to you naturally from the dates and honey. Don’t cha love nature?
Nita Sharda, Carrots and Cake

Nita Sharda, Carrots and CakeNita Sharda, Carrots and CakeOkay, recipe deets below:

5.0 from 1 reviews
No Bake Granola Bar
 
Ingredients
  • 1 ½ cup All Bran Flakes cereal (I used PC brand from Superstore)
  • 1 ½ cup large flake oats
  • ½ cup chopped walnuts
  • ¼ cup pumpkin seeds
  • ½ cup hemp hearts
  • 1 cup dates (about 12 - 15 dates)
  • ¼ cup honey or maple syrup for vegan option
  • ⅓ cup almond or peanut-butter
Instructions
  1. In a large nonstick skillet, toast oats, walnuts and pumpkin seeds over medium heat, stirring often for about 8 minutes or until light golden and fragrant. You'll even hear the pumpkin seeds "pop".
  2. Pour this mixture into a large bowl and let cool slightly; stir in bran flakes and hemp hearts.
  3. In the bowl of a food processor, pulse dates until finely chopped. For me, it rolls into one giant blob.
  4. In a small saucepan, heat together honey and almond butter over medium low heat until melted and smooth. Add dates and stir to combine.
  5. Pour into oat mixture and stir together until dates are distributed evenly throughout and oats are coated well.
  6. Press mixture into 23 cm (9 inch) parchment or foil lined baking pan and press to flatten evenly (warning: don't place it on a pan that's too big - you want the mixture to be "tight").
  7. Cover and refrigerate for at least 1 hour or until firm. Cut into bars and wrap individually with plastic wrap and store in refrigerator for up to 1 week or in the freezer for longer.
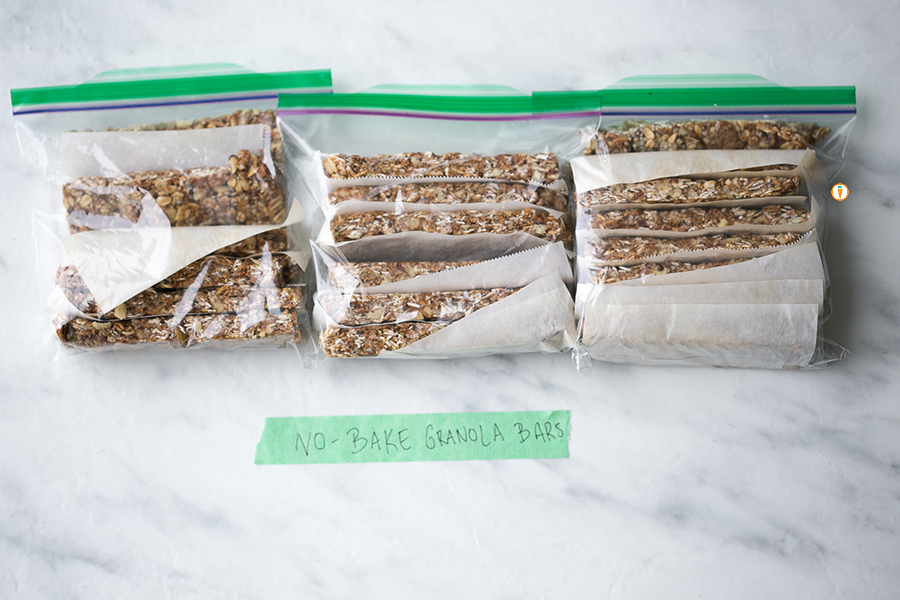
No Bake Granola Bar_Stacked

STACKS ON STACKS OVER HERE!!

For more granola bar inspiration, here are a few ideas from my personal food friends:

Food photography done by the talented Ceone Dyck. To learn more about Ceone click here or follow her on Facebook.

Don’t forget to follow Carrots and Cake on Instagram to see tiny square snap shots of my life.

                 – With Love, Carrots and Cake,

Carrots and Cake Nita Sharda

Overnight Oats

Nita Sharda, Carrots and CakeI’m all about making sure we’re eating a variety of whole grains in this house. Sometimes without knowing it, we get stuck in a rut and stick to one primary grain (wheat, and by the way: there is nothing wrong with that). Consequently, we don’t get a chance to enjoy the wonder and benefits other grains have to offer us.
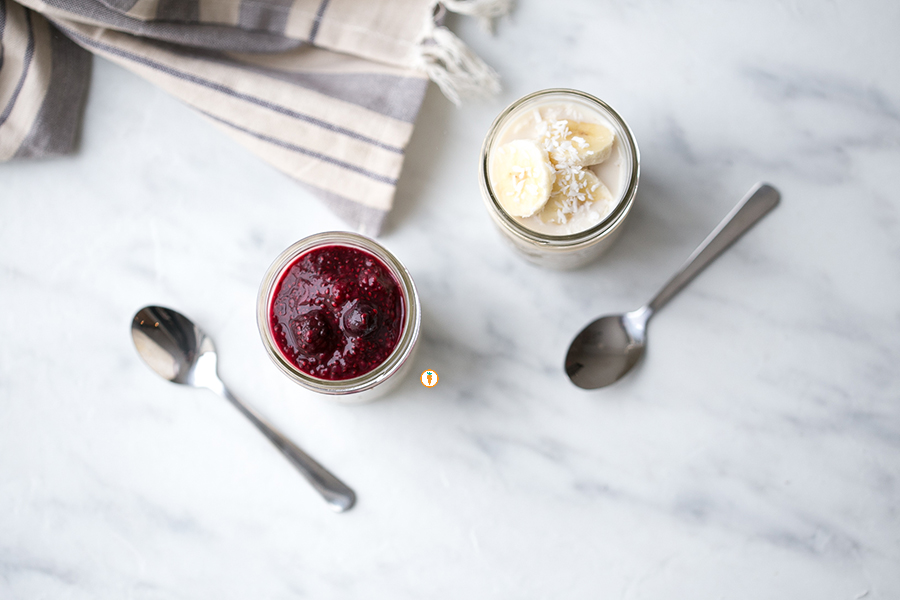
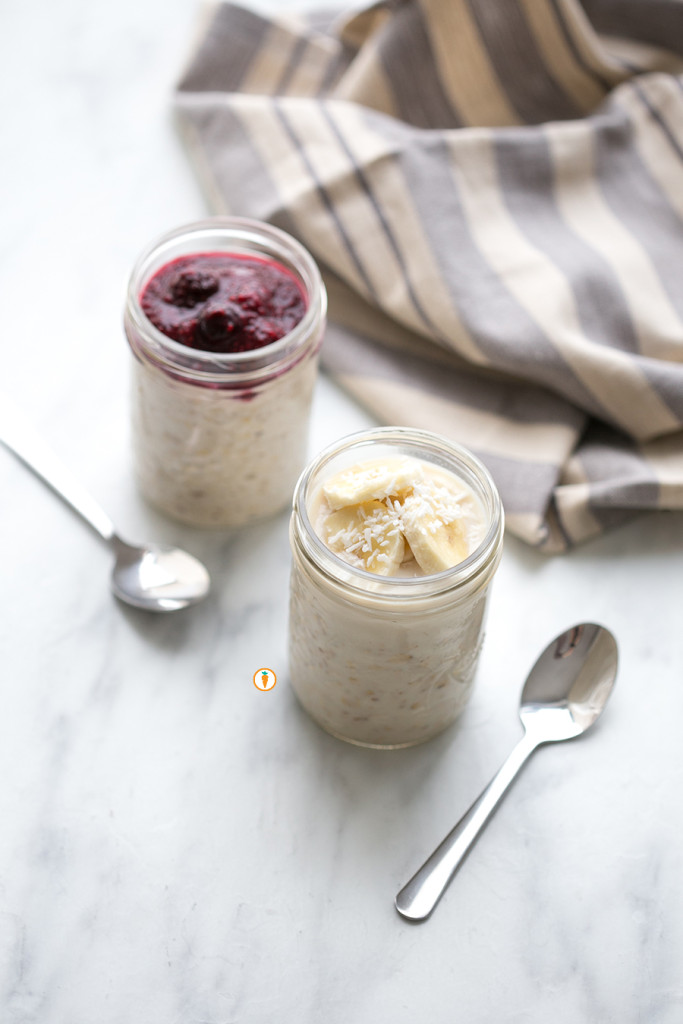
Oats. I LOVE OATS. a) they are hella cheap  b) they are super versatile  c) they are easy to cook  d) you can enjoy them sweet, savory, warm or cold!  e) for folks who are sensitive to gluten, they can enjoy certified gluten free oats. What more do ya want from a grain?

Want the nutrition jiffy on oats?

  • They are whole grain! Health Canada recommends that 50% of your grains should be whole grain; we know people who eat whole grains have a lower risk of heart disease, stroke, diabetes, cancer and digestive disorders.
  • They are rich in soluble fibre; this type of fibre helps improve blood cholesterol and can help manage blood sugar levels too.
  • A half cup serving (dry, large flake oats) offers up nearly 8 grams of protein.
  • They are a source of B vitamins, iron and vitamin E.

Why overnight oats?

It’s great for people who require a quick grab n’ go style breakfast; maybe you’re someone who prefers to enjoy breakfast at work or are too busy preparing breakfast for your little ones. This is a great alternative!

Mornings can be rough for some of us so overnight oats take the prep-work out in the morning. You can prepare a few batches to last you throughout the week.

Overnight oats are incredibly versatile. You can change the proportion of milk/yogurt/oats as needed to suit your needs.

In general, you’re getting a great source of protein, carbohydrate, fat if you add some nuts/seeds and fruit. These components make it a complete and balanced meal.

It’s a nice change from your typical bowl of hot oatmeal.

Variations: 

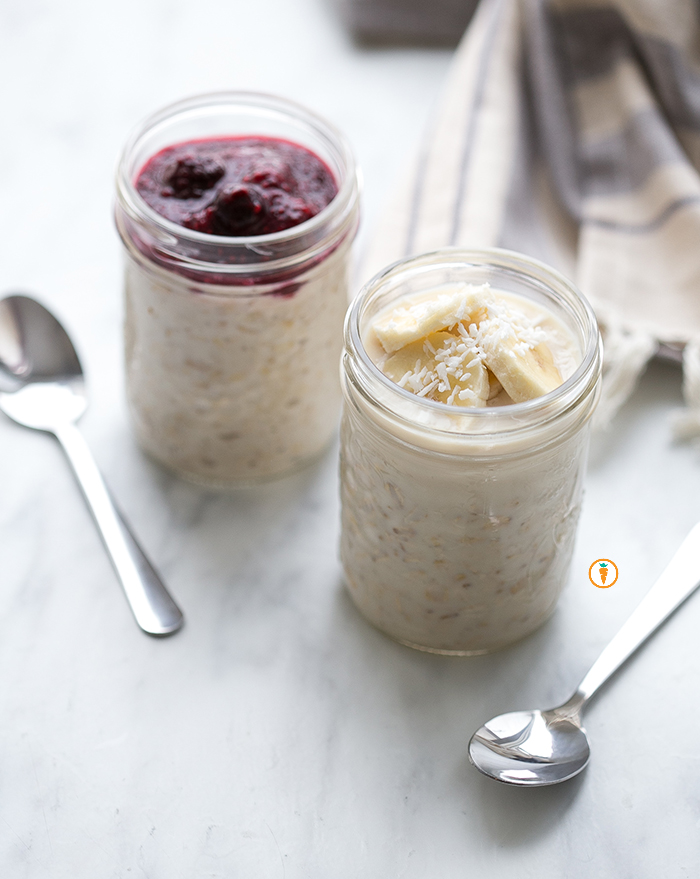
  • Top it with my 5 Ingredient Berry Sauce, bananas, shredded coconut, apples, canned peaches or any other favorite fruit.
  • Switch up the milk from a dairy milk, nut milk or soy milk.
  • Add nuts and seeds for extra protein such as pumpkin seeds, walnuts, almonds or toasted hazelnuts. My friend Chantal of Nutty for Nutrition loves adding chia seed to her concoction, just make sure add extra moisture if you go this route because chia seeds love to suck up liquid!
  • Feel free to use your favorite sweetener such as brown sugar, maple syrup, honey or stevia if that’s what you fancy.

Nita sharda, Carrots and Cake

Overnight Oats
 
Prep time
Total time
 
Serves: 1
Ingredients
  • ½ cup rolled oats (large flake)
  • ½ cup milk
  • ¼ - ⅓ cup vanilla Greek yogurt
  • 2 tsp flax seed
  • Pinch of cinnamon
  • Drizzle of maple syrup, honey or your preferred sweetener
  • Fruit
Instructions
  1. Place oats, milk, yogurt, flax seed, cinnamon and sweetener into a Tupperware, mason jar or cereal bowl. Stir until smooth.
  2. Top with your choice of fruit. Leave overnight.
  3. The next day, enjoy it cold or feel free to nuke it in the microwave for 20 seconds! If it's a little too thick for you add a dash of milk or water until you've got your desired consistency.

Nita sharda, Carrots and CakeFood photography done by the talented Ceone Dyck. To learn more about Ceone click here or follow her on Facebook.

Don’t forget to follow Carrots and Cake on Instagram to see tiny square snap shots of my life.

                 – With Love, Carrots and Cake,

Carrots and Cake Nita Sharda

5 Ingredient Berry Sauce

Nita Sharda, Carrots and CakeI remember the first time I made a berry sauce. It was for a brunch I was hosting and waffles were on the menu. It was some random recipe that Mr. Google found for me. It called for 1 cup of juice and 1 cup of sugar for only two cups of berries. Jesse whiz, that is A LOT of sugar. What’s a Dietitian/Food Nerd to do?
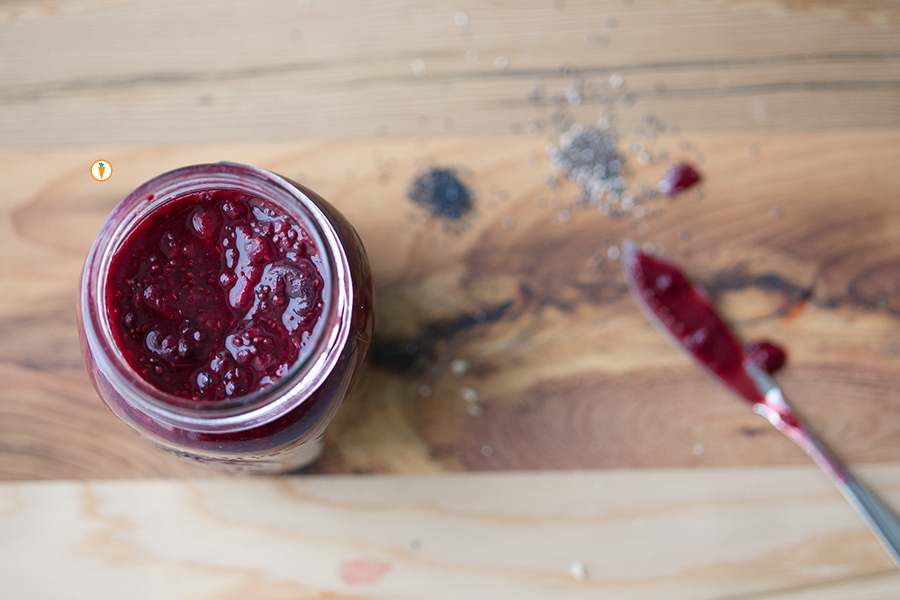
Develop her own recipe! 

I prepare this berry sauce quite regularly for our meal-prep line up. It’s extremely low maintenance and the recipe is pretty darn easy to memorize. There are so many uses for this sauce, here’s what I’ve tried so far:

  • Great in smoothies
  • Lovely on top of plain yogurt
  • Fabulous over pancakes or waffles
  • Yummy on warm or cold oats
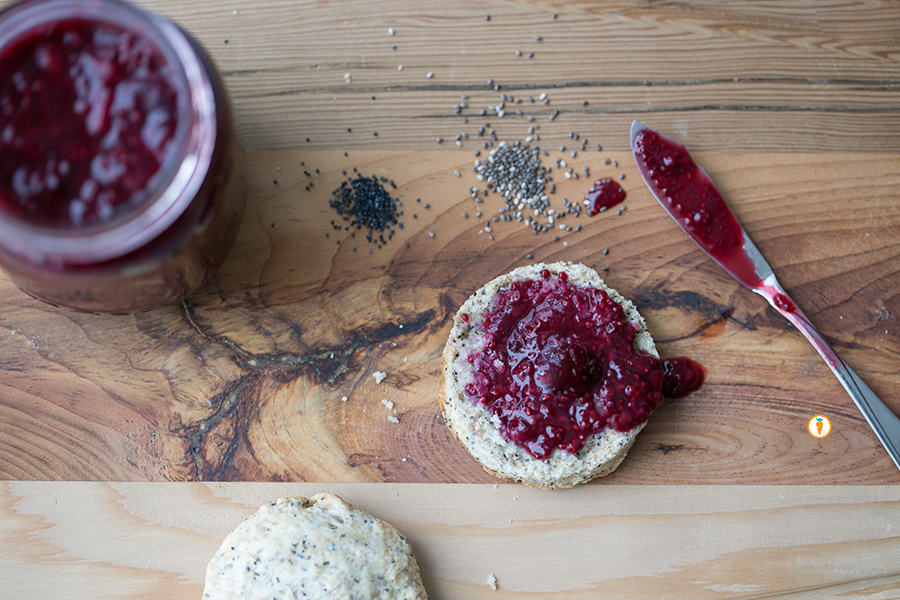
  • Genius as a jam on toast or biscuits

The recipe uses a super cool ingredient that might be new to you. It’s chia seeds! You can find these little guys at any bulk store and they can also be spotted in the “health food” aisle of many large-chain stores. Chia seeds harness a lot of nutrition, offering up some omega-3 power, fibre, calcium and a wee-bit of protein too. Chia seeds are crucial for this recipe as they suck up (literally) moisture from the concoction, leaving you with a nice saucy texture. I promise you’ll love it.

Recipe taymeee.Nita Sharda, Carrots and CakeNita Sharda, Carrots and Cake

5.0 from 1 reviews
5 Ingredient Berry Sauce
 
Prep time
Cook time
Total time
 
Ingredients
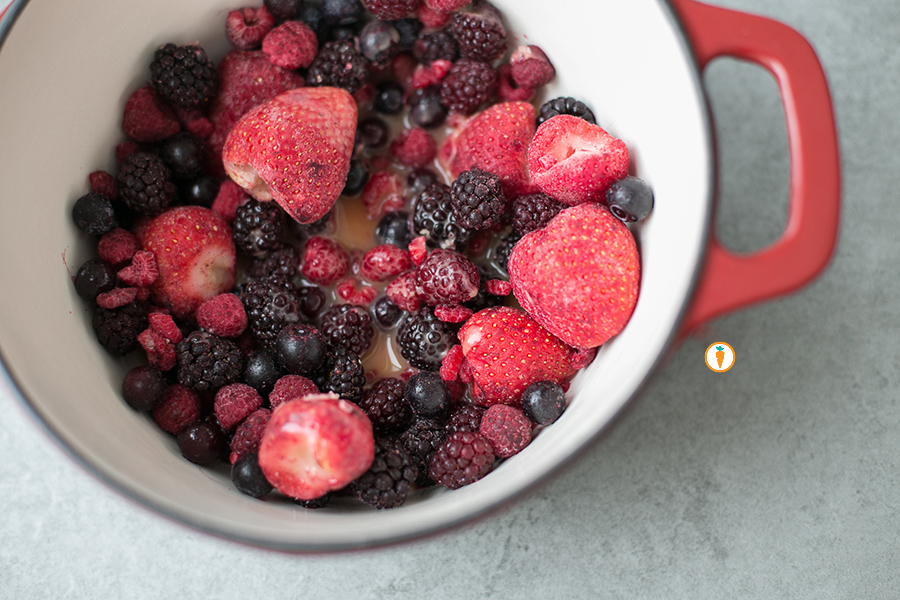
  • 3 cups frozen berries, mixed variety
  • ½ cup 100% orange juice or water
  • 2 tbsp maple sryup
  • 1 tsp vanilla
  • 2 tbsp chia seed
Instructions
  1. Place frozen berries into a medium sized pot. Add in orange juice or water.
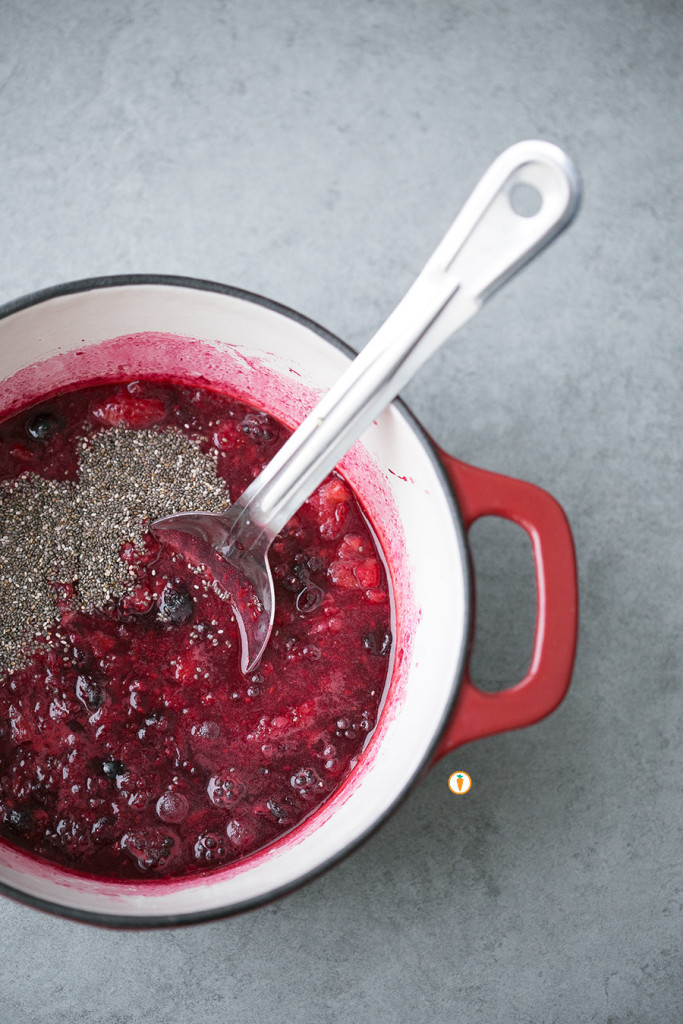
  2. Turn heat to medium and bring mixture to a gentle simmer. When this happens, using a potato masher muddle the berries to a desired consistency. I prefer to leave mine a little chunky, but to each their own!
  3. Next, add in maple syrup and vanilla. Stir to combine.
  4. Remove pot from heat and add in chia seeds.
  5. Stir and wait about 20 minutes. The mixture will begin to thicken.
  6. Store in a mason jar or tupperware for one week, refrigerated.

Nita Sharda, Carrots and Cake
Food photography done by the talented Ceone Dyck. To learn more about Ceone click here or follow her on Facebook.

Don’t forget to follow Carrots and Cake on Instagram to see tiny square snap shots of my life.

                 – With Love, Carrots and Cake,

Carrots and Cake Nita Sharda

5 Reasons you Should be Eating Pulses

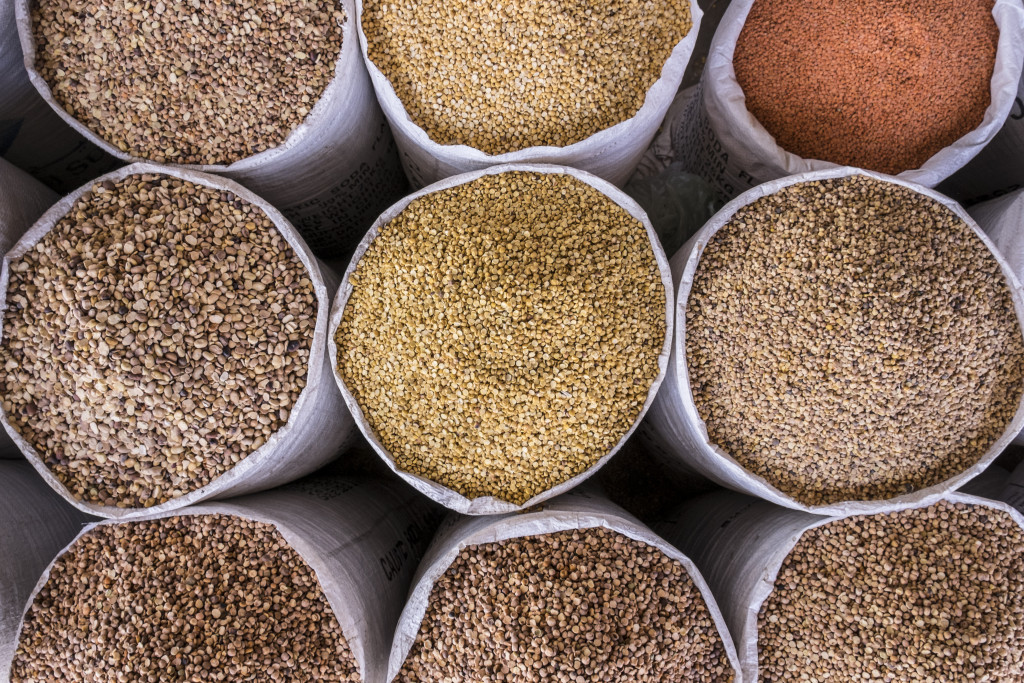
Photo from www.iyp2016.org

Photo from www.iyp2016.org

Oh hiiii! Or I should say, heho! Forgive me, I’ve been celebrating the Festival Du Voyageur over the last two weeks. Hence the blogging hiatus. Okay, one last time, HEHO!

If you haven’t caught on, over the last little while we’ve really been encouraging you to load up and experiment with legumes. For a refresher on what a legume is, visit our previous blog post. For the next little bit, we’re going to explain the WHY behind the WHAT. It’s your health (and tummy) so you should know our top five reasons for recommending legumes.

  1. High in protein.
    Whether you opt out for a lentil or bean, you’re guaranteed to consume a solid amount of protein. Protein is that good stuff you need to keep you full, maintain muscle, produce enzymes and plays in important role in maintaining our skin.

    • 1 cup cooked lentils = 18 grams of protein
    • 1 cup cooked black beans = 15 grams of protein
    • 1 cup cooked kidney beans = 13 grams of protein
      _____
  2. Source of fibre.
    Unlike most animal proteins, beans and lentils contain a complex carbohydrate component that is rich in fibre. Beyond just promoting gut health and keeping you regular with washroom visits, fibre does your body an amazing favor by helping to keep blood sugar levels stable. It’s even known to reduce the risk of colon cancer, and, it can lower cholesterol and triglyceride levels to a healthy range. Oh, and one more thing: it keeps you full for longer.___

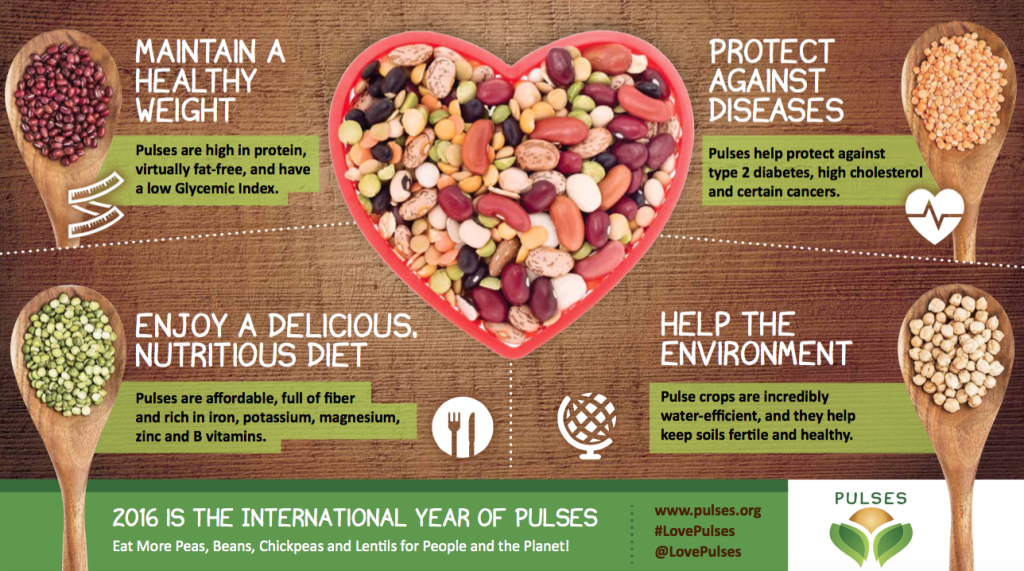
    Image from www.pulses.org

    Image from www.pulses.org

  3. Environmentally friendly.
    We’re starting to learn more and more about the agriculture industry. Here’s what we’ve come to know so far:

    • Growing pulses increases farming biodiversity
    • Pulses are highly water efficient (to produce 1 kg of lentils we need 50 litres of water; for same amount of chicken, we need 4325 litres of water)
    • Crop residues and byproducts can be use for animal feed making pulses multifunctional
    • Pulses produce very little carbon footprint, thus reducing greenhouse gas emissions that pollute our air
    • The nitrogen in pulses improves soil fertility
    • Okay that’s enough bragging.
  1. Versatile.
    If you’re new to beans and lentils like most of our clients, please take comfort in knowing that these little “big” guys are extremely versatile. You can slowly start incorporating them into meals you already enjoy. Here are a few ideas:

    • Mix red lentils into your favorite mac and cheese recipe
    • Add a can of beans into homemade soups and stews
    • Throw in an extra can of beans into your chili
    • Add lentils into your hamburger patty mixture
    • Mix refried beans into your taco beef
    • Throw in ¼ cup of red lentils into your berry smoothie
    • Source recipes that use beans for baking like these black bean brownies
    • Use lentils in your homemade granola
      _
      _____
  2. Economical.
    Lentils and beans are extremely gentle on your wallet and help you maximize food dollars. For a fraction of the cost, you get the benefit of protein (see point one) and fibre (see point two) without the saturated fat that animal proteins come with. Note to the universe: I do love me a good steak, or homemade chicken fingers but prefer to enjoy veggie proteins for the bulk of my meals. I did some price checks at my local mom and pop grocer, here’s what I learned:

    • 1lb extra lean ground beef = $4.99
    • 1lb sliced bologna = $3.99
    • 1lb chicken legs = $2.49
    • 1lb bag dried red lentils = $2.19

So that’s it folks! This rounds up our top 5 reasons for eating pulses. If you’re feeling motivated by all of this information but stumped on how to put this into practice, contact me so we can discuss things further. In the mean time, stay tuned for a load of Carrots and Cake tried and true recipes featuring pulses.

                 – With Love, Carrots and Cake,

Carrots and Cake Nita Sharda