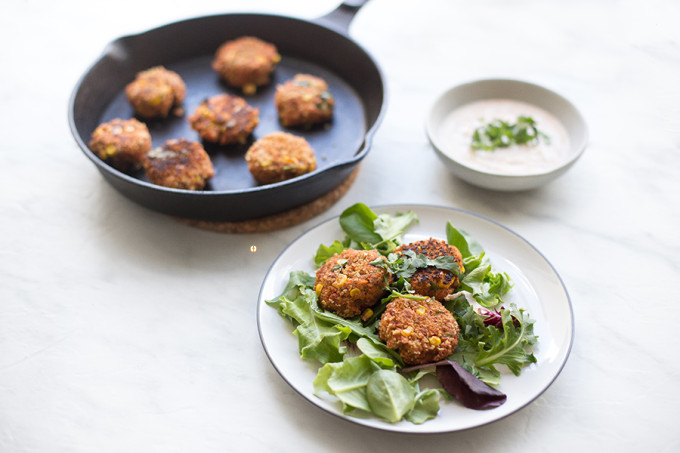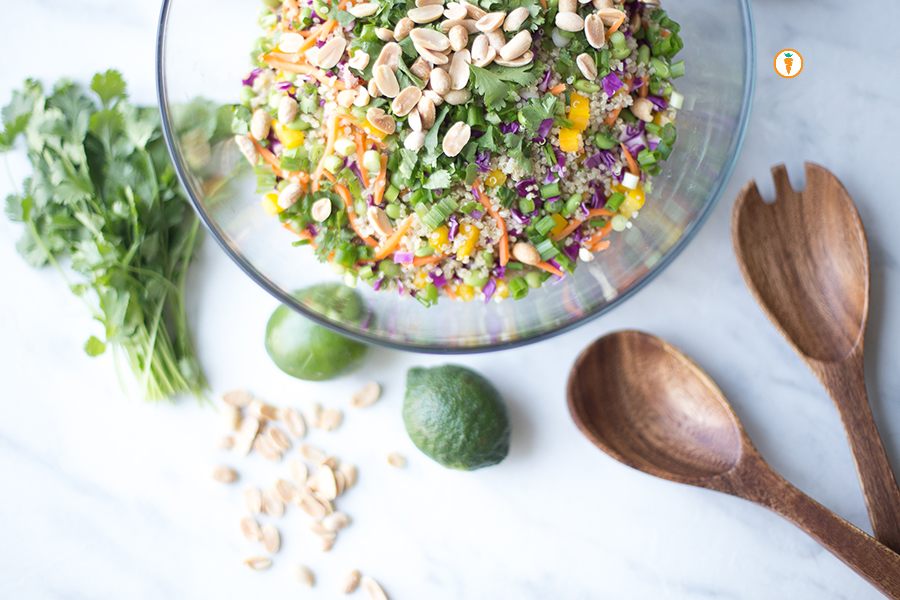
Thai Quinoa Salad

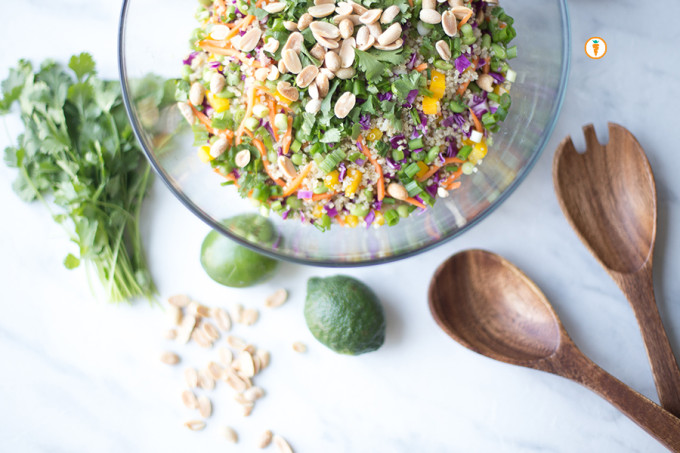
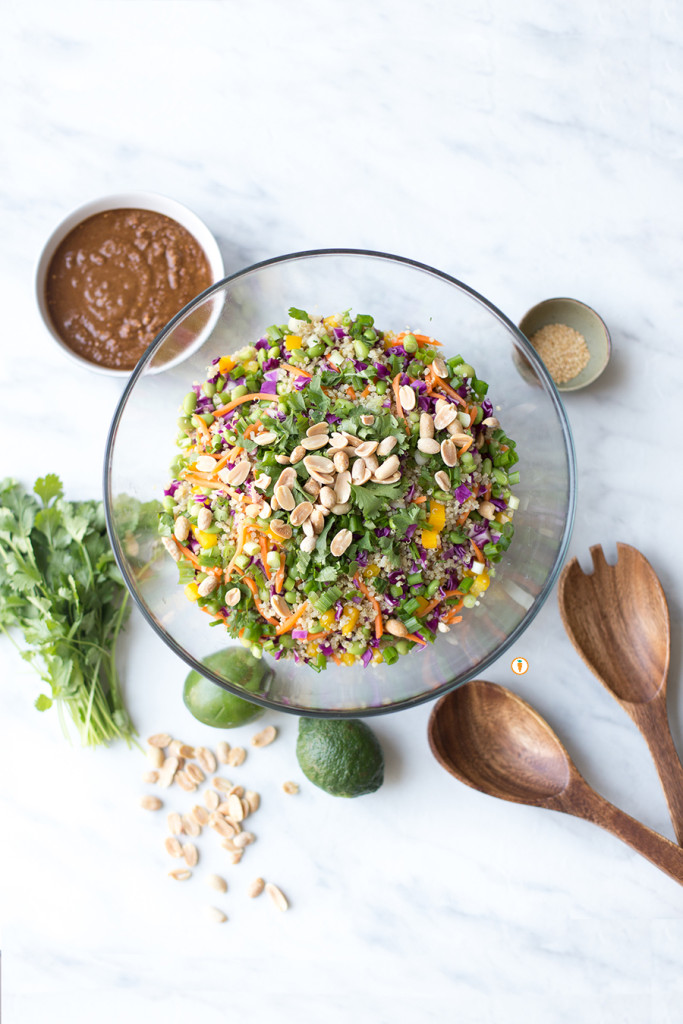
Nita Sharda, Carrots and CakeI love quinoa. But I’m really not a fan of it by itself. Are you? My preference is to enjoy it when it’s “mixed” into something like a pesto quinoa salad or as a pilaf with garlic mushrooms. Mmmmm. I’ve been making this version of a Thai quinoa salad for years now but never really took the time to standardize the recipe. With some encouragement from friends and family, I finally did it.

Here are my pre-requisites for a quinoa salad:

I want it to be hearty enough to be a meal, so I need a solid source of protein. Enter the edamame bean! A ½ cup serving of edamame beans is about 12 grams of protein.

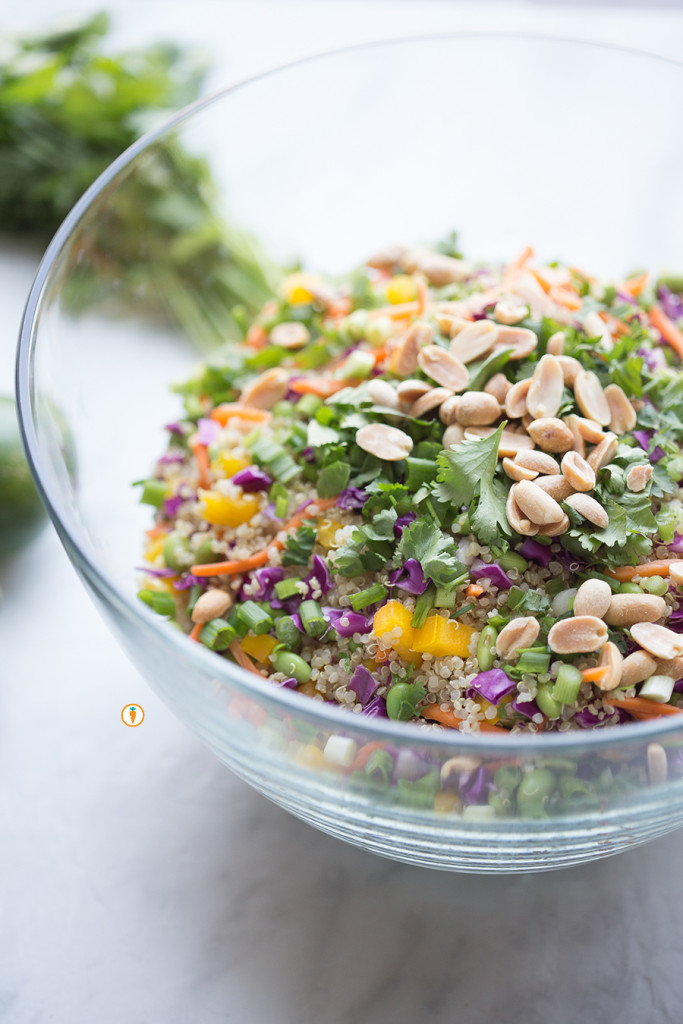
I want color. I eat with my eyes so against the quinoa I wanted to see some yellow, red, purple and green. A colorful meal also means I’m feeding my body variety of nutrients.

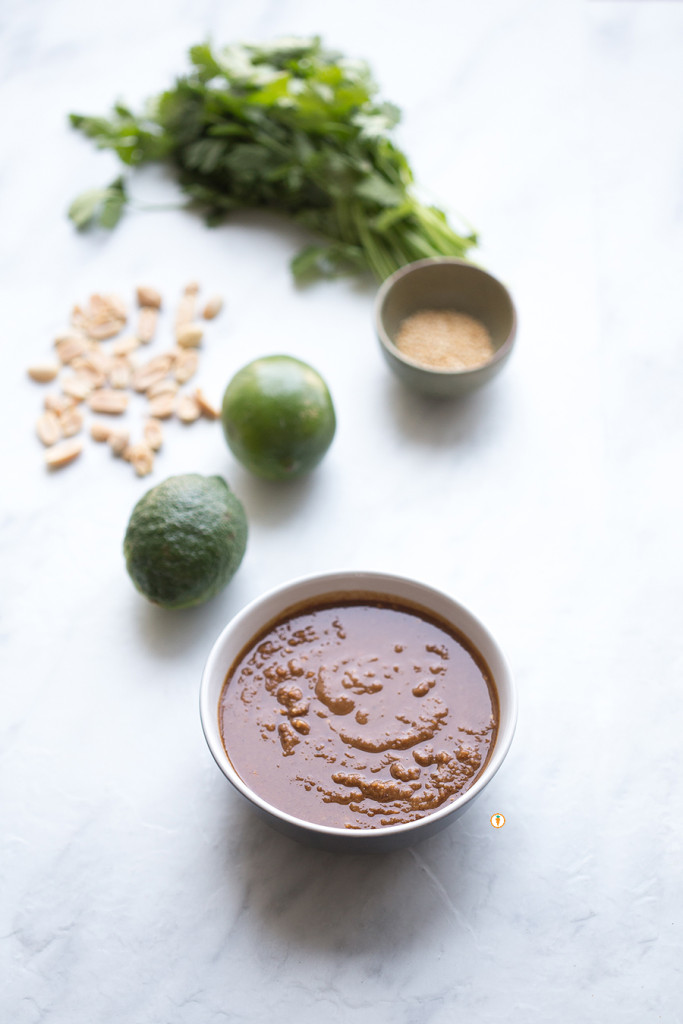
I want a good-for-you dressing. I’m not fearful of fat and my mantra has always been: it’s not the quantity of fat you eat, it’s the quality. The dressing for this recipe is largely based on peanut butter. Go for a natural PB that isn’t loaded with added fats, sugar or salt. The dressing also has lovely hints of ginger which is great for digestion and amping up the flavor of this salad.

I want it to still be good the next day. C’mon, we all know many salads don’t hold up more than 24 hours. Not this recipe! I prefer to keep the dressing on the side and pour on more as I need it. The quinoa salad itself stays perfectly fine for 3 – 4 days when kept refrigerated in an air-tight container.

This recipe is a hit, no matter where I go. My vegan and vegetarian friends and mama’s all LOVE it. It’s perfect for weekday lunches, as a side or for sharing at a potluck.
Nita Sharda, Carrots and CakeThai Quinoa Salad_vertical

Okay, okay, recipe below!

4.0 from 1 reviews
Thai Quinoa Salad
 
Prep time
Cook time
Total time
 
Ingredients
  • Salad:
  • 1 cup uncooked quinoa
  • 2 cups shredded red cabbage (we like to chop it pretty small)
  • 1 red, orange or yellow bell pepper, diced
  • 1 cup shredded carrots
  • 2 cups edamame beans *steam/cook ahead of time
  • ½ cup chopped cilantro
  • ½ cup cashews
  • 3 green onions, chopped
  • For the dressing:
  • ⅓ cup natural peanut butter
  • 1 tbsp freshly grated ginger
  • 3 tablespoons soy sauce
  • 1 tablespoon honey (use agave if vegan)
  • 3 tablespoons red wine vinegar
  • 2 teaspoons sesame oil
  • 2 tsp sesame seeds *optional
  • juice of one lime
Instructions
  1. Prepare quinoa: ensure you've thoroughly rinsed and strained it. Place quinoa in a small pot with 2 cups of water. Bring to a boil and reduce heat to low, cover and simmer until tender and the liquid has been absorbed. About 15 - 20 minutes. Fluff with a fork. Set aside and cool.
  2. To the quinoa add in cabbage, bell pepper, carrots and edamame beans. Fold this into the the quinoa.
  3. Prepare the dressing by mixing together all eight ingredients. I often use a handheld blender to do this job but you could totally use your muscles and a strong fork.
  4. Garnish with cashews, cilantro and green onion. Serve chilled (or eat it up right away).
Thai Quinoa Salad_birdseye
Food photography done by the talented Ceone Dyck. To learn more about Ceone click here or follow her on Facebook.

Don’t forget to follow Carrots and Cake on Instagram to see tiny square snap shots of my life.

                 – With Love, Carrots and Cake,

Carrots and Cake Nita Sharda

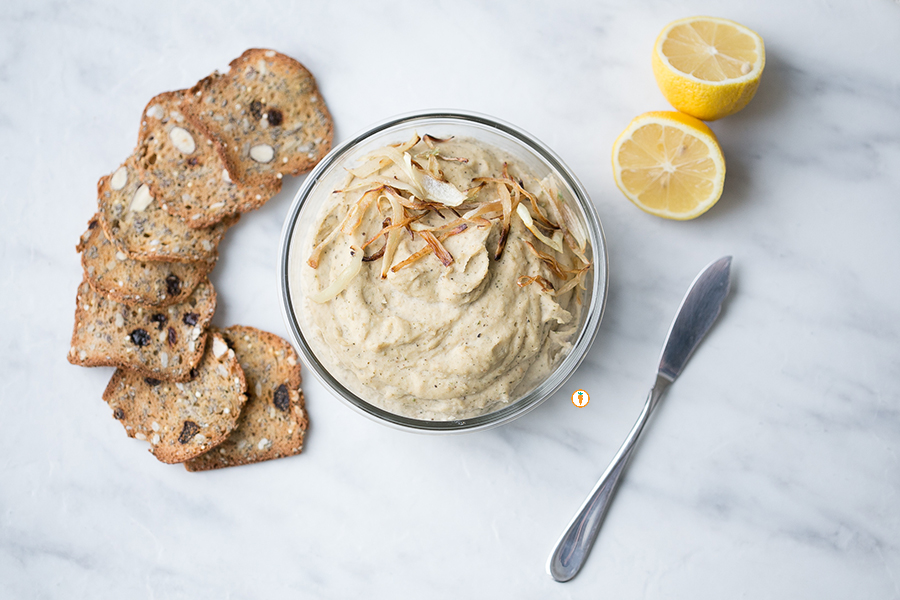
White Bean Spread

Nita Sharda, Carrots and CakeI didn’t think I would say it. But I am. Sometimes, I get sick of hummus.

haaawwwww

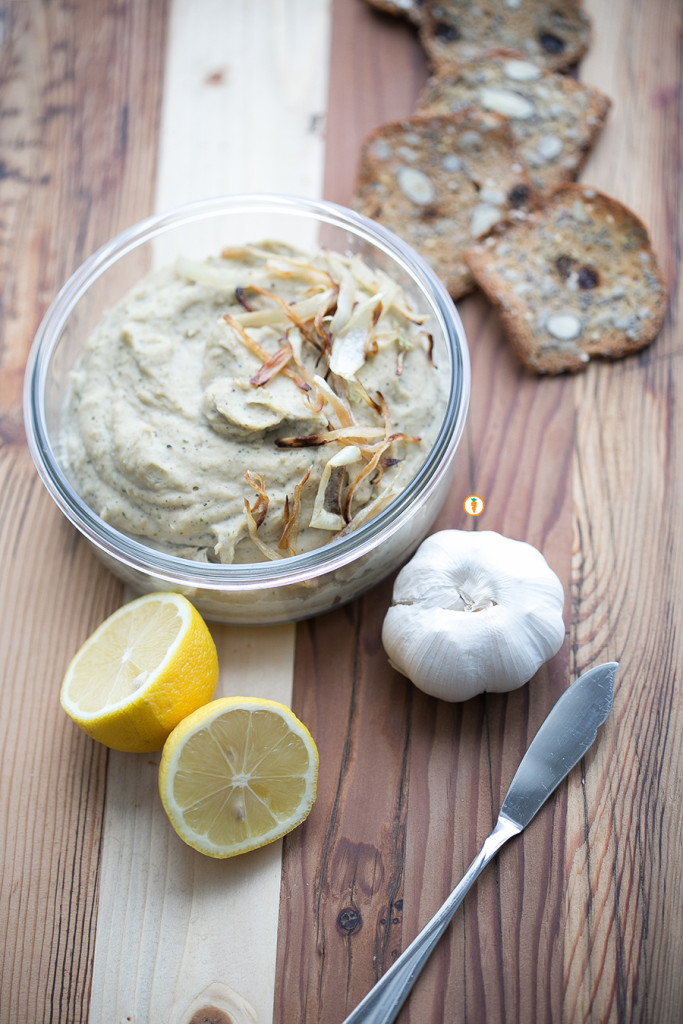
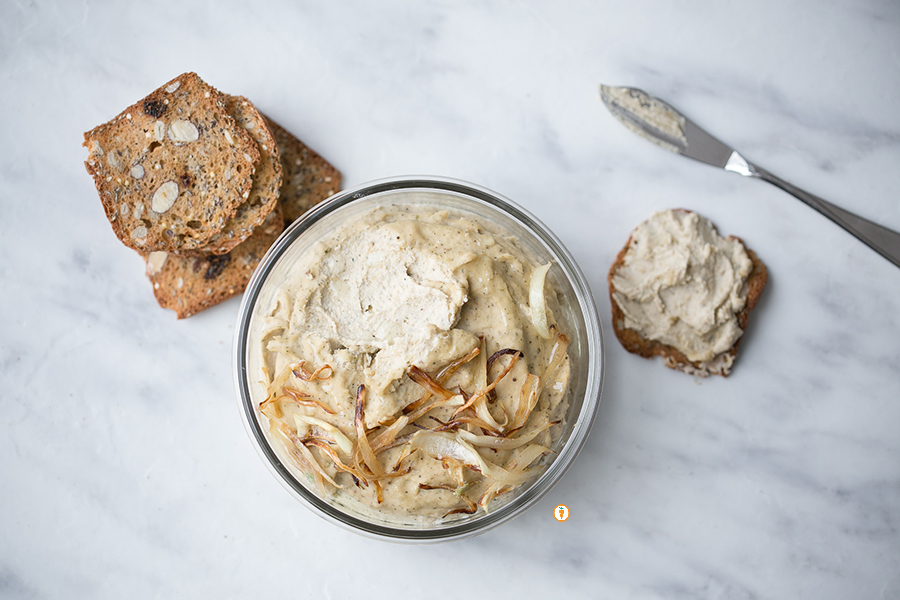
Okay chill–we all need variety. After all, variety is the spice of life! So what is a Dietitian and foodie to do? Improvise! I always seem to have a can white kidney beans (or cannellini beans) in my pantry so I opted to use this as inspiration to create a protein based dip. Because the cannellini bean is more pastey the result is a thick and spreadable dip. I prefer to dunk veggies and crackers into this pretty stuff but I’ve also added dollops of it onto salads.

This recipe is totally versatile. You can add more or less of any ingredient or even nix something you don’t like. For example, my sister isn’t the biggest fan of caramelized onions, but I love them. They make for a beautiful garnish and give it a sweet flavour. Love! Give it a try and let us know what you think!

White Bean Spread_jugWhite Bean Spread_all decor

White Bean Spread
 
Ingredients
  • 1 19oz can white kidney beans, rinsed
  • 3 - 4 cloves garlic, roasted in oven
  • ⅓ cup tahini
  • ¼ cup olive oil
  • Juice of one lemon
  • 1 tsp dried parsley
  • 1 tsp dried basil
  • 1 tsp dried oregano
  • 1 tsp salt
  • 1 tsp black pepper
Instructions
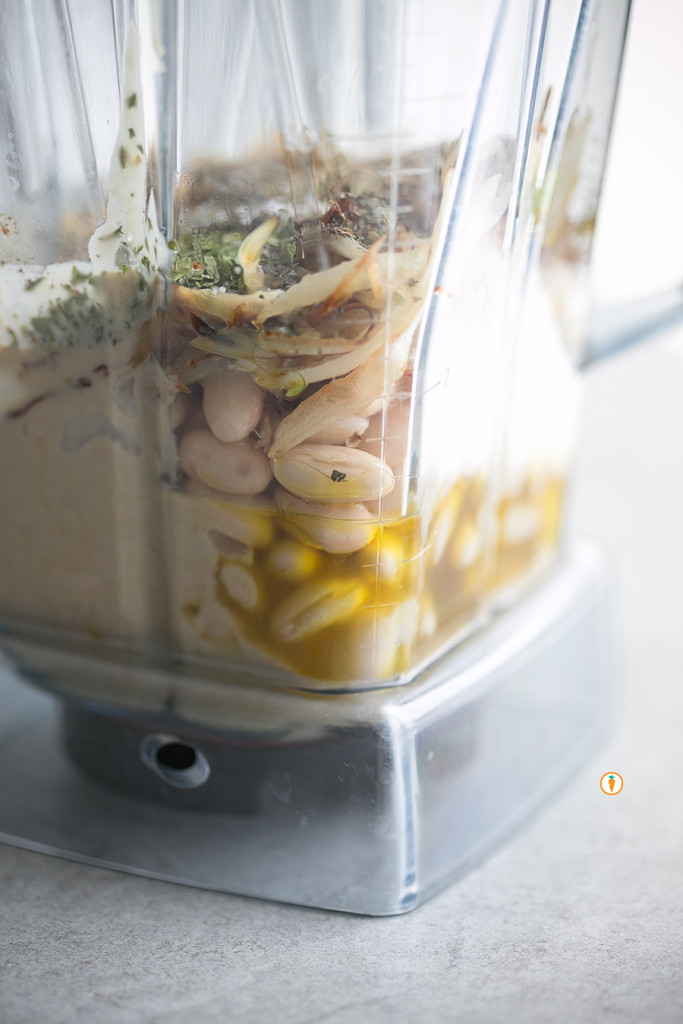
  1. Place all ingredients into a food processor or blender.
  2. Blend until smooth.
  3. Taste and add more spices as needed. Feel to also add 1 tbsp of water at a time to reach a desired consistency.
  4. Garnish as you wish! You can garnish with caramelized onions, olives, herbs or a drizzle of olive oil!

Nita Sharda, Carrots and CakeFood photography done by the talented Ceone Dyck. To learn more about Ceone click here or follow her on Facebook.

Don’t forget to follow Carrots and Cake on Instagram to see tiny square snap shots of my life.

                 – With Love, Carrots and Cake,
Carrots and Cake Nita Sharda

5 Reasons you Should be Eating Pulses

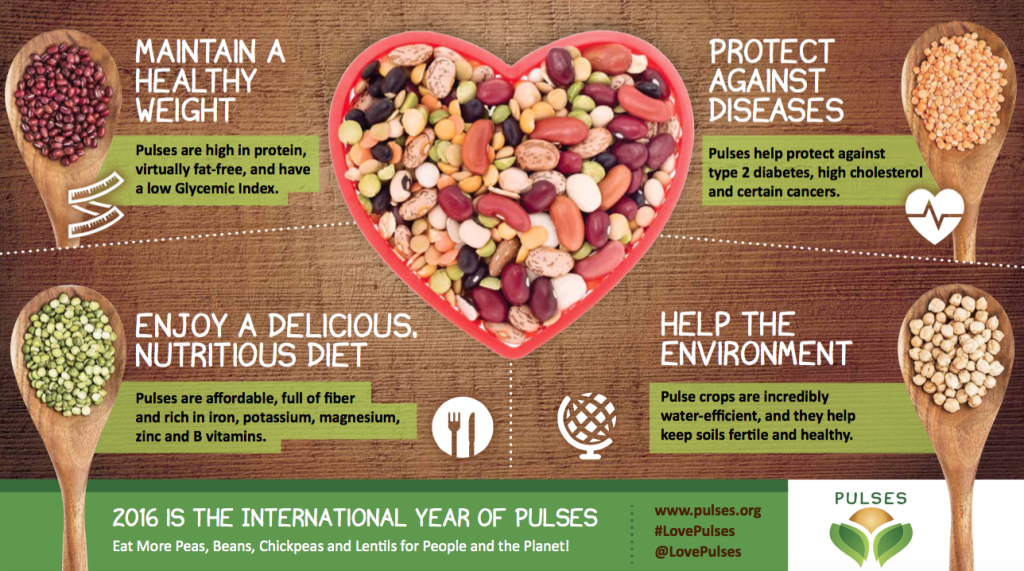
Photo from www.iyp2016.org

Photo from www.iyp2016.org

Oh hiiii! Or I should say, heho! Forgive me, I’ve been celebrating the Festival Du Voyageur over the last two weeks. Hence the blogging hiatus. Okay, one last time, HEHO!

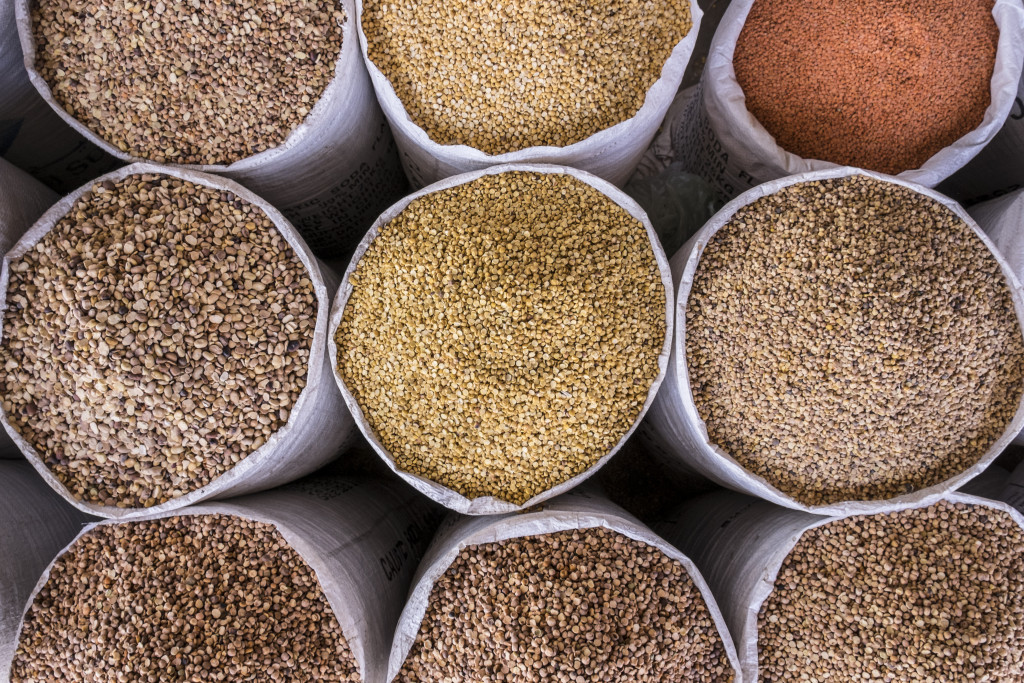
If you haven’t caught on, over the last little while we’ve really been encouraging you to load up and experiment with legumes. For a refresher on what a legume is, visit our previous blog post. For the next little bit, we’re going to explain the WHY behind the WHAT. It’s your health (and tummy) so you should know our top five reasons for recommending legumes.

  1. High in protein.
    Whether you opt out for a lentil or bean, you’re guaranteed to consume a solid amount of protein. Protein is that good stuff you need to keep you full, maintain muscle, produce enzymes and plays in important role in maintaining our skin.

    • 1 cup cooked lentils = 18 grams of protein
    • 1 cup cooked black beans = 15 grams of protein
    • 1 cup cooked kidney beans = 13 grams of protein
      _____
  2. Source of fibre.
    Unlike most animal proteins, beans and lentils contain a complex carbohydrate component that is rich in fibre. Beyond just promoting gut health and keeping you regular with washroom visits, fibre does your body an amazing favor by helping to keep blood sugar levels stable. It’s even known to reduce the risk of colon cancer, and, it can lower cholesterol and triglyceride levels to a healthy range. Oh, and one more thing: it keeps you full for longer.___

    Image from www.pulses.org

    Image from www.pulses.org

  3. Environmentally friendly.
    We’re starting to learn more and more about the agriculture industry. Here’s what we’ve come to know so far:

    • Growing pulses increases farming biodiversity
    • Pulses are highly water efficient (to produce 1 kg of lentils we need 50 litres of water; for same amount of chicken, we need 4325 litres of water)
    • Crop residues and byproducts can be use for animal feed making pulses multifunctional
    • Pulses produce very little carbon footprint, thus reducing greenhouse gas emissions that pollute our air
    • The nitrogen in pulses improves soil fertility
    • Okay that’s enough bragging.
  1. Versatile.
    If you’re new to beans and lentils like most of our clients, please take comfort in knowing that these little “big” guys are extremely versatile. You can slowly start incorporating them into meals you already enjoy. Here are a few ideas:

    • Mix red lentils into your favorite mac and cheese recipe
    • Add a can of beans into homemade soups and stews
    • Throw in an extra can of beans into your chili
    • Add lentils into your hamburger patty mixture
    • Mix refried beans into your taco beef
    • Throw in ¼ cup of red lentils into your berry smoothie
    • Source recipes that use beans for baking like these black bean brownies
    • Use lentils in your homemade granola
      _
      _____
  2. Economical.
    Lentils and beans are extremely gentle on your wallet and help you maximize food dollars. For a fraction of the cost, you get the benefit of protein (see point one) and fibre (see point two) without the saturated fat that animal proteins come with. Note to the universe: I do love me a good steak, or homemade chicken fingers but prefer to enjoy veggie proteins for the bulk of my meals. I did some price checks at my local mom and pop grocer, here’s what I learned:

    • 1lb extra lean ground beef = $4.99
    • 1lb sliced bologna = $3.99
    • 1lb chicken legs = $2.49
    • 1lb bag dried red lentils = $2.19

So that’s it folks! This rounds up our top 5 reasons for eating pulses. If you’re feeling motivated by all of this information but stumped on how to put this into practice, contact me so we can discuss things further. In the mean time, stay tuned for a load of Carrots and Cake tried and true recipes featuring pulses.

                 – With Love, Carrots and Cake,

Carrots and Cake Nita Sharda

Black Bean Brownies

Carrots and Cake, Nita Sharda

Seriously, yummy.

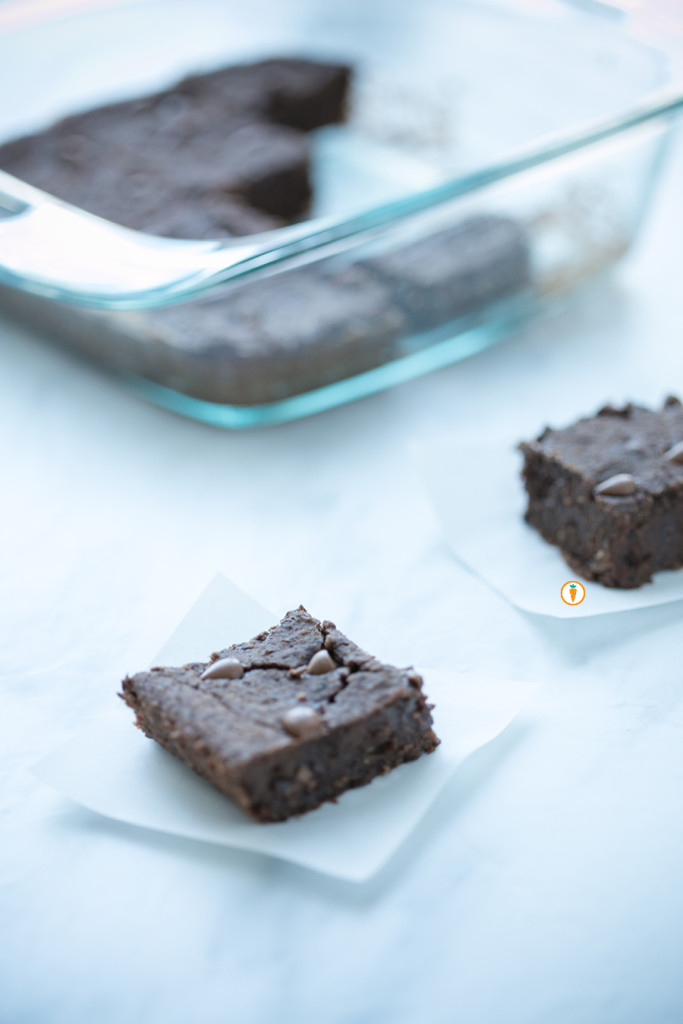
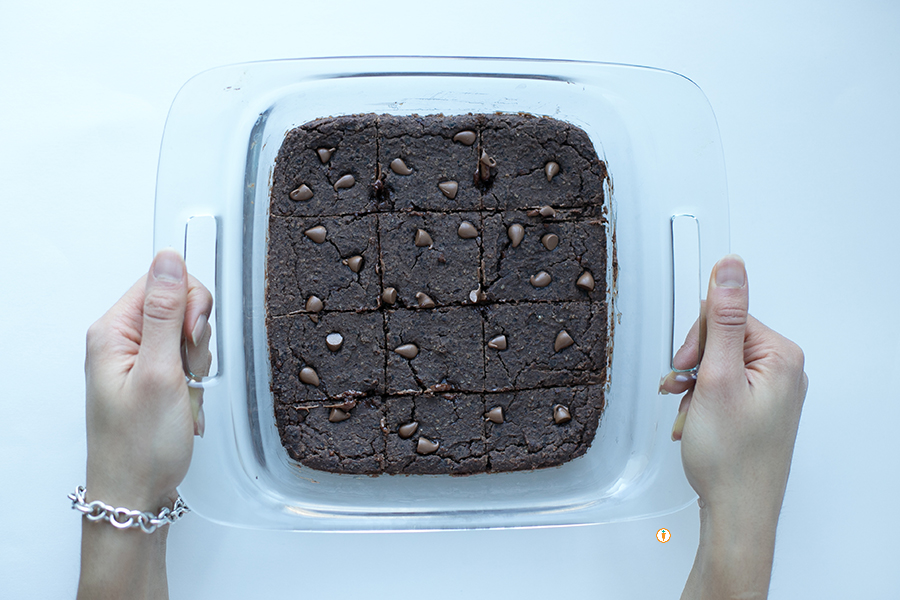
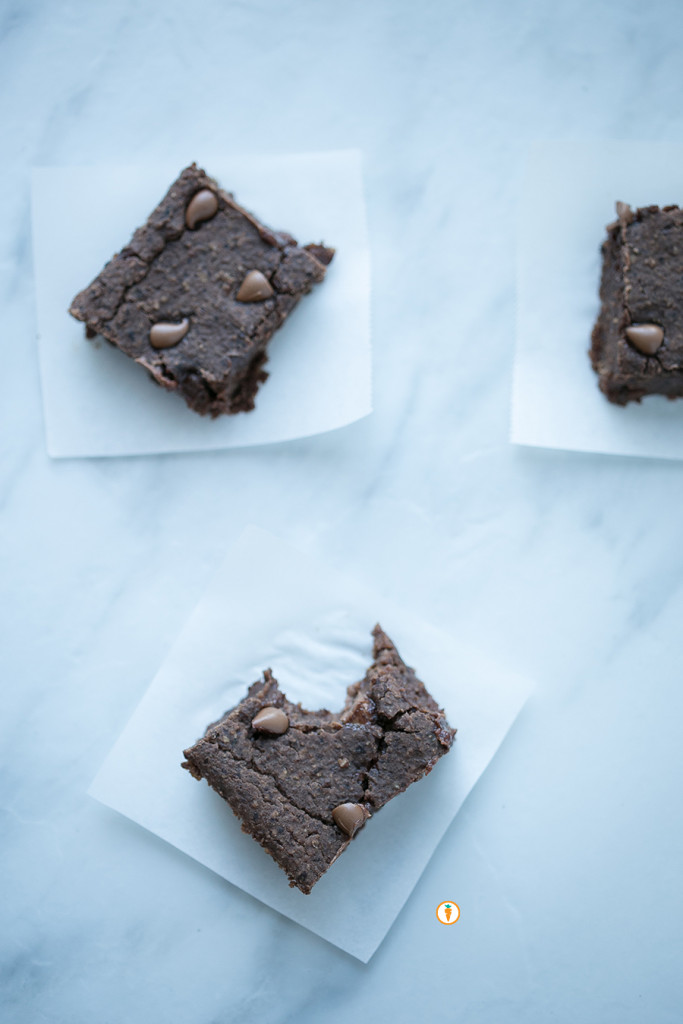
Earlier this week we talked to you about how excited we are that 2016 is the International Year of the Pulse. Hip hip hooray! In today’s recipe post we’re sharing an exciting brownie recipe that uses black beans. Yes, you read that right: BLACK BEANS. Please, don’t be scared – the results are amazing and dddddelish.

If you’re also making it a goal to experiment with new grains you’ll note that this recipe is actually wheat free. Instead, it uses oats. The original inspiration came from a fellow food blogger who we love, Chocolate Covered Katie. Our contributor Ceone had also made variations of the recipe in the past, so we wanted to share-share (what do they say? Sharing is caring). We made a few adaptations such as using applesauce to reduce the fat content and also decided to finely process the oats a bit more. The result is a brownie that resembles fudge but is still soft, a little gooey and chocolatey. All good things people. All good things.

From a nutrition standpoint, what I love about this dessert option is that it offers my clients an opportunity to still practice balance. In comparison to commercial or boxed brownies, this brownie is fairly low in sugar, offers up some fibre and protein which in turn will help you feel full for longer (that’s because fibre and protein are satiating). It’s totally the type of treat (or every day food) that really can be good for you. 

Carrots and Cake, Nita Sharda

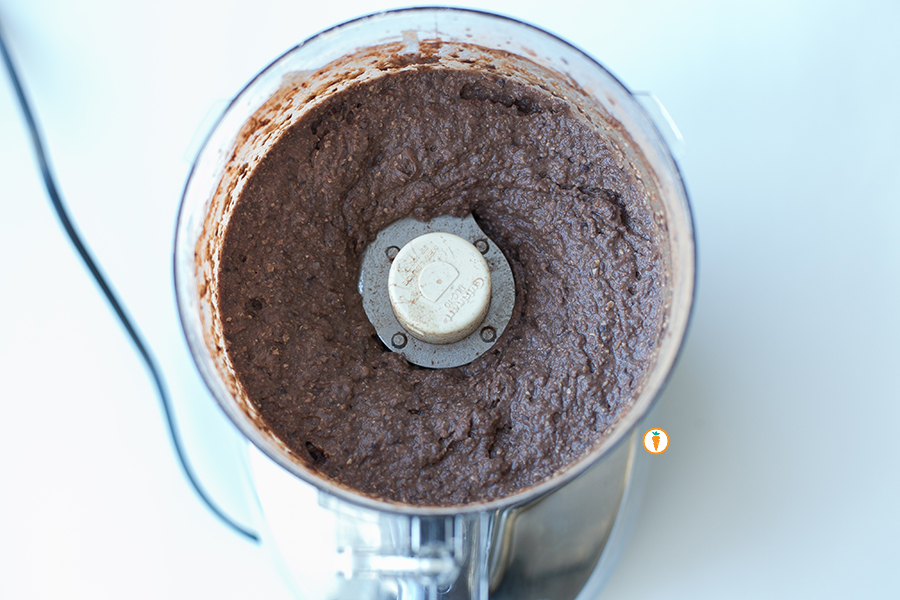
All mixed up.

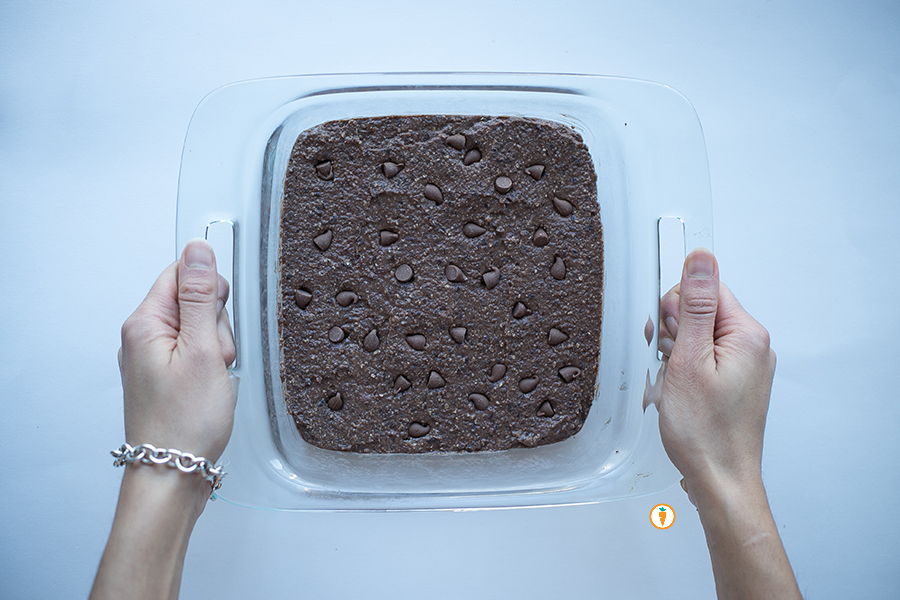
Before it goes into the oven.

Before it goes into the oven.

Carrots and Cake, Nita Sharda

After it’s been baked.

Okay, okay. Enough with the chatter. Recipe below:

Black Bean Brownies
 
Prep time
Cook time
Total time
 
Serves: 12
Ingredients
  • 1½ cups black beans, drained and rinsed
  • 2 tbsp cocoa powder
  • ½ cup quick oats or rolled oats
  • ¼ tsp salt
  • ⅓ cup maple syrup
  • ¼ cup unsweetened applesauce
  • 1 tbsp canola oil
  • 2 tsp vanilla extract
  • ½ tsp baking powder
  • ½ cup chocolate chips
Instructions
  1. Preheat oven to 350 F.
  2. Place oats into the bowl of a food processor and pulse until it resembles coarse flour.
  3. Add remaining ingredients except chocolate chips into a food processor and blend until completely smooth.
  4. Fold the chocolate chips into the batter.
  5. Place mixture into a greased 8×8 pan.
  6. Optional: sprinkle extra chocolate chips over the top.
  7. Cook the black bean brownies 20 minutes. Allow it to cool and set at least 10 minutes before trying to cutting into it. If they still look a bit undercooked, you can place them in the fridge overnight and they will magically firm up! Makes 12 brownies

1BlackBeanBrownies_squares

These photos  were taken by Ceone Dyck, 4th Year Human Nutritional Sciences student. To learn more about Ceone click here or follow her on Facebook.

                 – With Love, Carrots and Cake,

Carrots and Cake Nita Sharda

Roasted Cauliflower Salad Bowl

Nita Sharda, Carrots and Cake

YUMMY YUMMY!

If you’re living somewhere that is currently in the middle of winter (read: “Winterpeg, Manisnowba”), cold and raw veggies is probably the last thing you feel like eating. On the other hand, many of us are trying to UP our veggie intake. Salad is a great way to increase the amount of fruit and vegetable servings in our diet, but it can get old pretty fast.

We have a secret though (shhh): with a little creativity, salad doesn’t have to be boring, and yes, they can be hearty. Here are some tips to creating your own salads that you’ll actually look forward to eating this winter (and no one will be accusing you of eating rabbit food! How rude!):

 salad doesn’t have to be boring

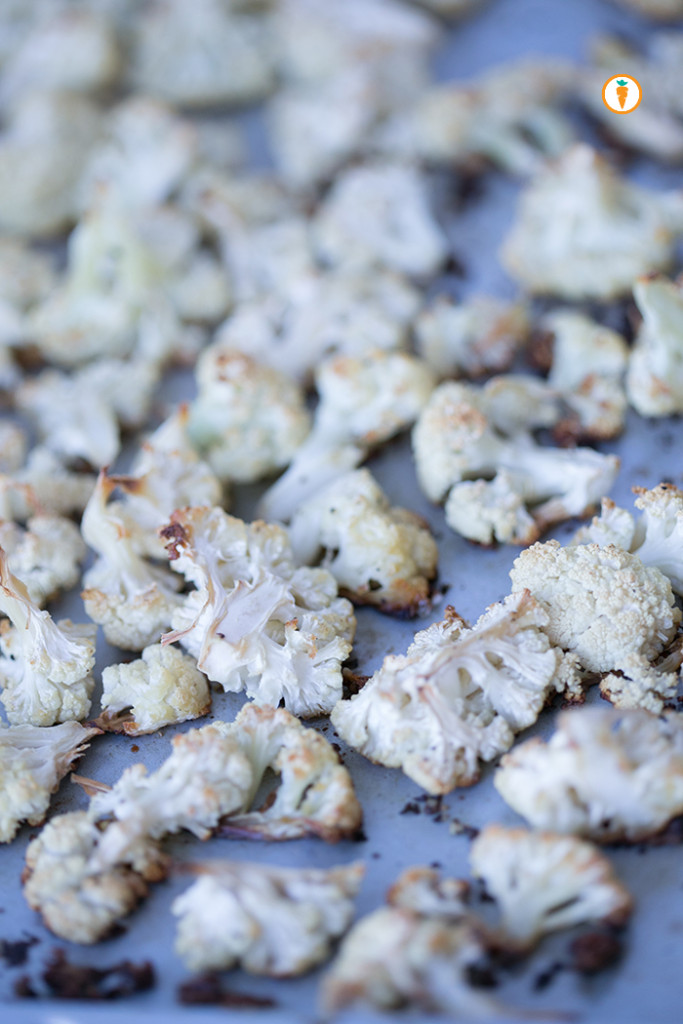
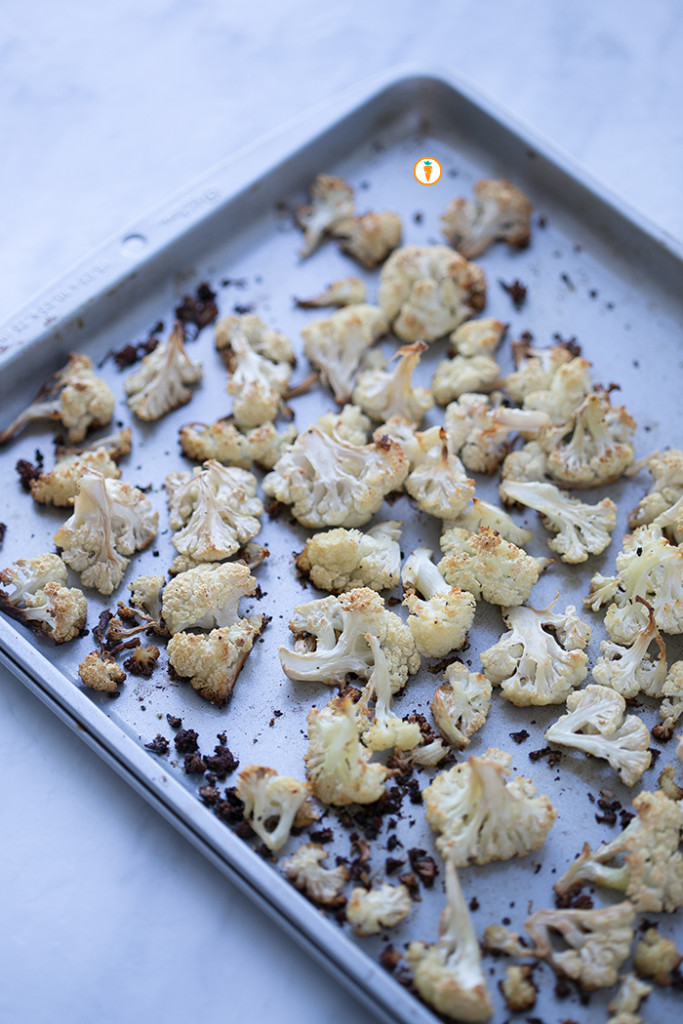
  • Warm it up. Roast some of your vegetables to bring out those warm, nutty flavours – you can play around with spices such as cinnamon, cumin or chili to add an extra dimension of flavour. When prepping ahead of time, pack the cooked portion separate from your greens so you can warm it up right before eating, and keep the greens from getting soggy. Veggies that love to be roasted: broccoli, beets, peppers, cauliflower, green beans, squash, zucchini, eggplant, and potatoes. Here we opted to roast cauliflower. Isn’t it gorgeous?

Nita Sharda, Carrots and CakeNita Sharda, Carrots and Cake


  • Stay balanced. Be sure to include carbohydrates (aka carb) and protein in your salad if you are having it as a meal. Got that? IT IS NOT A MEAL WITHOUT CARB AND PROTEIN. Doing so will ensure that you feel full and that you consume a variety of nutrients (oh and it will keep you from reaching for that candy bar when hunger strikes).

    • Carb options: brown rice, quinoa, bulgur, potatoes, sweet potato, or squash.
    • Protein options: grilled or steamed chicken breast and salmon, tofu, beans, chickpeas, and lentils (Psst: 2016 is the year of pulses! More on that in a later post).
  • Eat the rainbow. We all know that we eat with our eyes first, but including a variety of colours not only makes your salad pretty, it ensures that you are also getting a variety of vitamins and minerals with each bite. Opt for dark, leafy greens as a base, and then add 2-3 other colours to the mix. Carrots, red cabbage, beets, pomegranate, and squash are all in season.
  • Dress to impress. When choosing a dressing, vinaigrettes are the better option, as they have less saturated fat than cream-based dressings such as caesar or ranch. If you prefer to purchase dressing rather than make your own, be sure to check out the ingredients list and choose a dressing that has simple ingredients that you can pronounce and would likely have in your pantry; such as oil, vinegar, and spices. Here’s a simple go-to canola oil dressing I love. So simple.
  • Fake it till you make it. If you’re a fan of creamy dressings, try using hummus, tahini (sesame seed paste), or plain yogurt as alternatives when making dressings.
  • Go nuts! Nuts and seeds are a great way to add healthy fat, protein, fibre and texture to salad. Try adding roasted and unsalted almonds, walnuts, cashews, pumpkin seeds or sunflower seeds for extra crunch and flavour.

Whew! The possibilities are endless when it comes to “ a salad”. The best way to avoid getting stuck in a rut is to experiment and see what works best for you.

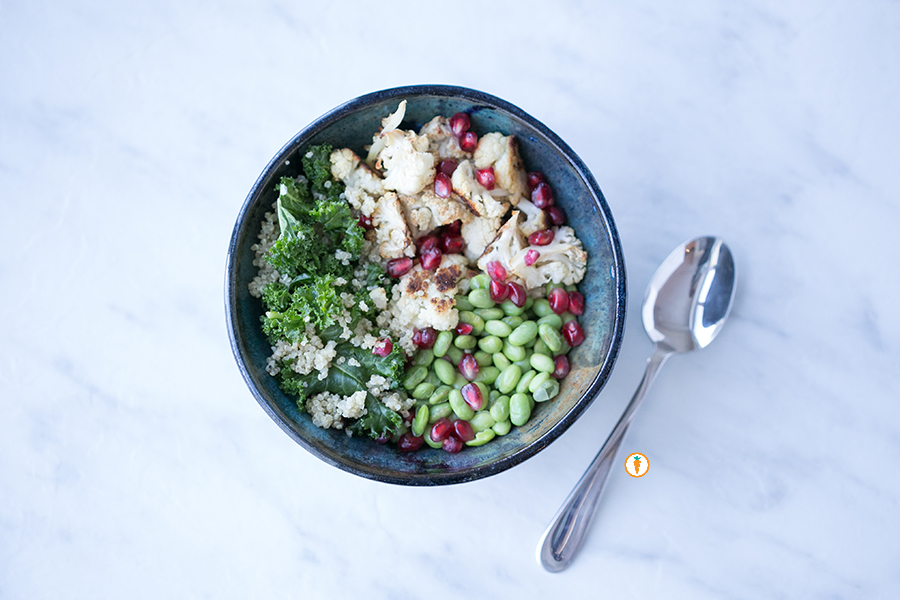
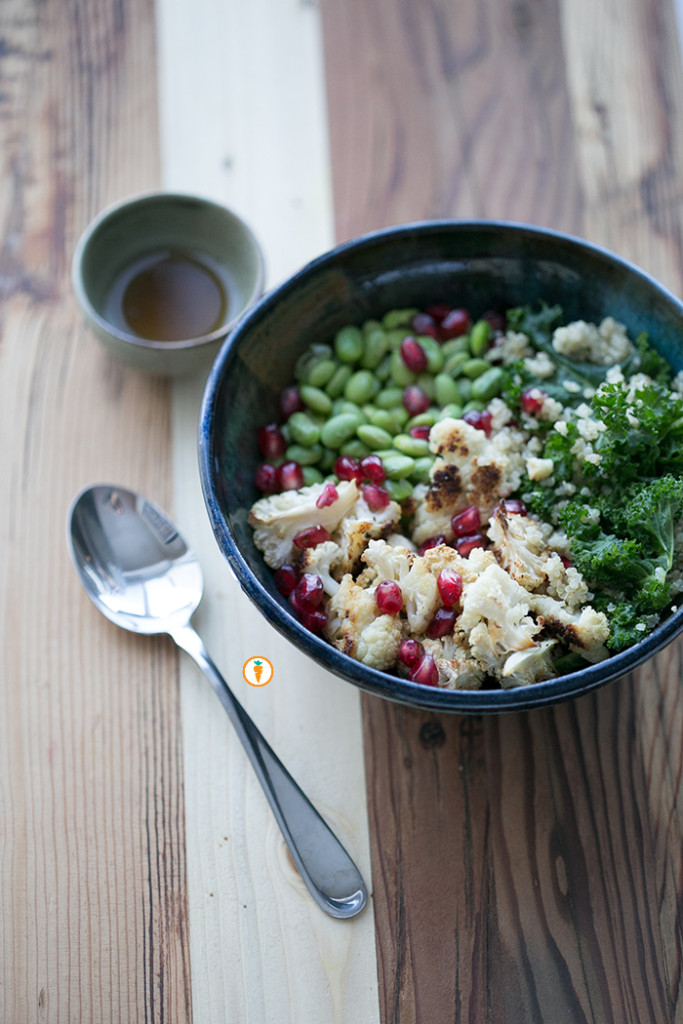
ANYWAY, here is a cozy and delicious winter salad to get you started:

Nita Sharda, Carrots and Cake

Cauliflower Salad Bowl
 
Prep time
Cook time
Total time
 
Ingredients
  • Kale
  • Edamame bean, steamed
  • Cauliflower
  • Quinoa, cooked
  • Pomegranate
  • Salt and pepper
  • 2 tbsp extra virgin olive oil plus extra for drizzling
  • 1 tbsp maple syrup
  • 1 tbsp white wine vinegar
Instructions
  1. Preheat oven to 350 degrees celcius.
  2. Chop cauliflower into bite size florets. Lay onto a baking sheet and drizzle lightly with olive oil. Sprinkle with a pinch of black pepper, salt and any other herbs you'd like to use.
  3. Roast in the oven for 15 - 20 minutes until cauliflower is tender and beginning to brown.
  4. In the mean time, assemble your salad bowl by combining kale, steamed edamame beans, cooked quinoa and pomegranate. Add as much or as little of each ingredient as you wish.
  5. For the dressing, whisk together 2 tbsp extra virgin olive oil, 1 tbsp each of maple syrup and white wine vinegar. Pour over salad and massage into your kale (this helps to tenderize and soften the kale).
  6. Once the cauliflower is ready, add it onto your salad bowl. Enjoy!
This blog post was written by Christy Lai, 4th Year Human Nutritional Sciences student. Follow Christy on Instagram, trust me, you’ll want to.
Food photography done by the talented Ceone Dyck. To learn more about Ceone click here or follow her on Facebook.
                 – With Love, Carrots and Cake,

Carrots and Cake Nita Sharda

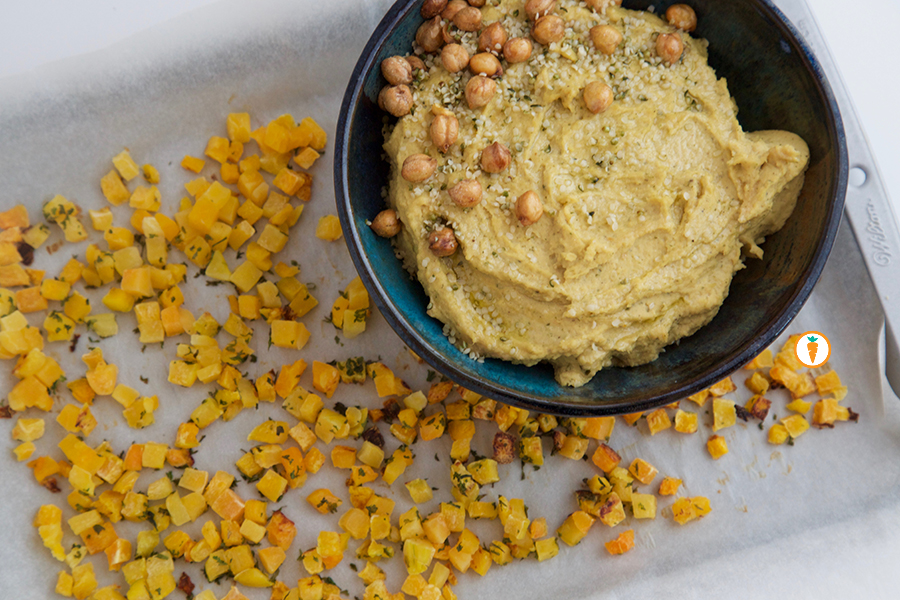
Roasted Butternut Squash Hummus

Nita Sharda, Carrots and Cake

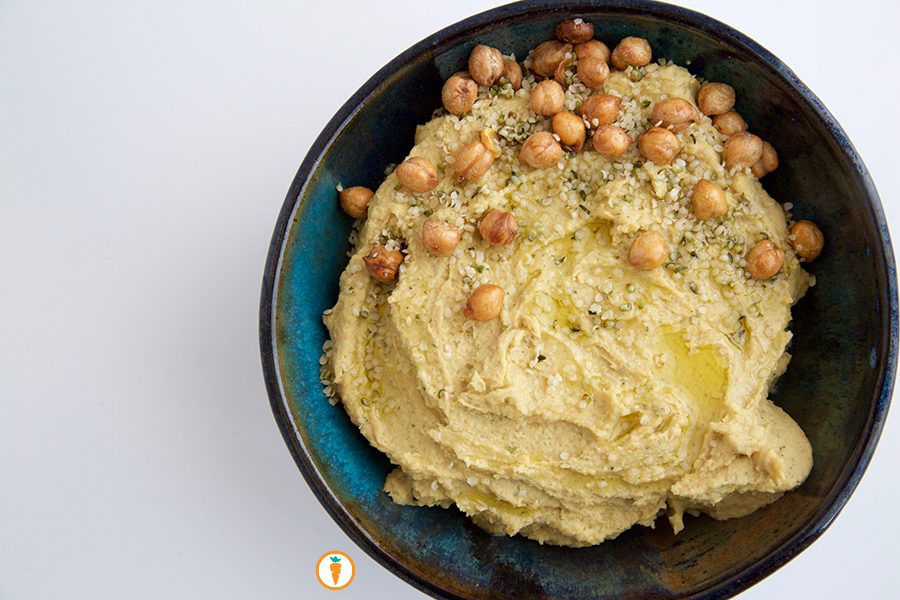
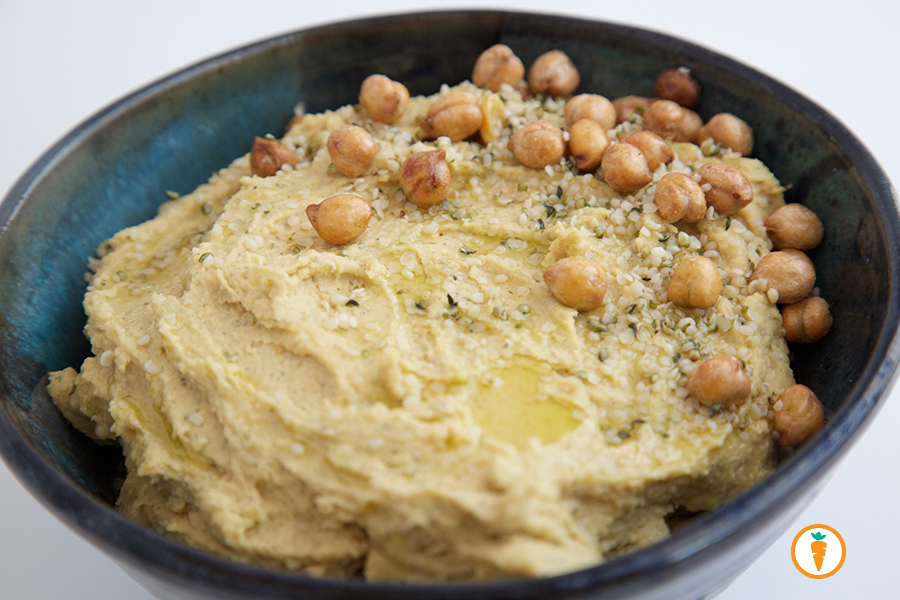
Butternut squash, chickpeas and hemp = amazing.

Butternut squash and chickpeas.

The best of both worlds when this subtle squash melds with chickpeas in this non-traditional take on hummus. I’ve tried few different variations of hummus including my Jalapeno Spiced Hummus and other store bought variations like Sabra’s Supremely Spicy Hummus (c’mon, I’m Indian aka I live for spice). But after seeing the Minimalist Baker’s version of Butternut Squash Hummus I just had to try it out. I didn’t have all of the same ingredients on hand so this is my adaptation. Seriously, I can never follow a recipe (jeeze).

What I love about this version of hummus is the thick consistency. It’s perfect as a dip but really I think it was destined to be used as a spread on wraps and sandwiches. Don’t you hate it when your sandwich spread leaves your bread soggy? Yuck! Fear not. This wont happen with this Roasted Butternut Squash hummus.

I have two other tid-bits to share about the recipe.

  • First, the garlic. ROAST THE GARLIC PEOPLE. The yield is a deep flavor that isn’t as overpowering as raw garlic tends to be. I know my bff Christine aka nurse-turned-photographer LOVED the taste of garlic. She’s actually rationing her hummus to keep it all week long. Yeah, that good.
  • Secondly, the hemp hearts (shout out to Just Hemp Foods) adds a lovely nuttiness to the entire product. Not to mention, these tiny but oober-powerful seeds help crank up the protein content and offer anti-inflammatory fats that we could all use a little more of.

And HELLO to all of you mama’s who try to get your little peeps to eat more veggies. They will never know there is squash in this hummus (sneaky, sneaky). But, that doesn’t mean you can’t tell them what’s in it! We can really only hide veggies from our kids for so long; educate your children about the meals you’re creating and they’ll be encouraged to try them!

Okay, okay. The recipe: 

 
Ingredients
  • 1 cup butternut squash, cubed
  • 5 cloves garlic, whole
  • 1 tbsp dried parsley
  • 1 lemon, juiced
  • 1 15oz can chickpeas, rinsed + drained
  • ⅓ cup tahini
  • ¼ cup hemp heart
  • 5 Tbsp extra virgin olive oil
  • Sea salt and black pepper, to taste
  • ½ tsp ground cumin
Instructions
  1. Preheat oven to 350 degrees F and position a rack in the middle of the oven.
  2. Toss butternut squash, 5 garlic cloves and parsley with a drizzle of olive oil on a baking sheet.
  3. Roast squash for 20 - 30 minutes minutes, or until all squash is fork tender and the garlic is golden brown. I allowed some of my squash to really crispen up. Let cool 5 minutes.
  4. In your food processor or blender combine: squash, garlic, lemon juice, chickpeas, tahini, hemp hearts, olive oil, salt, pepper and cumin.
  5. Blend the mixture until creamy and smooth, scraping down sides as needed and adding more olive oil or a touch of water to achieve desired consistency.
  6. Serve immediately or chill in your fridge.

Nita Sharda, Carrots and CakeNita Sharda, Carrots and Cake

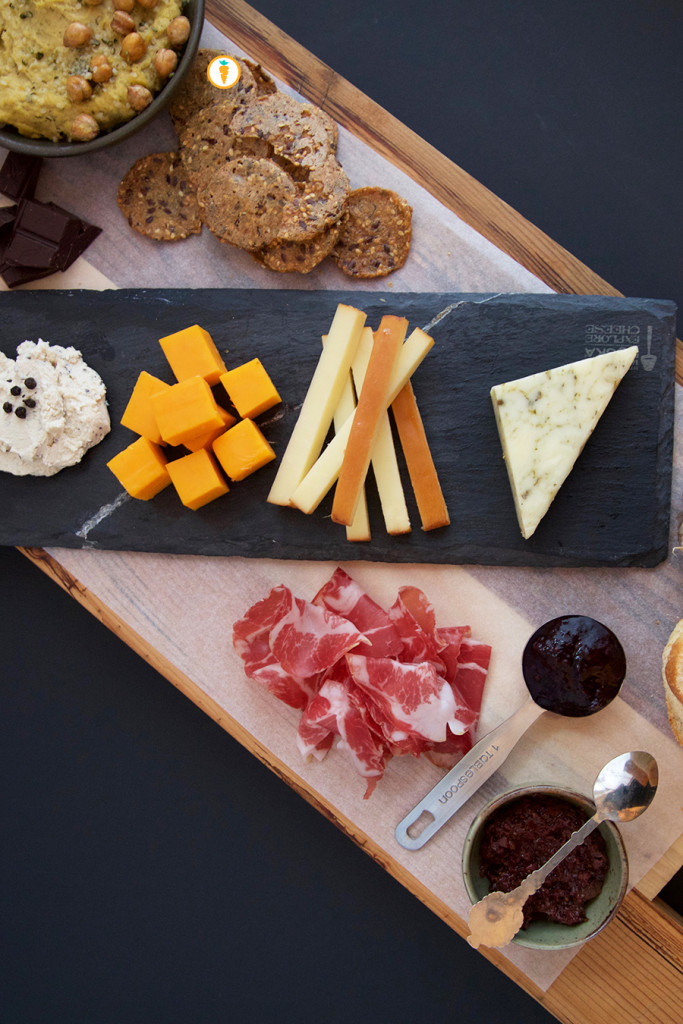
Now what are you gonna do with all that hummus? The options are endless: plop some onto of a salad, use it as a spread on sandwiches and wraps, eat it by the spoonful, dunk veggies into it or use it as a dip to compliment a cheese board. Kinda like I did over here for an upcoming collaboration with Bothwell Cheese (stay tuned). Drooooolllll.
Nita Sharda

If you’re need of more legume based recipes, check out:

                 – With Love, Carrots and Cake,

Carrots and Cake Nita Sharda

Chickpeas with Roasted Cumin Masala

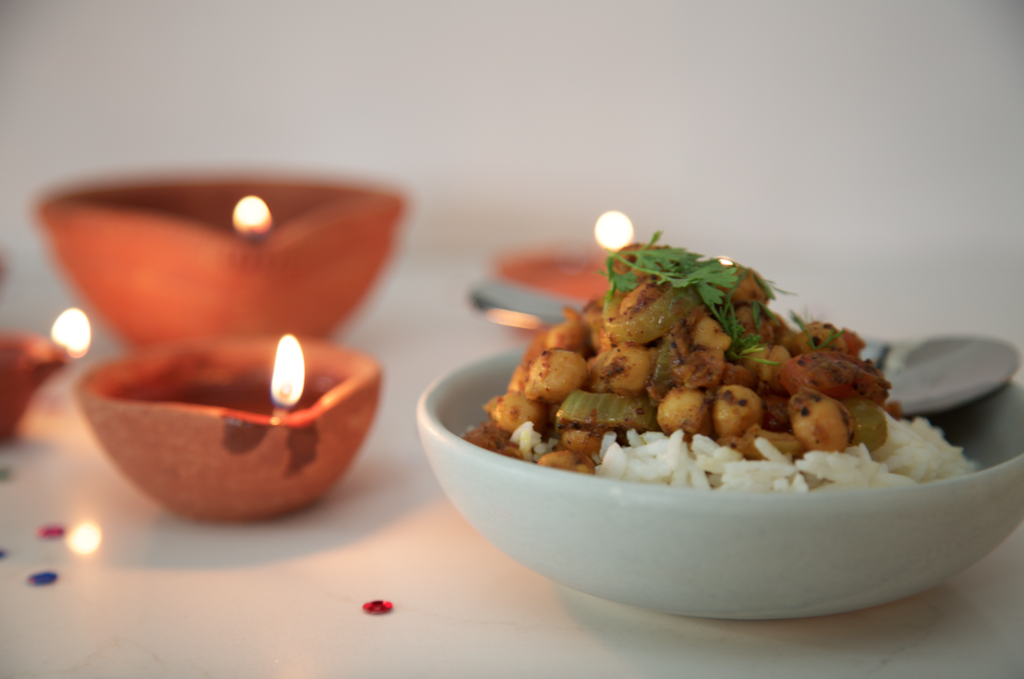
Nita Sharda, Carrots and CakeHey, do you know what’s coming up? Diwali! November 11th marks the date for the “festival of lights,” which is celebrated all throughout India. Simply put, Diwali symbolizes the victory of light over dark, good over evil, and knowledge over darkness.
When our Lord Rama returned to his kingdom after defeating a demon, villagers lit oil lamps to welcome him home. On that same note, we celebrate Diwali by lighting candles, oil lamps and turning on household lights.

As a first-generation South Asian Canadian woman (what a mouthful!), I’m trying in my own way to develop our family tradition around this holiday. I have such fond memories of gathering around with my family listening to my mom recite a portion of the Ramayana (a Hindu scripture). If we were lucky, we would each get a small sparkler to dance around with.

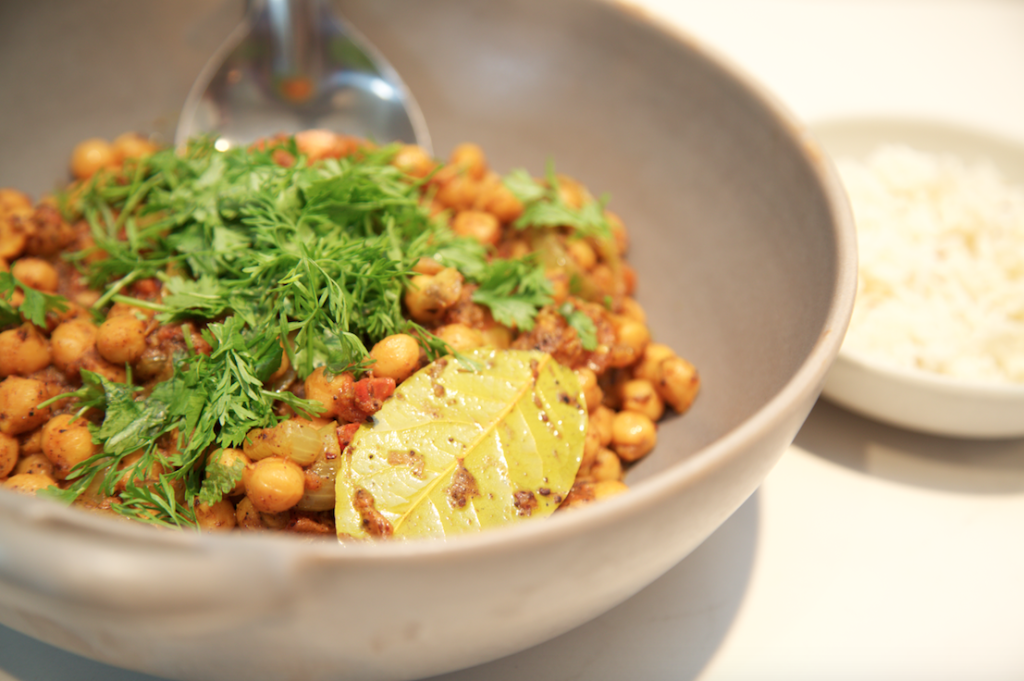
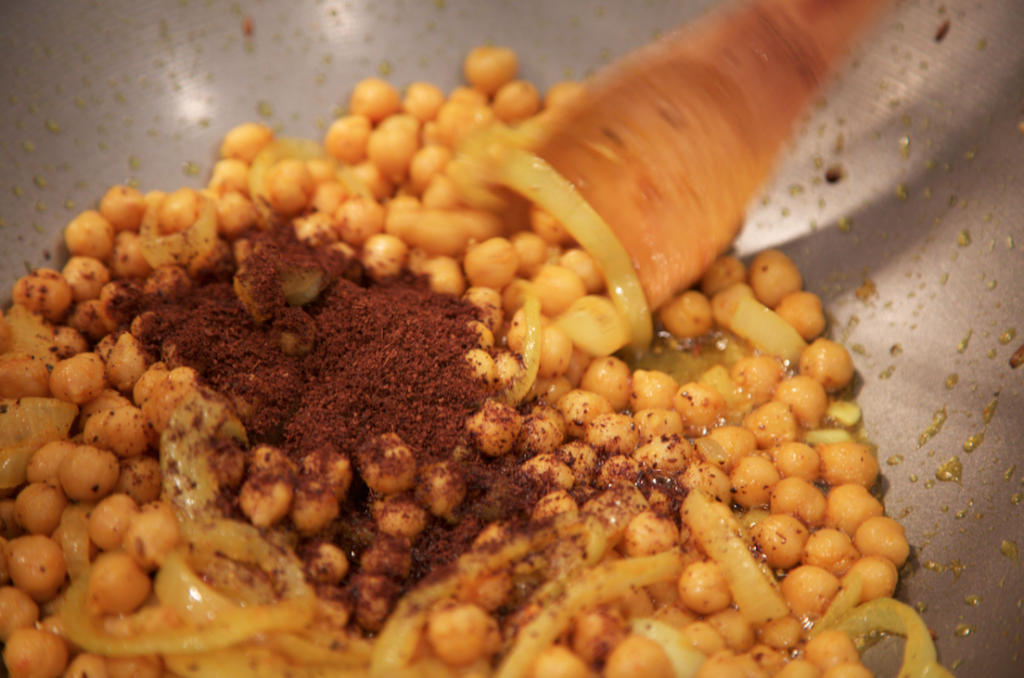
Since I’m only starting to really experiment with Indian cooking as of late, I wanted to develop a recipe; something simple that I could make every year for Diwali for our family feast. So, you may ask, what did I come up with? Chickpeas with Roasted Cumin Masala! The magical ingredient in this recipe is the roasted cumin (how good does that sound?). It’s pretty easy to spend 15 – 30 minutes roasting a batch of cumin ahead of time, and this way you can incorporate it into other dishes.

How to become a cumin seeds roasting expert:

  1. In a nonstick pan add 1/3 cup of cumin seeds and roast at low-medium heat until they are a dark shade of brown and fragrant. It’s important to keep a watchful eye on your seeds to prevent them from burning. Tip: I find on my gas range it takes me about 15 – 20 minutes at a low setting to get the perfect roast.
  2. Immediately remove from heat and let it cool.
  3. Grind into fine powder using a coffee grinder or mortar and pestle.
  4. This can be stored in an airtight container for several months.

Now, you may need to visit a local Indian grocer or head down the ethnic aisle at a large grocery store chain to find Chat Masala and Tamarind Sauce. I use Chat Masala in a number of other dishes; actually, my husband loves a sprinkle of this spice mixture over his pizza! Adding Tamarind Sauce is completely optional. It will add a sweet and tangy flavor to the dish. I tend to go without this sauce but you may very well prefer it!

Nita Sharda

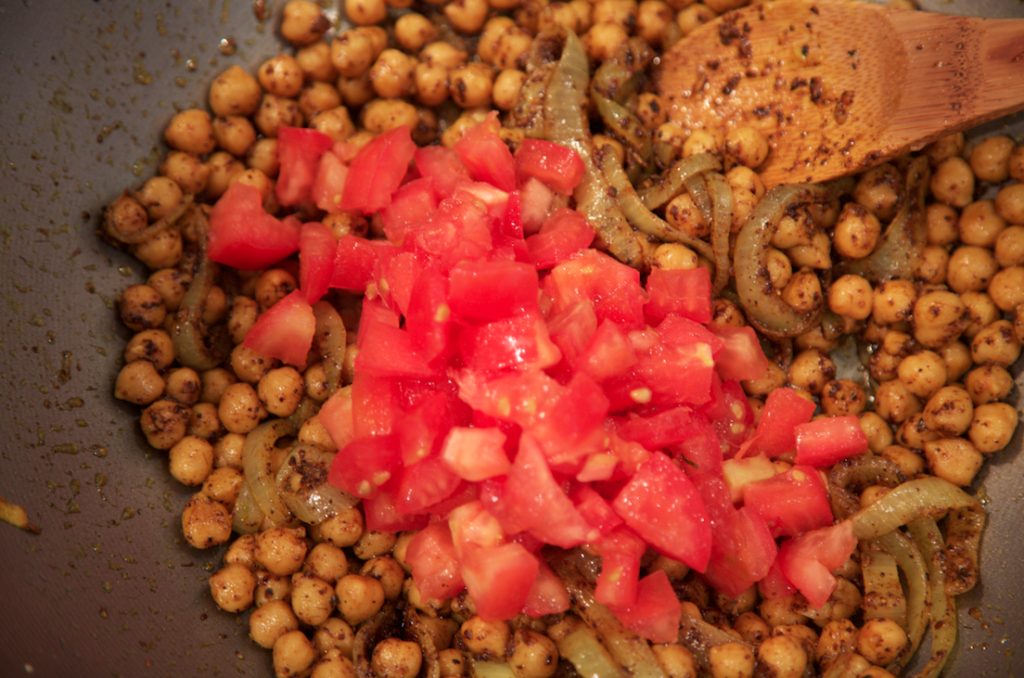
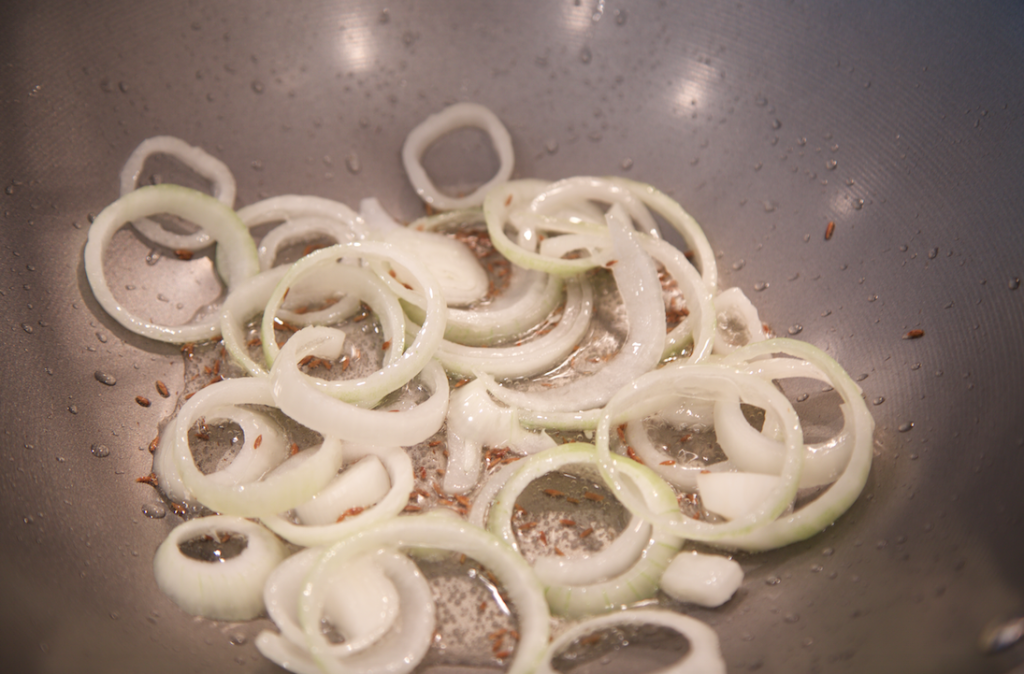
Here are some step by step photos I included, you know, just to help ya’ll out!

Nita Sharda, Carrots and CakeNita Sharda, Carrots and CakeNita Sharda, Carrots and CakeNita Sharda, Carrots and Cake

Okay, okay. On to the recipe but first,

A very Happy Diwali to you and your family. 

Nita Sharda

If you’d like to send your friends or family a custom Happy Diwali card visit Evite to peruse through their beautiful selection of customized cards.When planning an event, Evite is a great way to get friends and family together and we all know: life’s better together!  To add, Evite is providing an exclusive offer for Carrots and Cake readers to send 15 free Premium Thank You cards.  Use promo code: NSTHANKYOU15  (good through 11/30/15).

Okay, okay. The recipe! 


Chickpeas with Roasted Cumin Masala
 
Prep time
Cook time
Total time
 
Serves: 4 - 5
Ingredients
  • 2 tbsp canola oil
  • 1 medium onion, sliced thinly into rings
  • 1 tsp whole cumin seeds
  • 2 cloves garlic, minced
  • 2 19oz canned chickpeas, rinsed (preferably no added sodium)
  • 1 ½ tsp turmeric
  • 1 tsp each salt and black pepper
  • 1 - 3 tbsp ground roasted cumin (I prefer to use 2 tbsp)
  • 1 tbsp chat masala
  • 1 bay leaf
  • 3 roma tomatoes, diced
  • Juice from ½ lemon
  • 1 tbsp tamarind sauce or chutney (optional)
Instructions
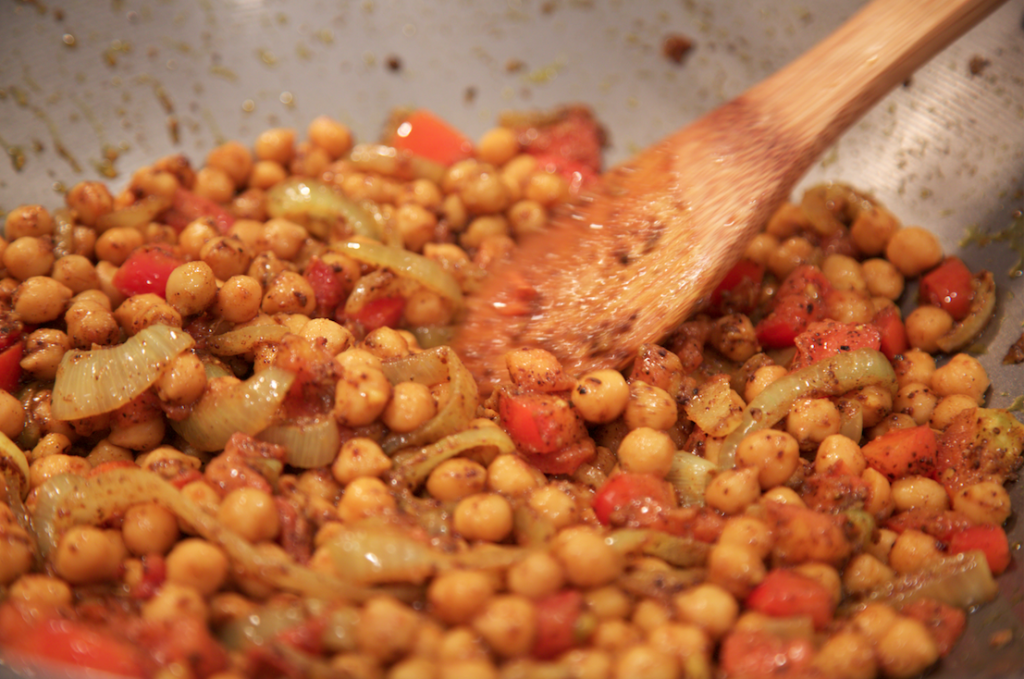
  1. In a nonstick fry pan or wok, heat canola oil with cumin seeds and onion over low-medium heat.
  2. Cook onion rings for 5 – 7 minutes or so until they become soft and translucent.
  3. Add in garlic, chickpeas and remaining spices. Stir the mixture to ensure chickpeas are coated well. After another 5 minutes add in diced tomatoes and squeeze juice from ½ lemon into the mixture. Stir to combine.
  4. Cook mixture until tomatoes have softened (but not mushy), about three more minutes. At this stage you may add in tamarind sauce if it's available to you.
  5. Serve over rice, with naan or with roti.

Nita Sharda

A very Happy Diwali to you!

This post is part of a sponsored campaign on behalf of the South Asian Bloggers Network  for Evite and I have received compensation for this post. All opinions are my own.

                 – With Love, Carrots and Cake,

Carrots and Cake Nita Sharda

Black Bean Quinoa Stew

Nita Sharda, Carrots and Cake

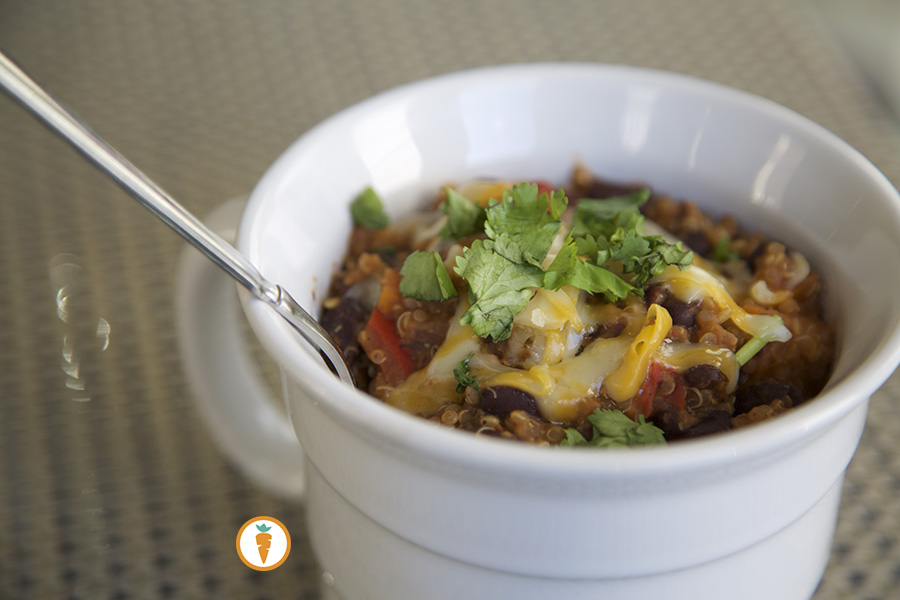
Beautiful photo captured by a fan of Carrots and Cake. Thanks Sleepwell Bedding!

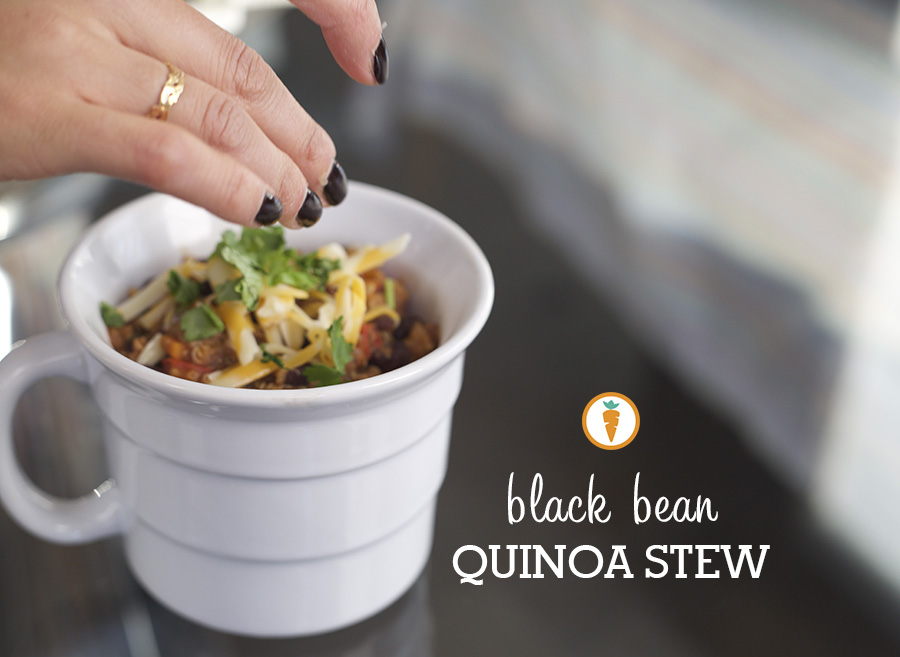
During these warm winter nights, it’s nice to snuggle into bed with a warm mug of stew. Typically, stews centre around a cut or type of meat. They are full of body, flavour and oober satisfying. Now, as a huge proponent of plant based proteins I’m asking you: would you ever try a meatless stew? If the the answer is YES, then boy, you’re in for a treat!

Winter. Warm. Cozy. Perfection. 

The quinoa stew is straight up not very pretty to look at. But heck, the flavours are amazing and it’s the kind of stew that doesn’t make you feel heavy. What more? It’s pretty much a one-pot-meal; this means no fussing over multiple dishes and skillets. Easy peasy. And, it’s great for freezing.

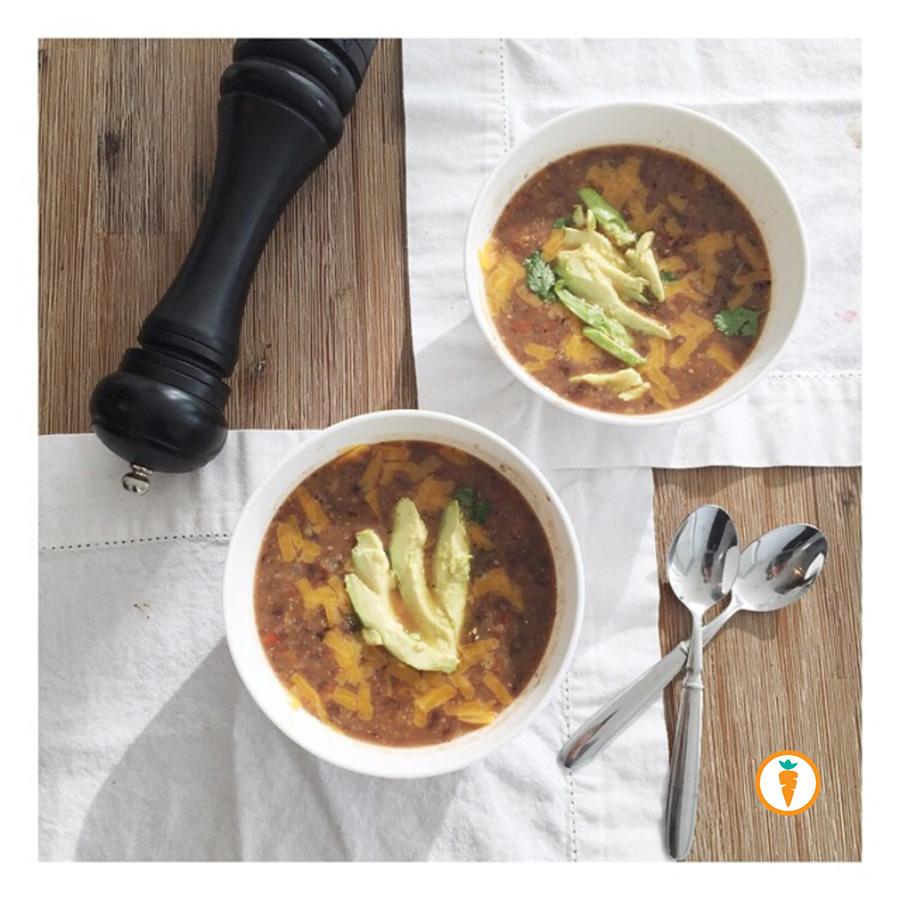
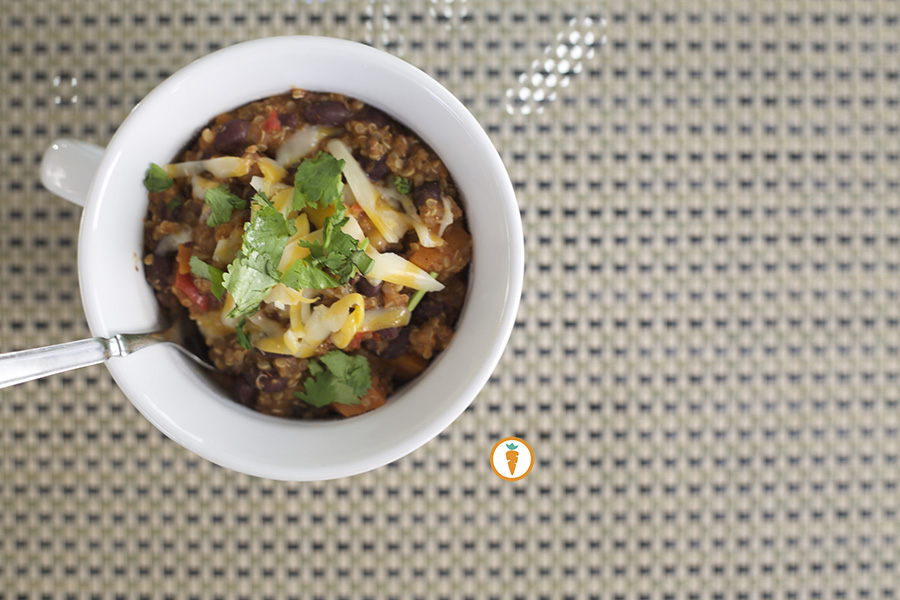
I enjoy serving this stew when we have house guests over. I assemble bowls that are full of fun toppings such as cheddar cheese, feta, green onions, tomato and avocados. Guests can top their bowl of stew with whatever they like; it’s always a hit.

Okay, okay, the recipe. See below!
Original recipe can be found here.

Black Bean Quinoa Stew
 
Prep time
Cook time
Total time
 
Serves: 5
Ingredients
  • 1 Tbsp extra-virgin olive oil
  • 1 large onion, diced
  • 1 large carrot, thinly sliced
  • 1 red pepper, chopped
  • 2 garlic cloves, minced
  • ⅔ cup uncooked quinoa
  • 3 cups low-sodium vegetable broth
  • 2 - 14 oz cans black beans, drained and rinsed
  • 2 tsp crushed red pepper
  • 1 tsp cumin
  • ¼ tsp black pepper
  • 2 tbsp tomato paste
  • Juice of ½ lime
  • ½ cup shredded white cheddar cheese
  • ⅓ cup chopped fresh cilantro
Instructions
  1. Heat oil in large saucepan over medium heat. Add onion and carrot and cook until softened, about 5 minutes. Toss in red pepper, cook for two minutes.
  2. Stir in garlic and quinoa and toast quinoa until slightly fragrant, about 4 minutes.
  3. Add broth, black beans, black pepper, cumin, and crushed red pepper. Add in tomato paste. Bring to a boil, reduce heat, and simmer until quinoa is tender, about 15 minutes. Stir in lime juice.
  4. Remove half the soup, and carefully purée in food processor or blender until smooth (another option may be to use an immersion blender for approx 15 seconds). I prefer to only blend a portion for more texture.
  5. Return to pan and heat 2 minutes. Divide among serving bowls and garnish with cheese and cilantro etc.

Nita Sharda, Carrots and CakeNita Sharda, Carrots and CakeNita Sharda, Carrots and Cake

– With Love, Carrots and Cake,

Carrots and Cake Nita Sharda

Lentil and Yogurt Spread

Nita Sharda, Carrots and Cake

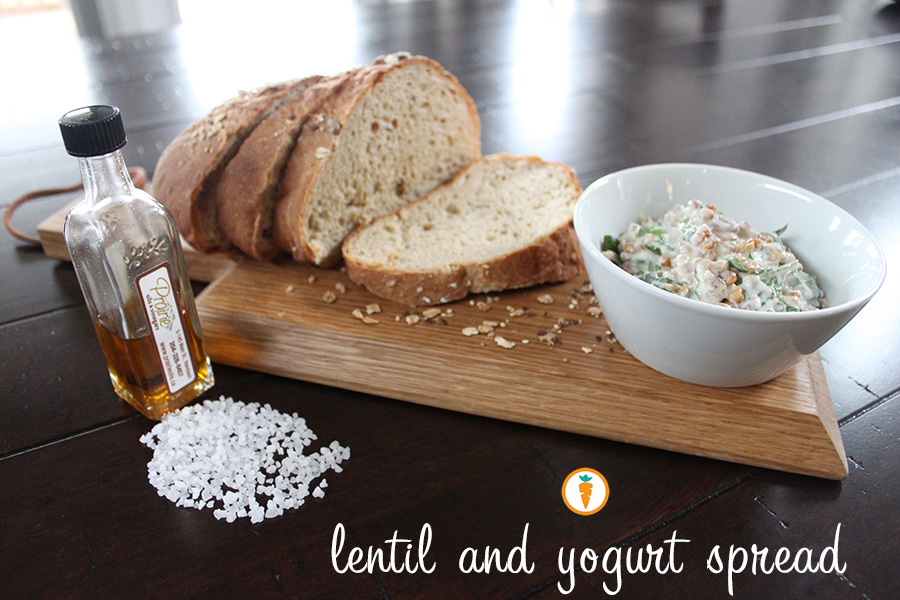
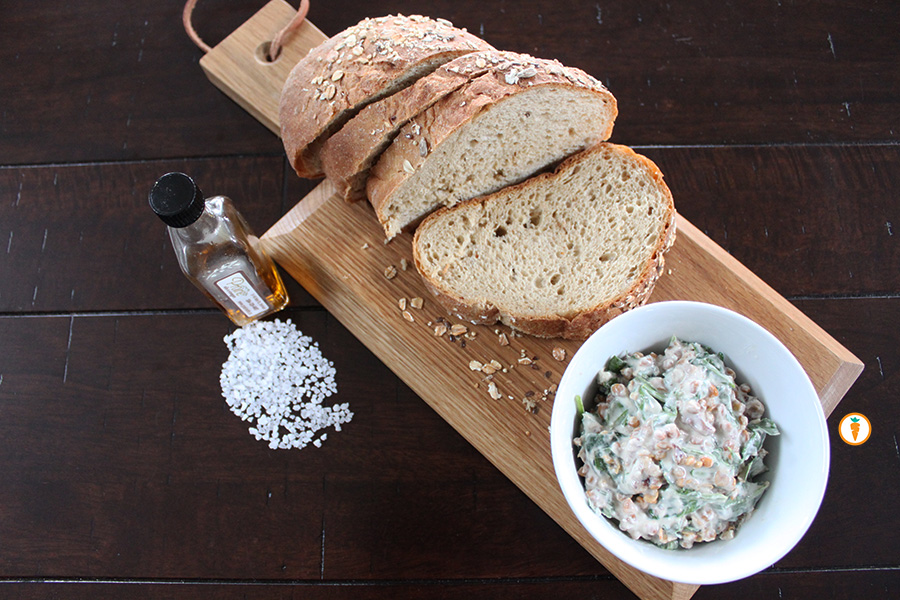
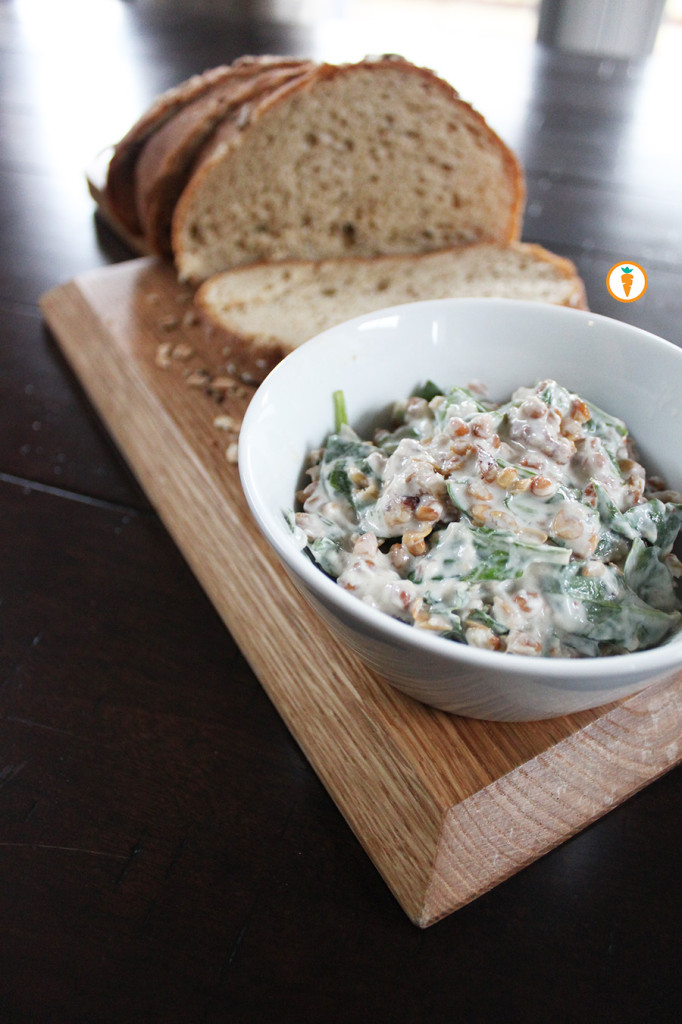
If you’re in need of changing your usual deli-meat lunch sandwich for something a bit different (and likely less sodium packed), then this recipe post was meant for you.  The protein comes double packed all thanks to the Greek Yogurt and lovely lentils used in this spread. I opted to use this mixture on a fresh loaf of the “Health Bread” which can be purchased at a local Main Street bakery called A L’Epi De Ble (attention Winnipegger’s: you have not yet visited this gem of a place, you must). But really, you can enjoy this spread by the spoonful, wrapped in lettuce, with whole grain crackers or even with baked pita slices.

This spread speaks “health” – I mean, take a look at the short list of ingredients. Each, so simple on its own, but when combined they come together magically to create a satisfying and drool worthy concoction. Give it a try and let me know what you think. The original source of this recipe came from a beautifully crafted food blog I love to follow, 101 Cookbooks.

*note: instead of using a plain olive oil, I used a sample of chilli infused Prairie Oil – the olive oils are infused, packaged and sold right here in Manitoba. Local loving made easy!

Lentil and Yogurt Spread
 
Prep time
Cook time
Total time
 
Serves: 3-5
Ingredients
  • ½ cup chopped walnuts *preferably toasted
  • 2 cups baby spinach
  • 1 cup fresh basil leaves
  • 1 cup cooked lentils
  • 2 tablespoons flat-leaf parsley, chopped
  • 1 garlic clove, minced
  • 1 lemon
  • 1 cup plain Greek yogurt
  • ¼ cup extra virgin olive oil
  • 1 tbsp liquid honey
  • Pinch of salt and freshly ground pepper
  • ½ cup Parmesan cheese, shaved
Instructions
  1. Gently chop the spinach and basil leaves, trying hard to not bruise them.
  2. Place the lentils in a bowl and mix in the spinach, basil, parsley, and garlic.
  3. Squeeze the lemon into the lentils. Mix to combine, and then fold in the yogurt gently to prevent the lentils from mushing up.
  4. Drizzle in the olive oil and honey. Fold in the toasted walnuts. Season the mixture with salt and pepper.
  5. When assembled on toast, or if enjoyed alongside a salad simply garnish with Parmesan.

Nita Sharda, Carrots and CakeNita Sharda, Carrots and Cake


                 – With Love, Carrots and Cake,

Carrots and Cake Nita Sharda

GNI Feature: Jalapeno Spiced Hummus

Carrots and Cake, Nita Sharda

Perfectly spiked and ready to enjoy.

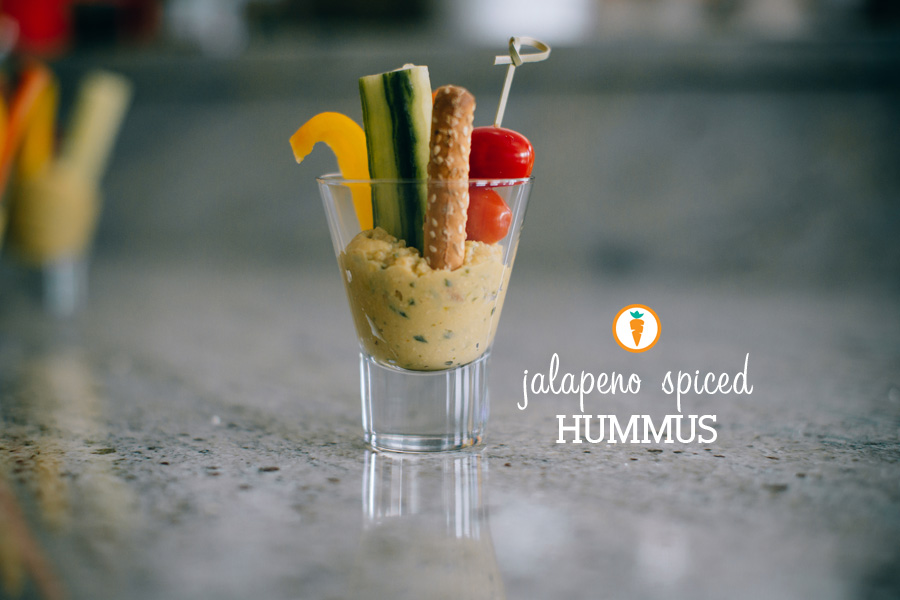
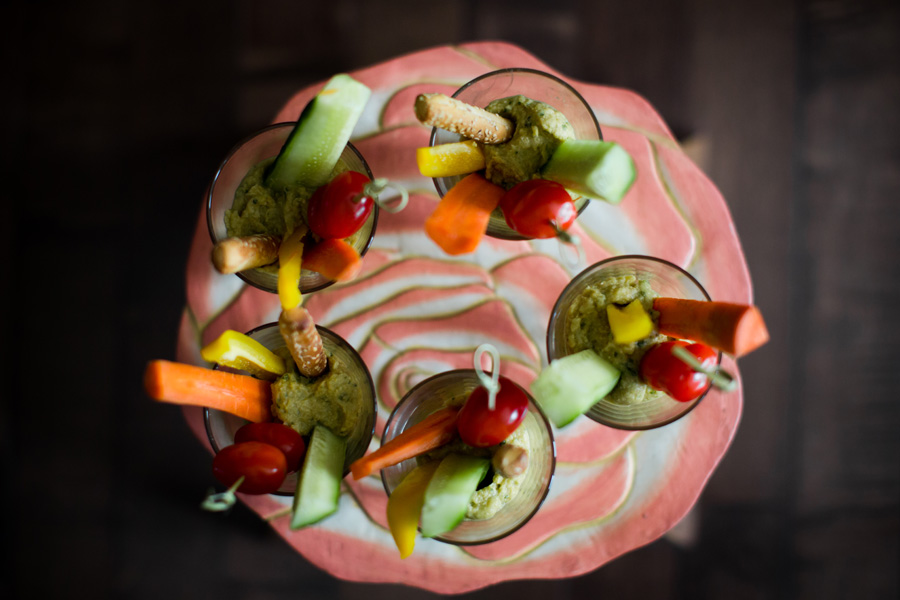
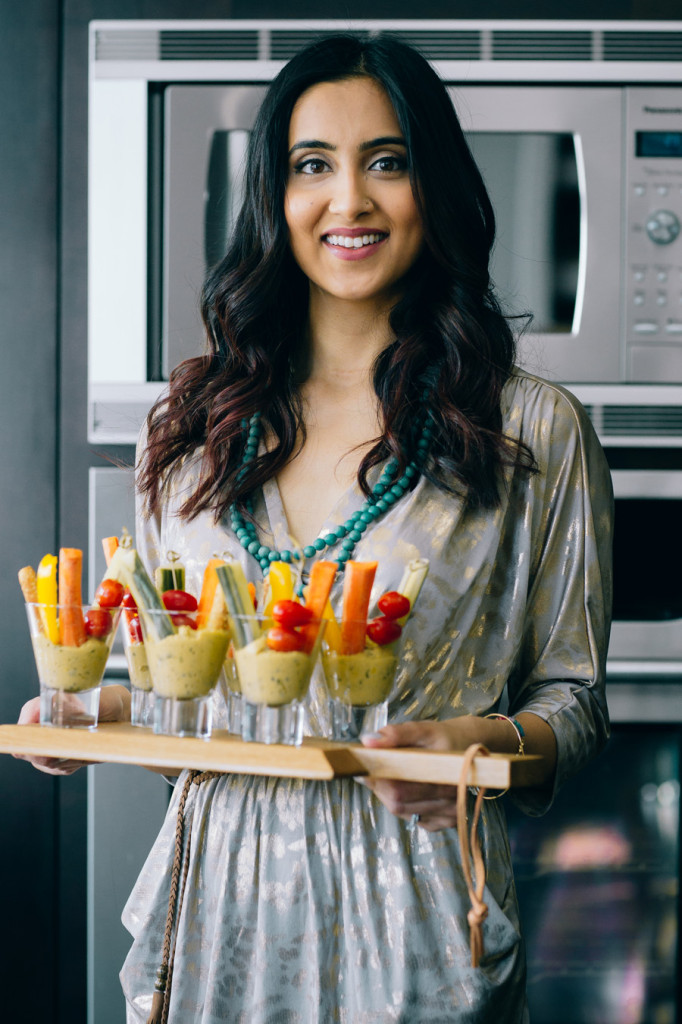
Today I’m thrilled to share the first of a recipe series from the girls-night-in (GNI) I hosted a few weeks back. The recipe below is for hummus which is often used as a spread or dip. The main ingredient is chickpeas and often most recipes contain tahini. Because tahini isn’t a staple in my home, I opted to create a hummus spread without it. The base of this recipe came from my glob-trotting, foodie-extraordinaire, yogi friend (also a fellow Dietitian), Allie of Balanced with Allie.  It’s the kind of recipe you can spike with multiple flavors: chilli, sun-dried tomatoes, garlic or caramelized onion–yum! The options are endless.

I’m particularly fond of hummus because unlike many commercial spreads and dips, it’s not loaded with starches, sodium, fat or cheap ingredients. It’s also a great way to incorporate more beans and legumes into your lifestyle if these aren’t foods you typically cook with. Not to mention, it’s super easy to put together. All you need is a blending device or an immersion blender! Hummus also freezes well – yaay for batch cooking!

Enjoy!

Jalapeno Spiced Hummus
 
Prep time
Total time
 
Ingredients
  • 1 15oz can garbanzo beans, rinsed and drained
  • 2 tablespoons lemon juice
  • 1 - 2 garlic cloves
  • 1 tsp salt
  • paprika (optional)
  • cilantro (optional)
  • 1 pickled jalapeno
  • 1 - 2 tbsp picked jalapeno juice
Instructions
  1. Drain and rinse garbanzo beans.
  2. Combine all ingredients into food processor and blend until consistency is smooth.
  3. Add additional water or lemon juice as needed.
  4. Serve with veggies, pretzels, wholegrain crackers or use as a spread on wraps, sandwiches or even as a "pizza sauce" (yes, it's yummy)!

Oh, and just incase you missed the magical video that my friends at Samba Joy created for me, see below!

A few more photos, snapped by the talented Samba Joy

Carrots and Cake, Nita ShardaCarrots and Cake, Nita ShardaCarrots and Cake, Nita Sharda

                 – With Love, Carrots and Cake,

Carrots and Cake Nita Sharda